Enjoy $20 Off Your First Shoot 📸 🎉

Ultimate Guide: How to Take Photos of Yourself While Travelling Solo
How to Take Photos of Yourself
Just because you’re travelling without a companion doesn’t mean you have to miss out on capturing incredible photos of your beautiful self while you’re away. Although hiring a pro (we’ll get to this later #10) is always our favourite recommendation, today we’re going to share more of our best tricks, tips, hacks, and things to avoid when you’re travelling solo to ensure your travel memories are captured forever.
Here at Flytographer we easily connect travellers with trusted photographers for fun photo shoots and have captured over six million memories worldwide. 🌎 The magic of Flytographer is both the experience and the photos. Explore the city with a fun, talented photographer and get wall-worthy photos to relive your trip, forever. Read on for our ultimate guide on taking amazing photos of yourself while travelling solo!
TLDR
-
- Pick a Photogenic Travel Destination
- Plan Your Outfits
- Find Natural Light
- Think About Self Portrait Composition
- Enjoy the Moment, Post it Later
- Learn the Art of the Selfie
- Try Different Poses
- Use Portable Accessories
- Experiment With Your Phone’s Camera Settings
- Leave it to the Pros at Flytographer
- Frequently Asked Questions
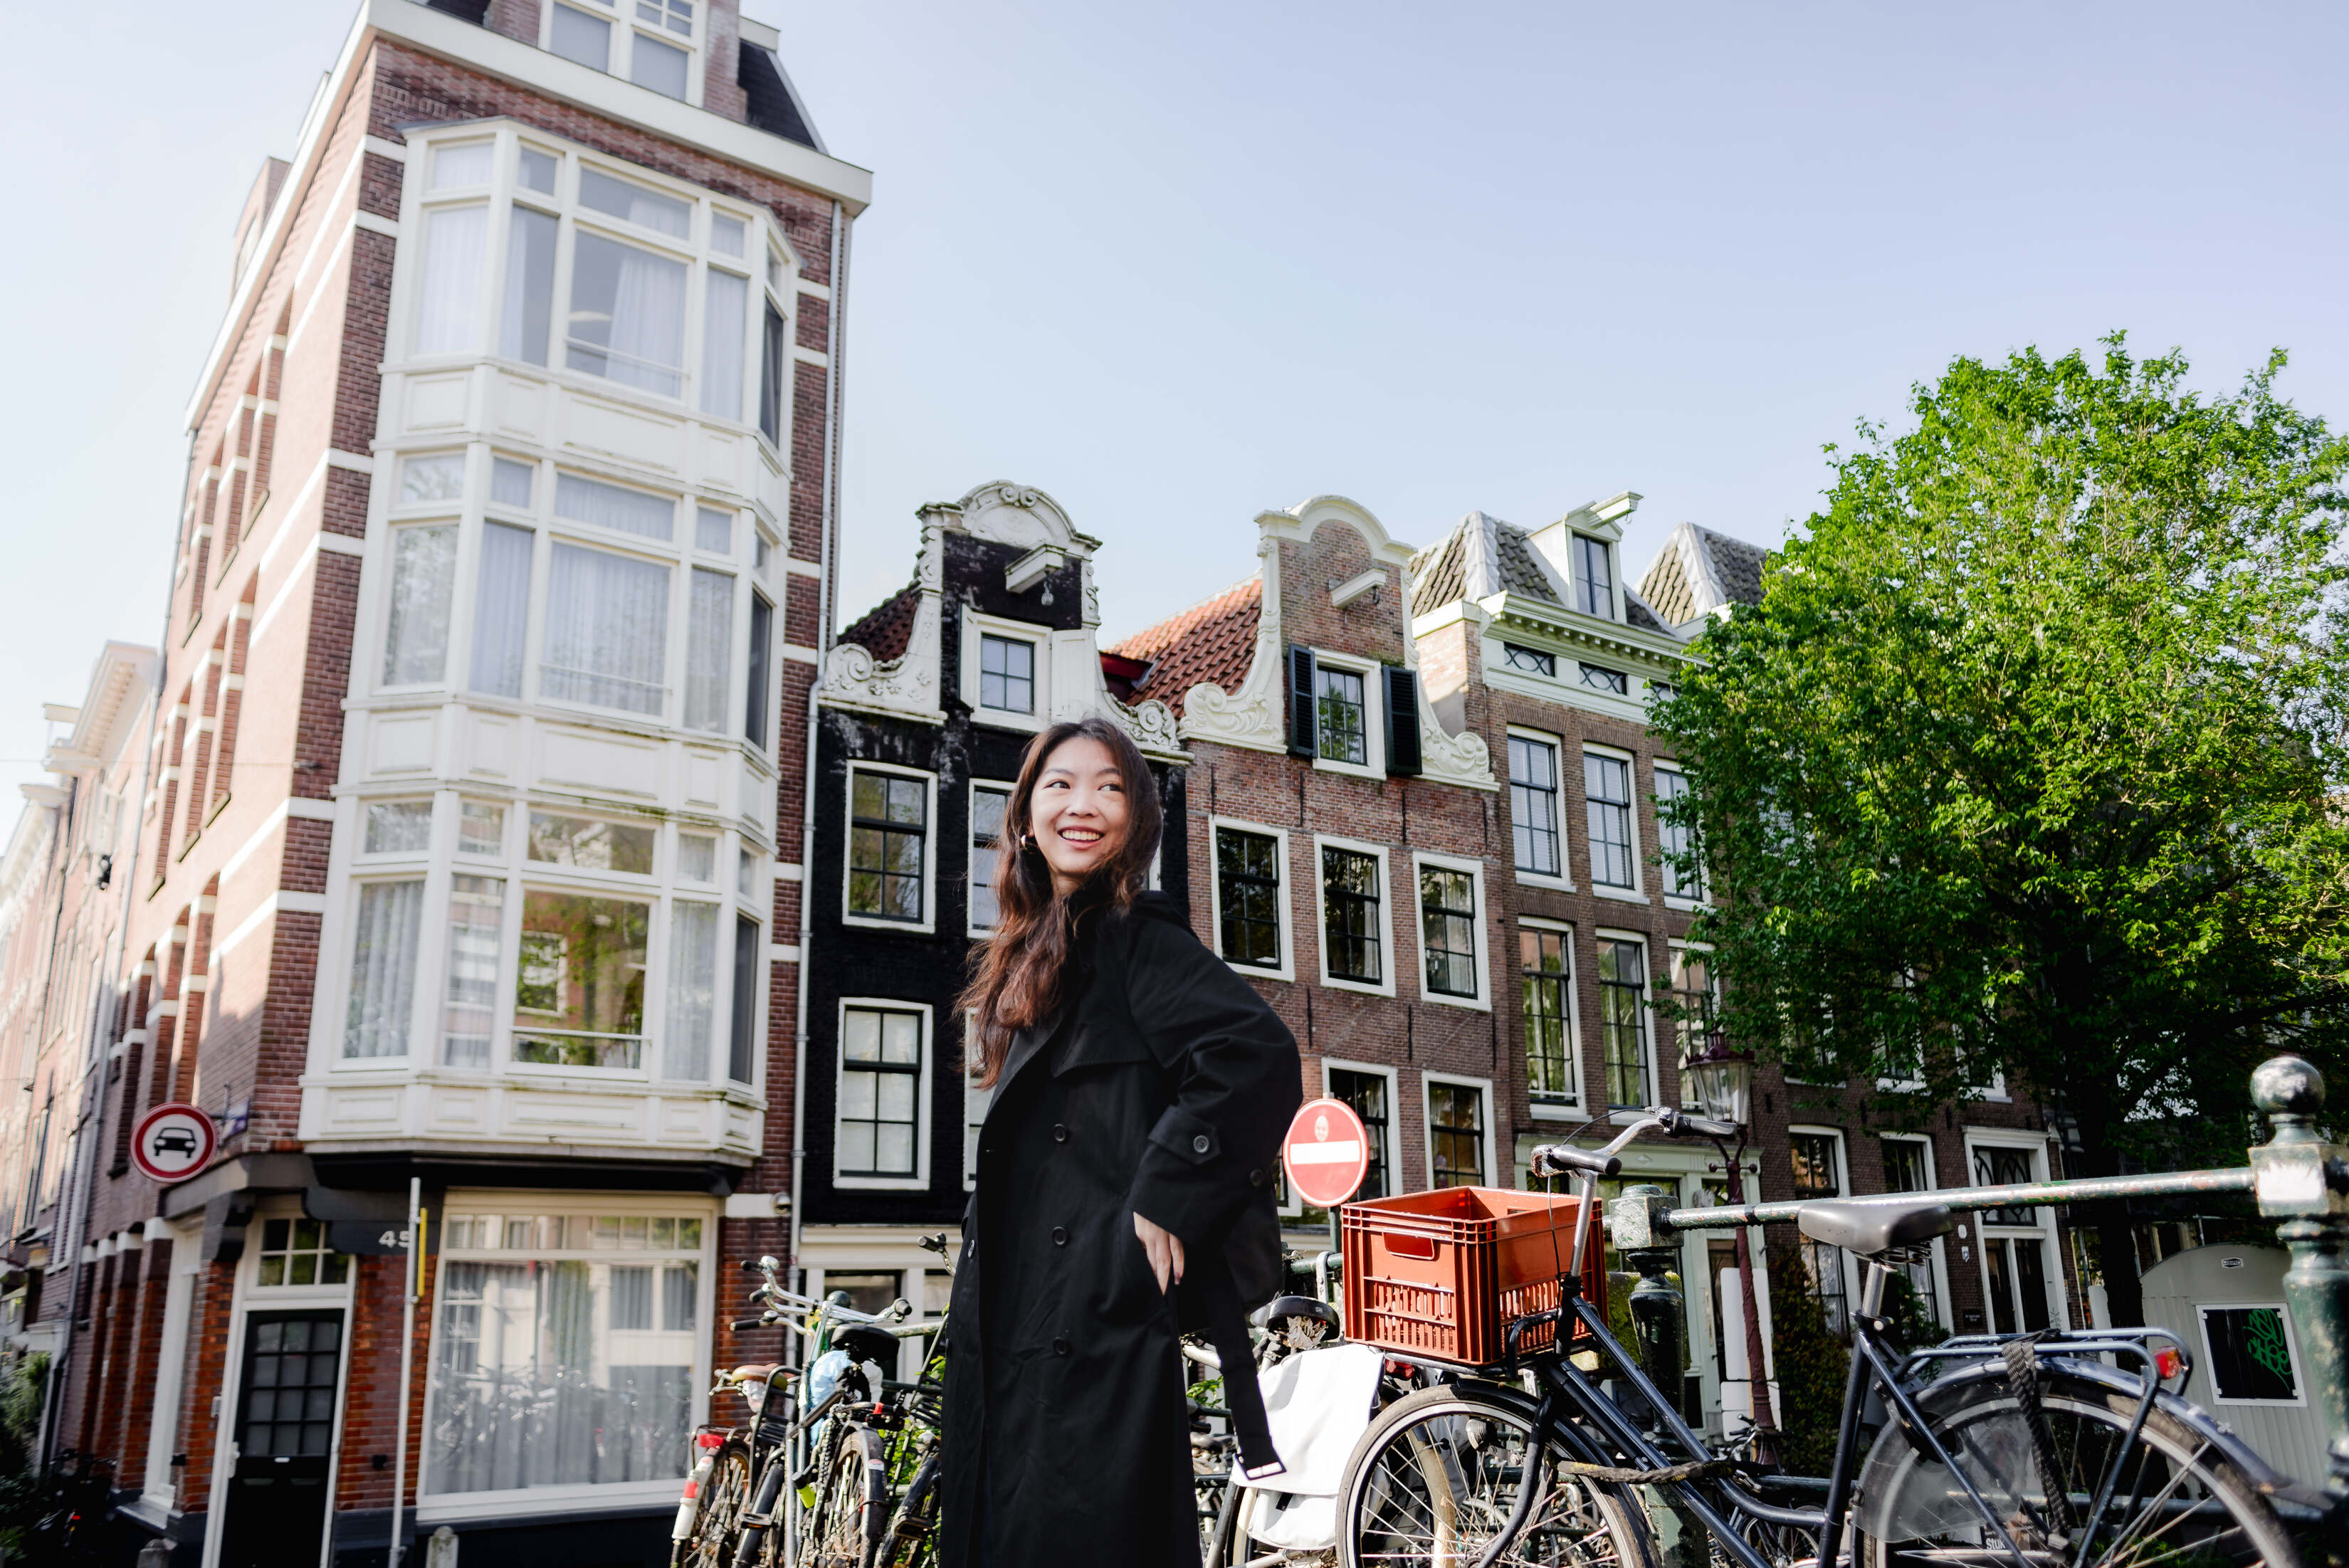
Photo: Joanna in Amsterdam for Flytographer. Jesmine captures memories on a solo adventure to Amsterdam.
1. Pick a Photogenic Travel Destination
It goes without saying that visiting a perfectly picturesque locale will make the task of capturing beautiful photos easy as pie, so let’s start here! Chances are, part of the reason you’ve had a destination on your must-see list is because it’s beautiful, so you’re already on your way to capturing amazing pics! From Iceland to the Eiffel Tower; adventurous road trips through the national parks, or lazy lounging under perfect island palm trees, picking a five-star destination automatically equals better photos.
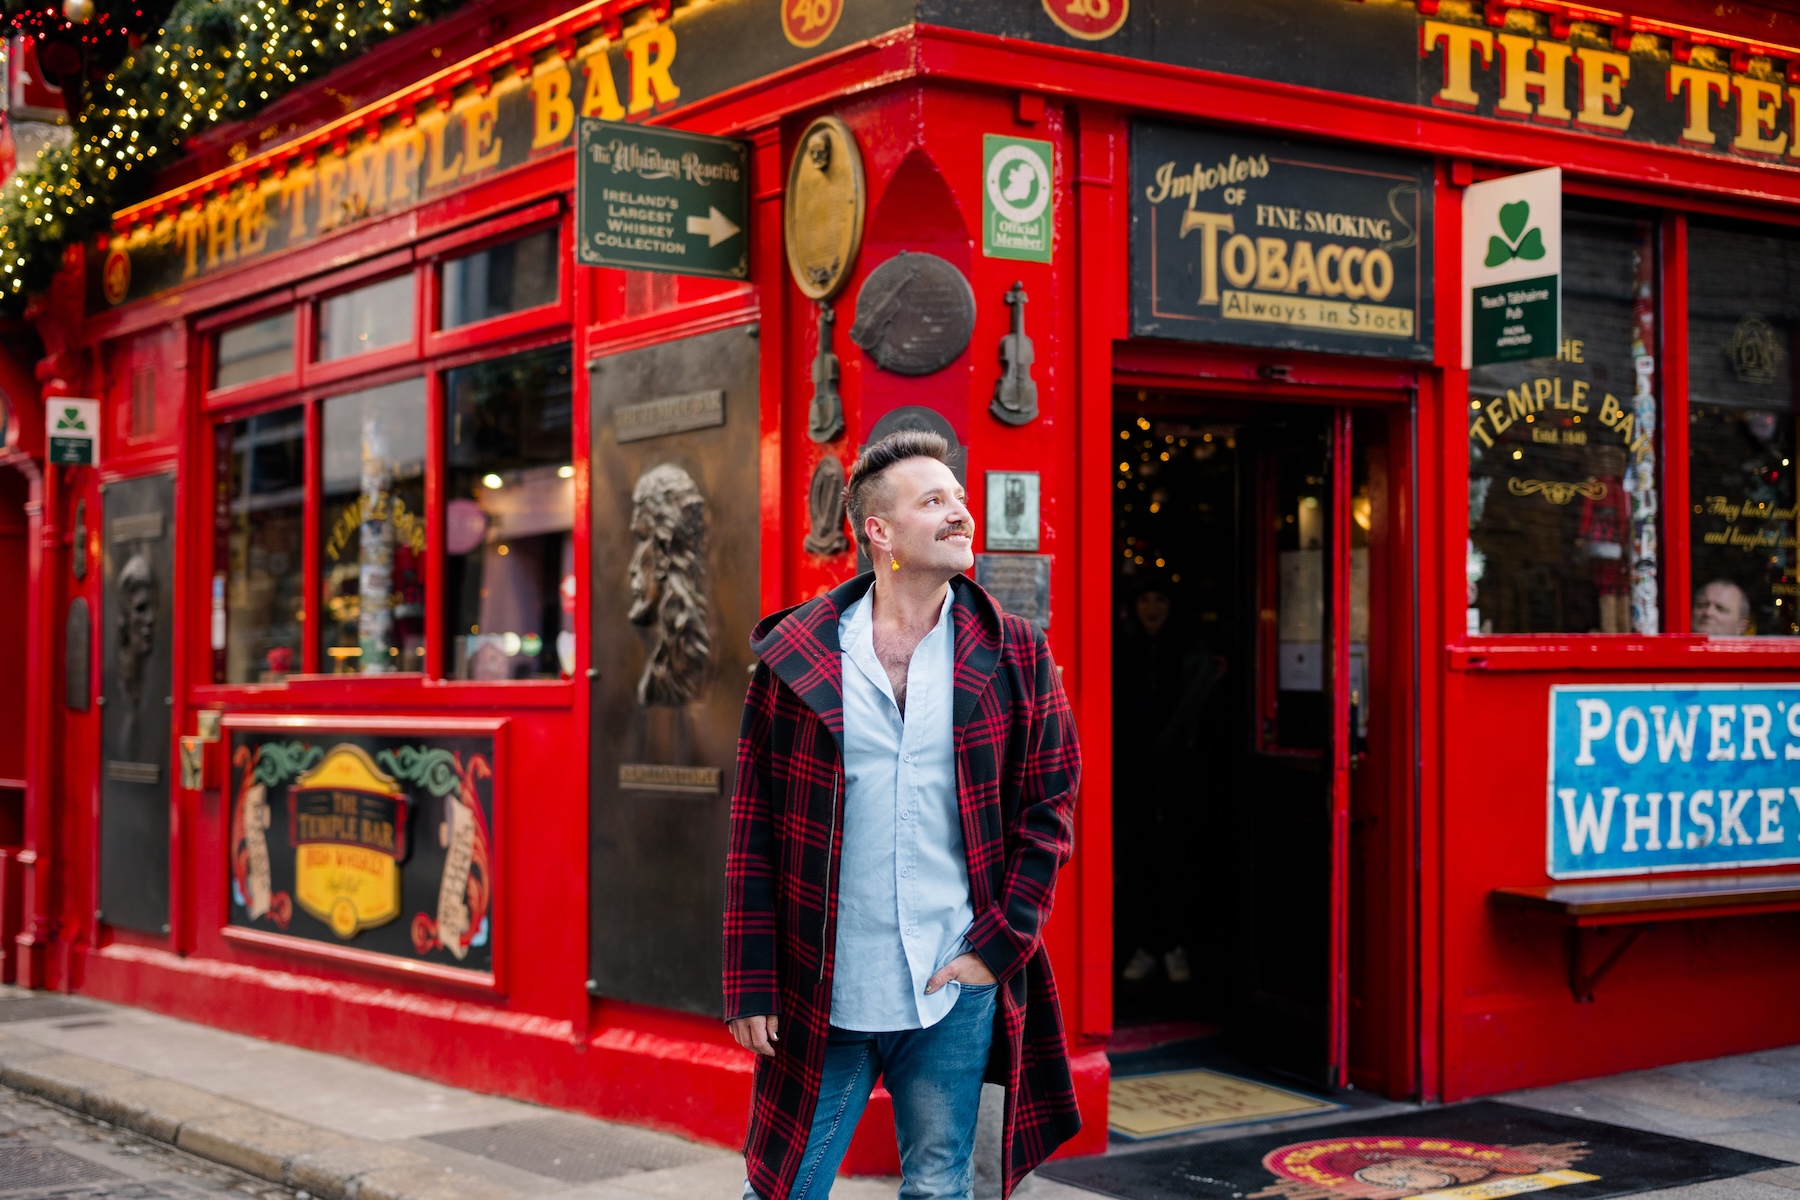
Photo: Tetiana in Dublin for Flytographer. Ravi captures memories on a solo adventure to Dublin.
2. Plan Your Outfits
We recommend taking a look at Flytographer’s Style Guide because it’s packed with excellent details we don’t need to get into here, but we do want to touch on how helpful planning outfits can be when it comes to great photos in awesome destinations. Use your area as inspo for your looks! From colours to culture, if photo editing was out of the picture completely, how can your outfits compliment the scenery in your destination?
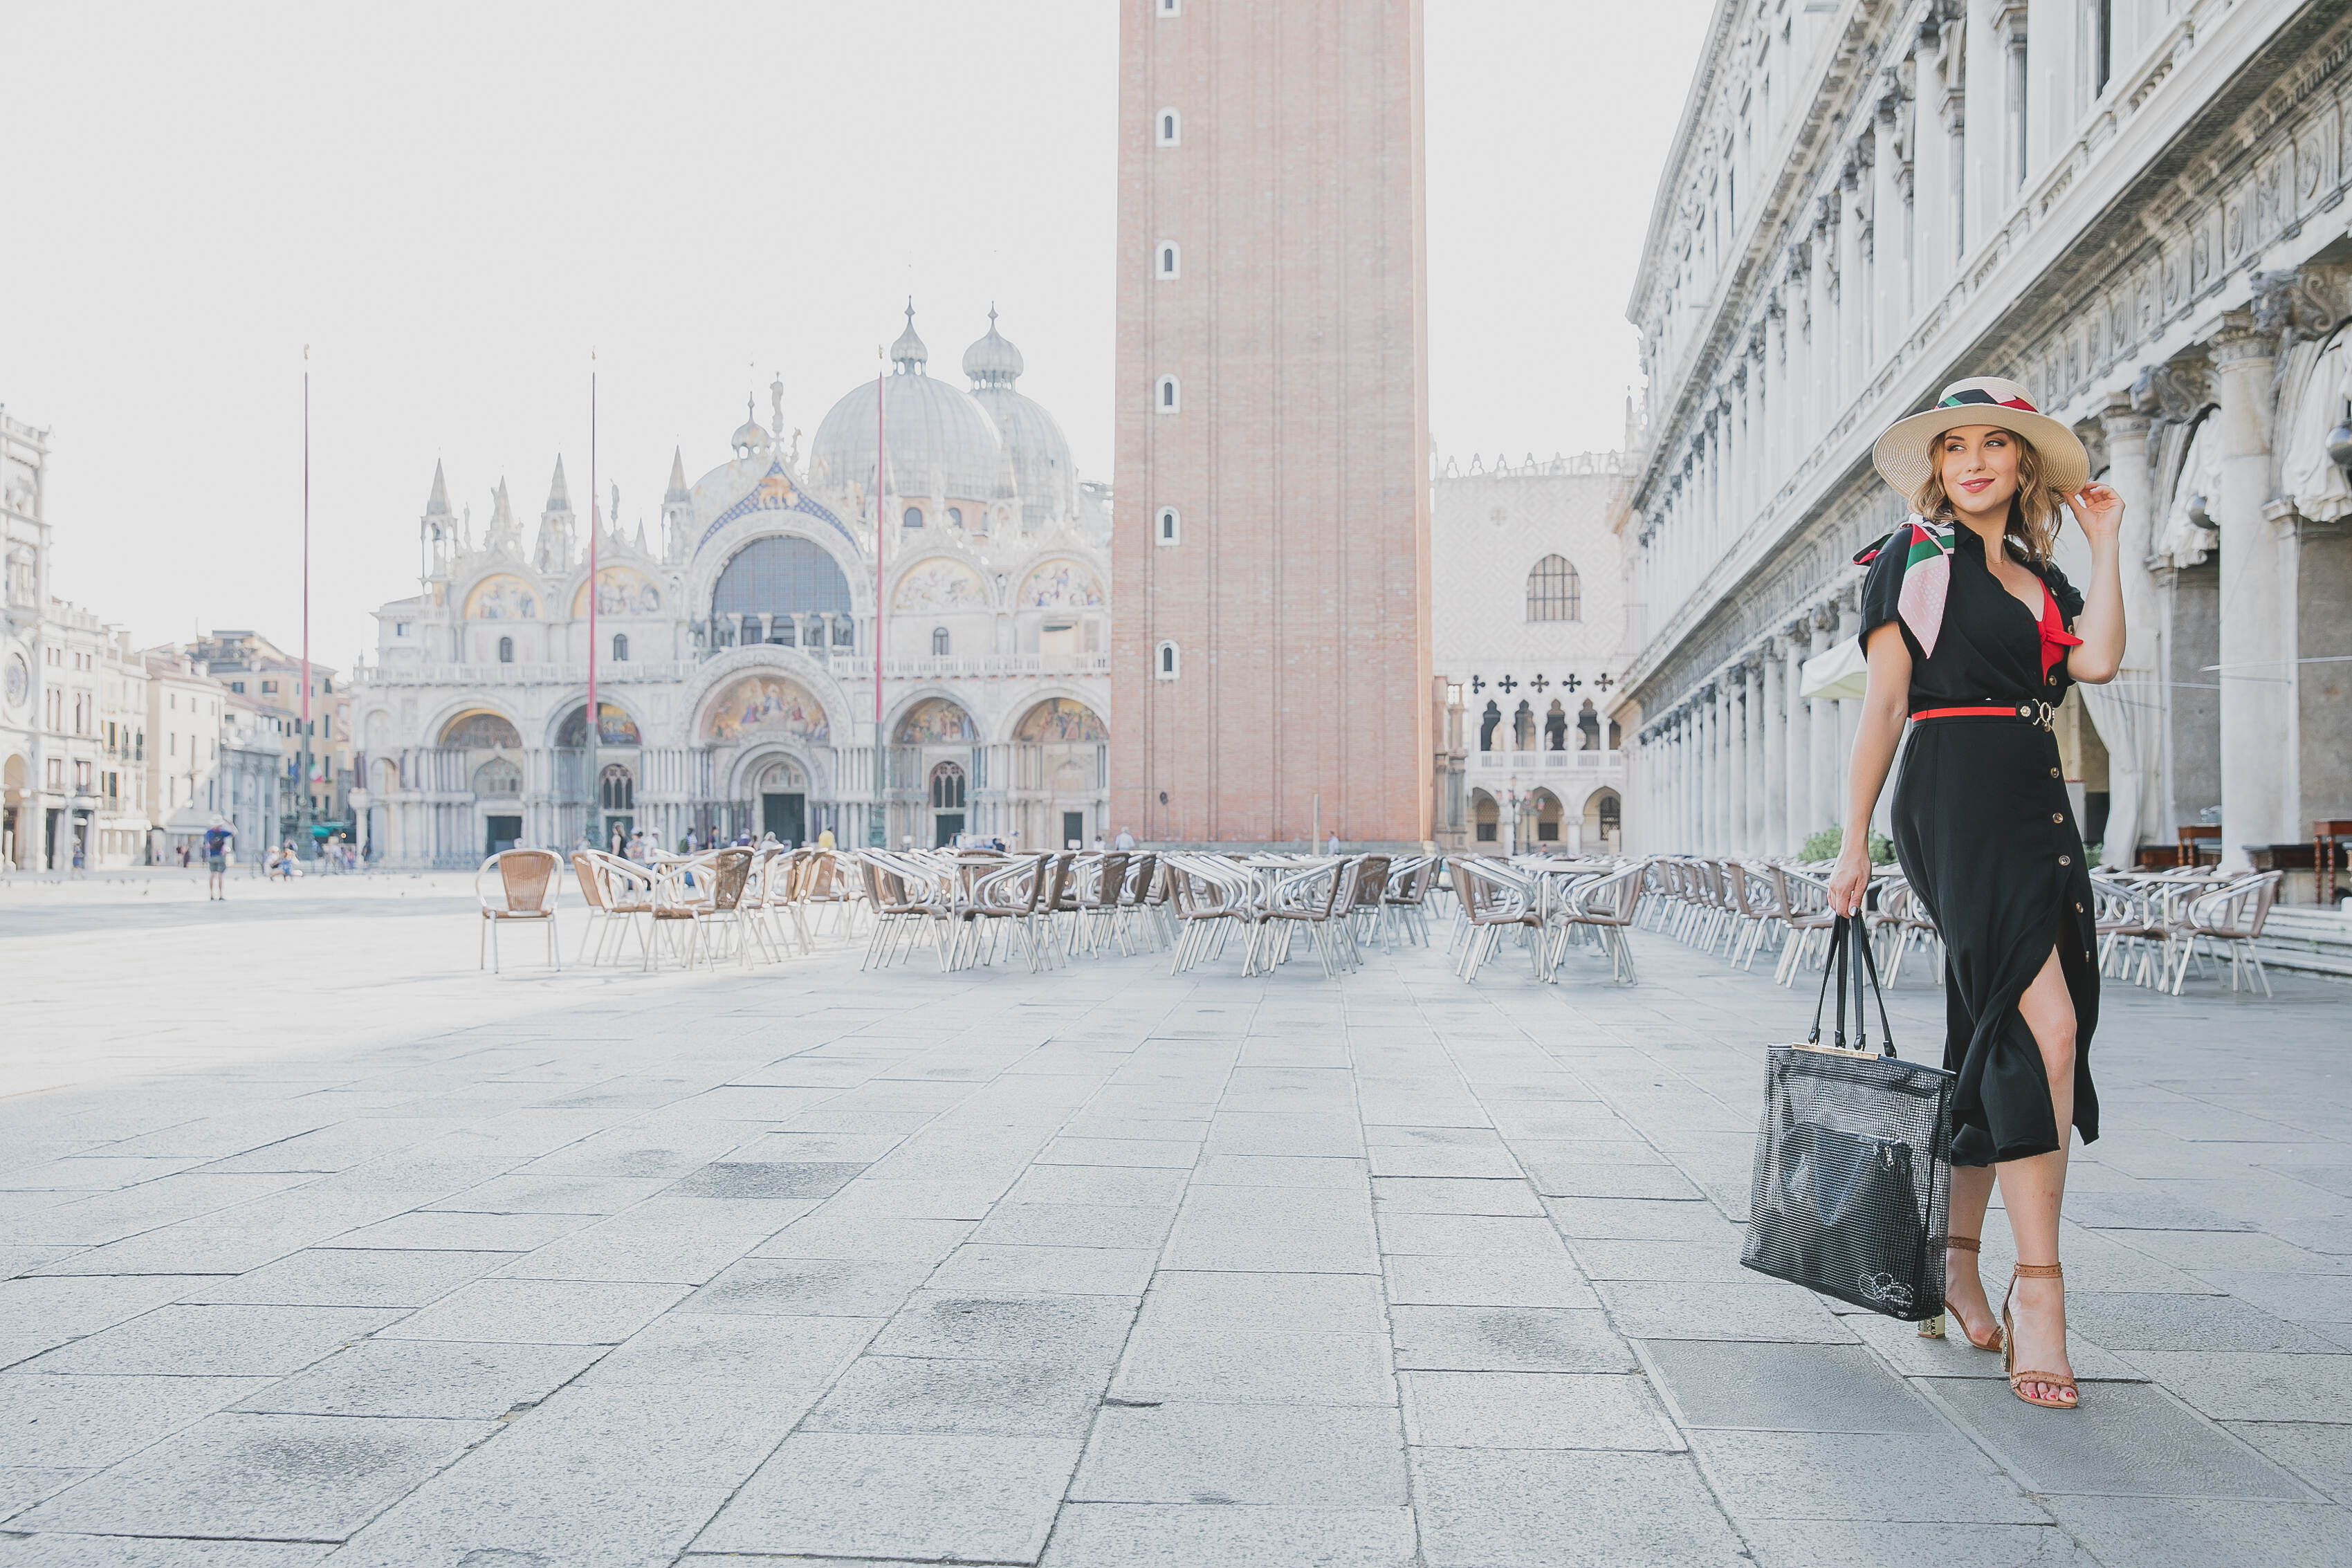
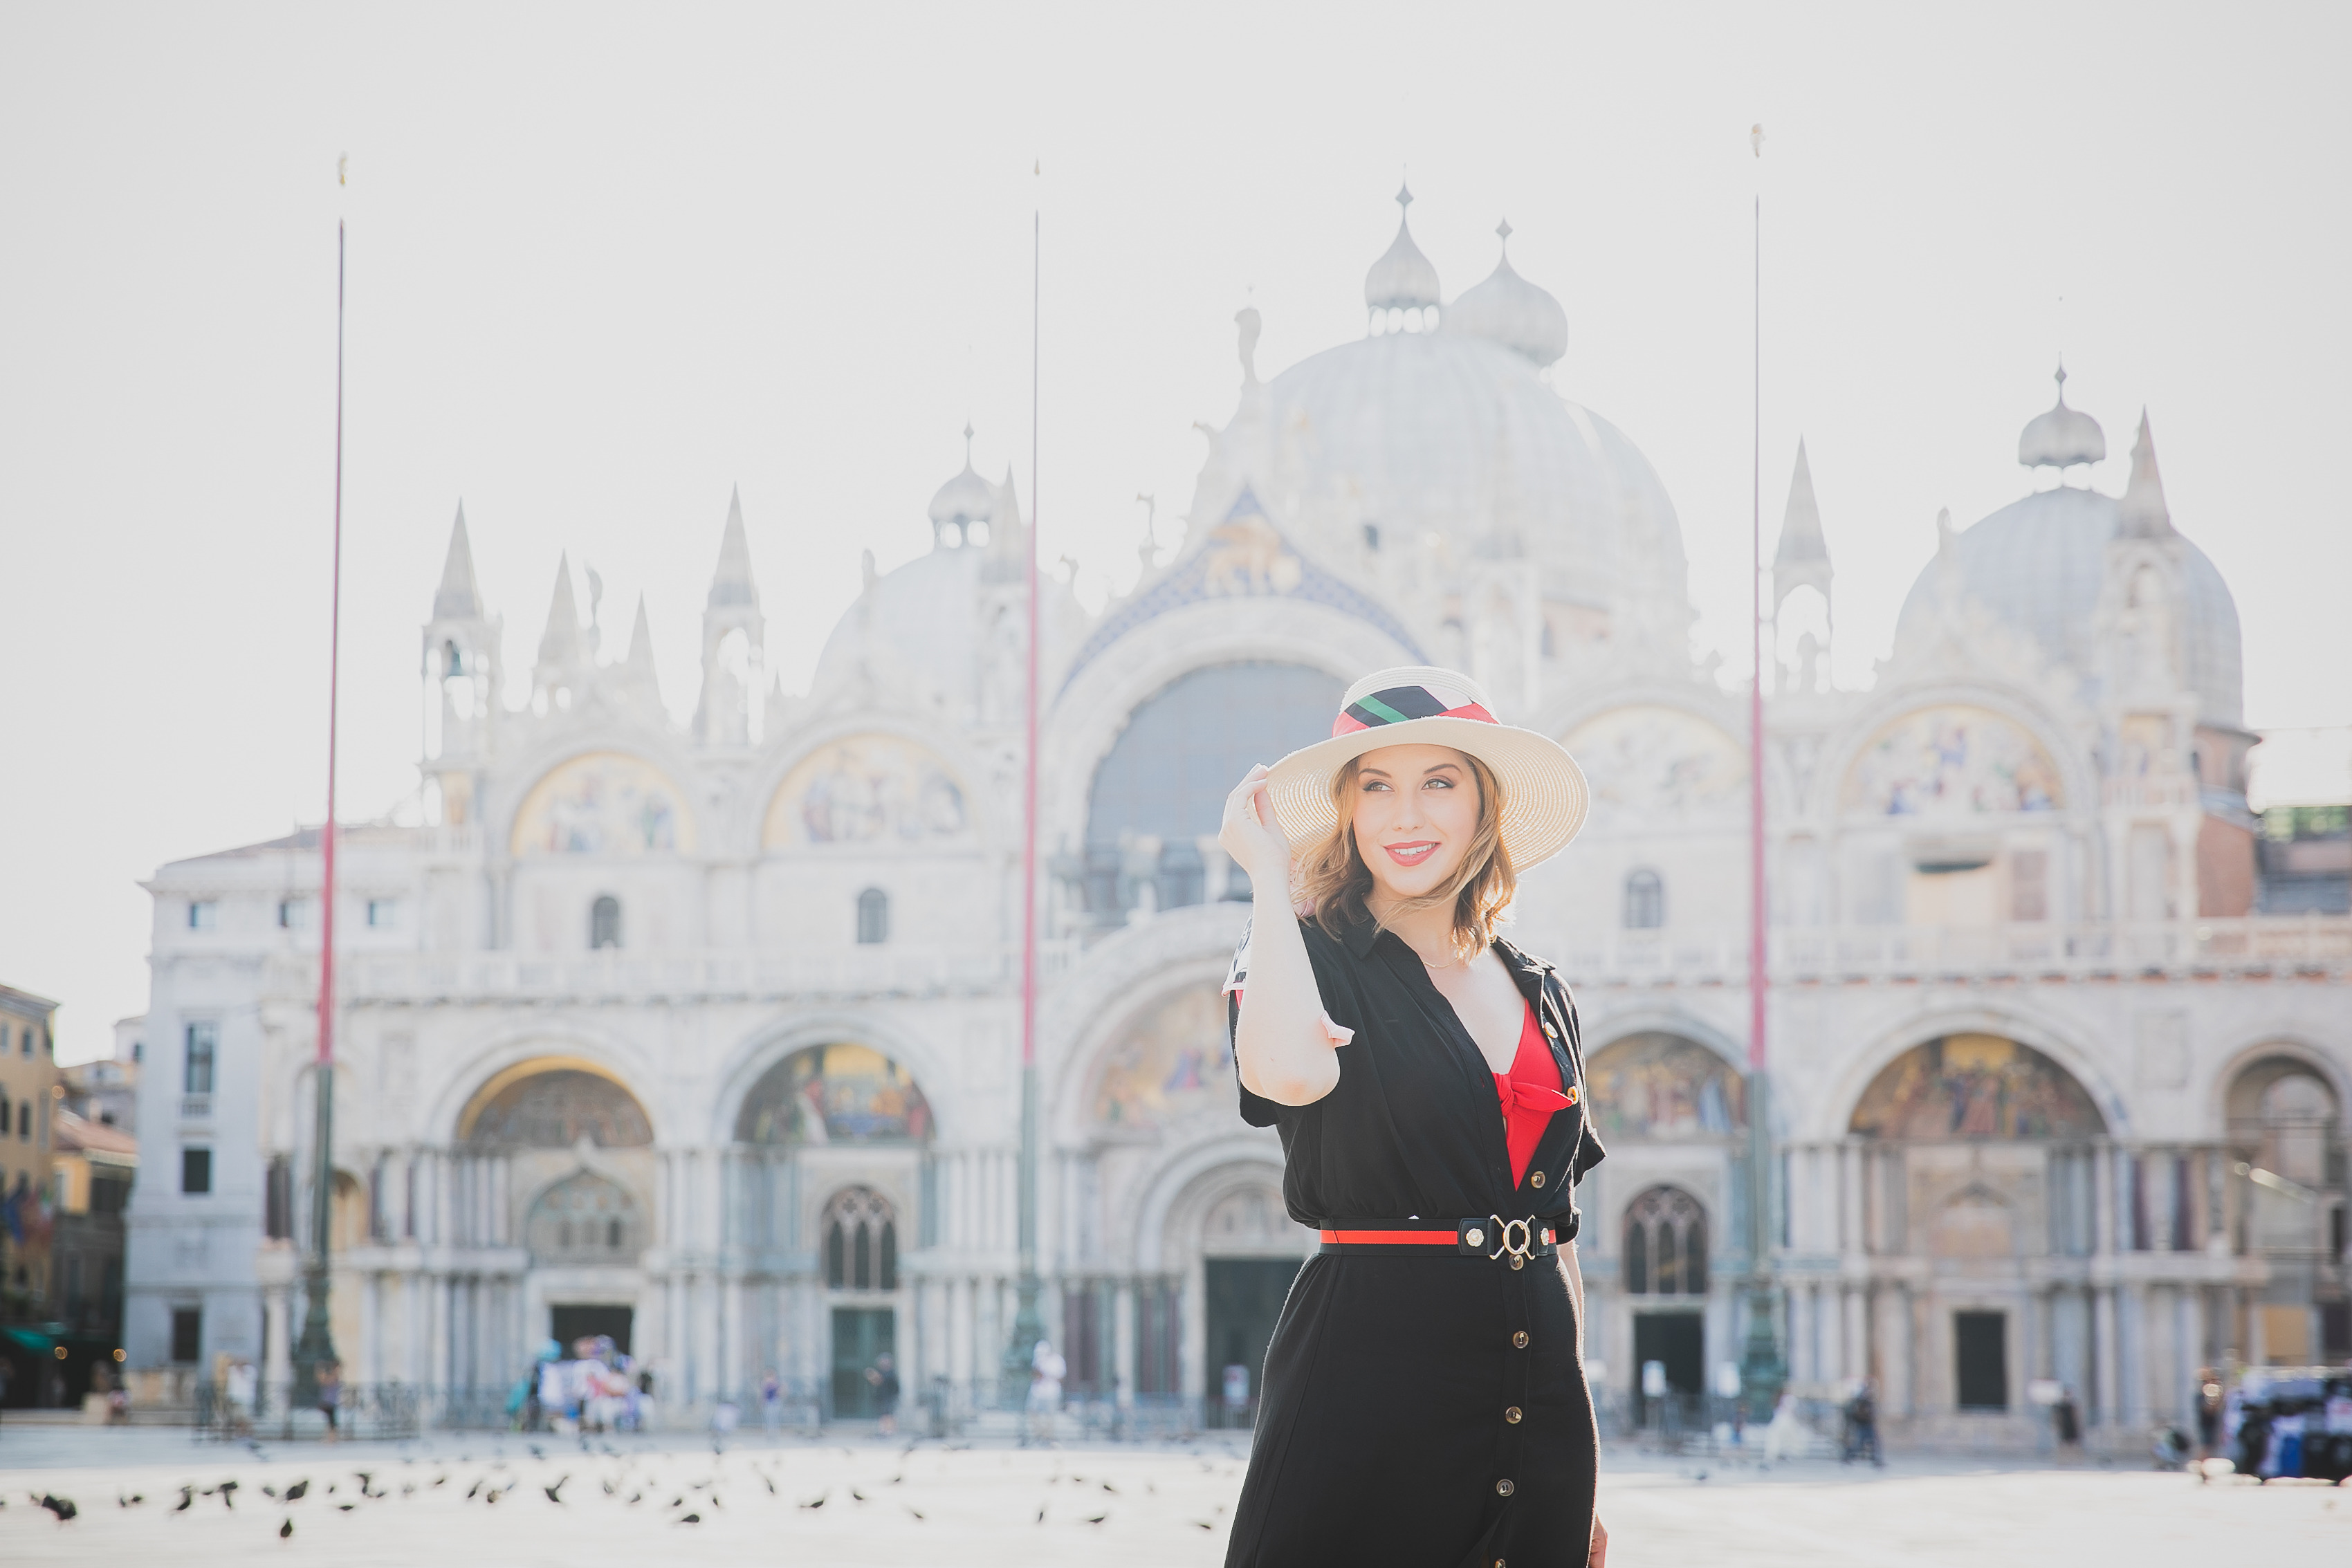
Photo: Marta in Venice for Flytographer. Aleksandra captures memories on a solo adventure to Venice.
3. Find Natural Light
Ask any photographer, and they’ll tell you that light is the key to professional photos. Although light sources vary, finding natural light is the best and easiest way to level up your photos. Ideal natural light can include golden hour (that warm light before sunset or after sunrise), blue hour (cool, moody light just before sunrise or after sunset), overcast skies (even, beautifully diffused light), and window light 🪟 (the best option when you’re inside— at your hotel, restaurant, etc.), just to name a handful.
Hot tip: capturing photos in the early morning vs. midday or later in the evening will not only give you consistently well-lit photos, but also much fewer crowds in nearly all destinations. Look for the best light, which could be subtle, dynamic, intense… and play with it! Another perk of being solo is that you have all the time you want to analyze, tinker, and play with light.
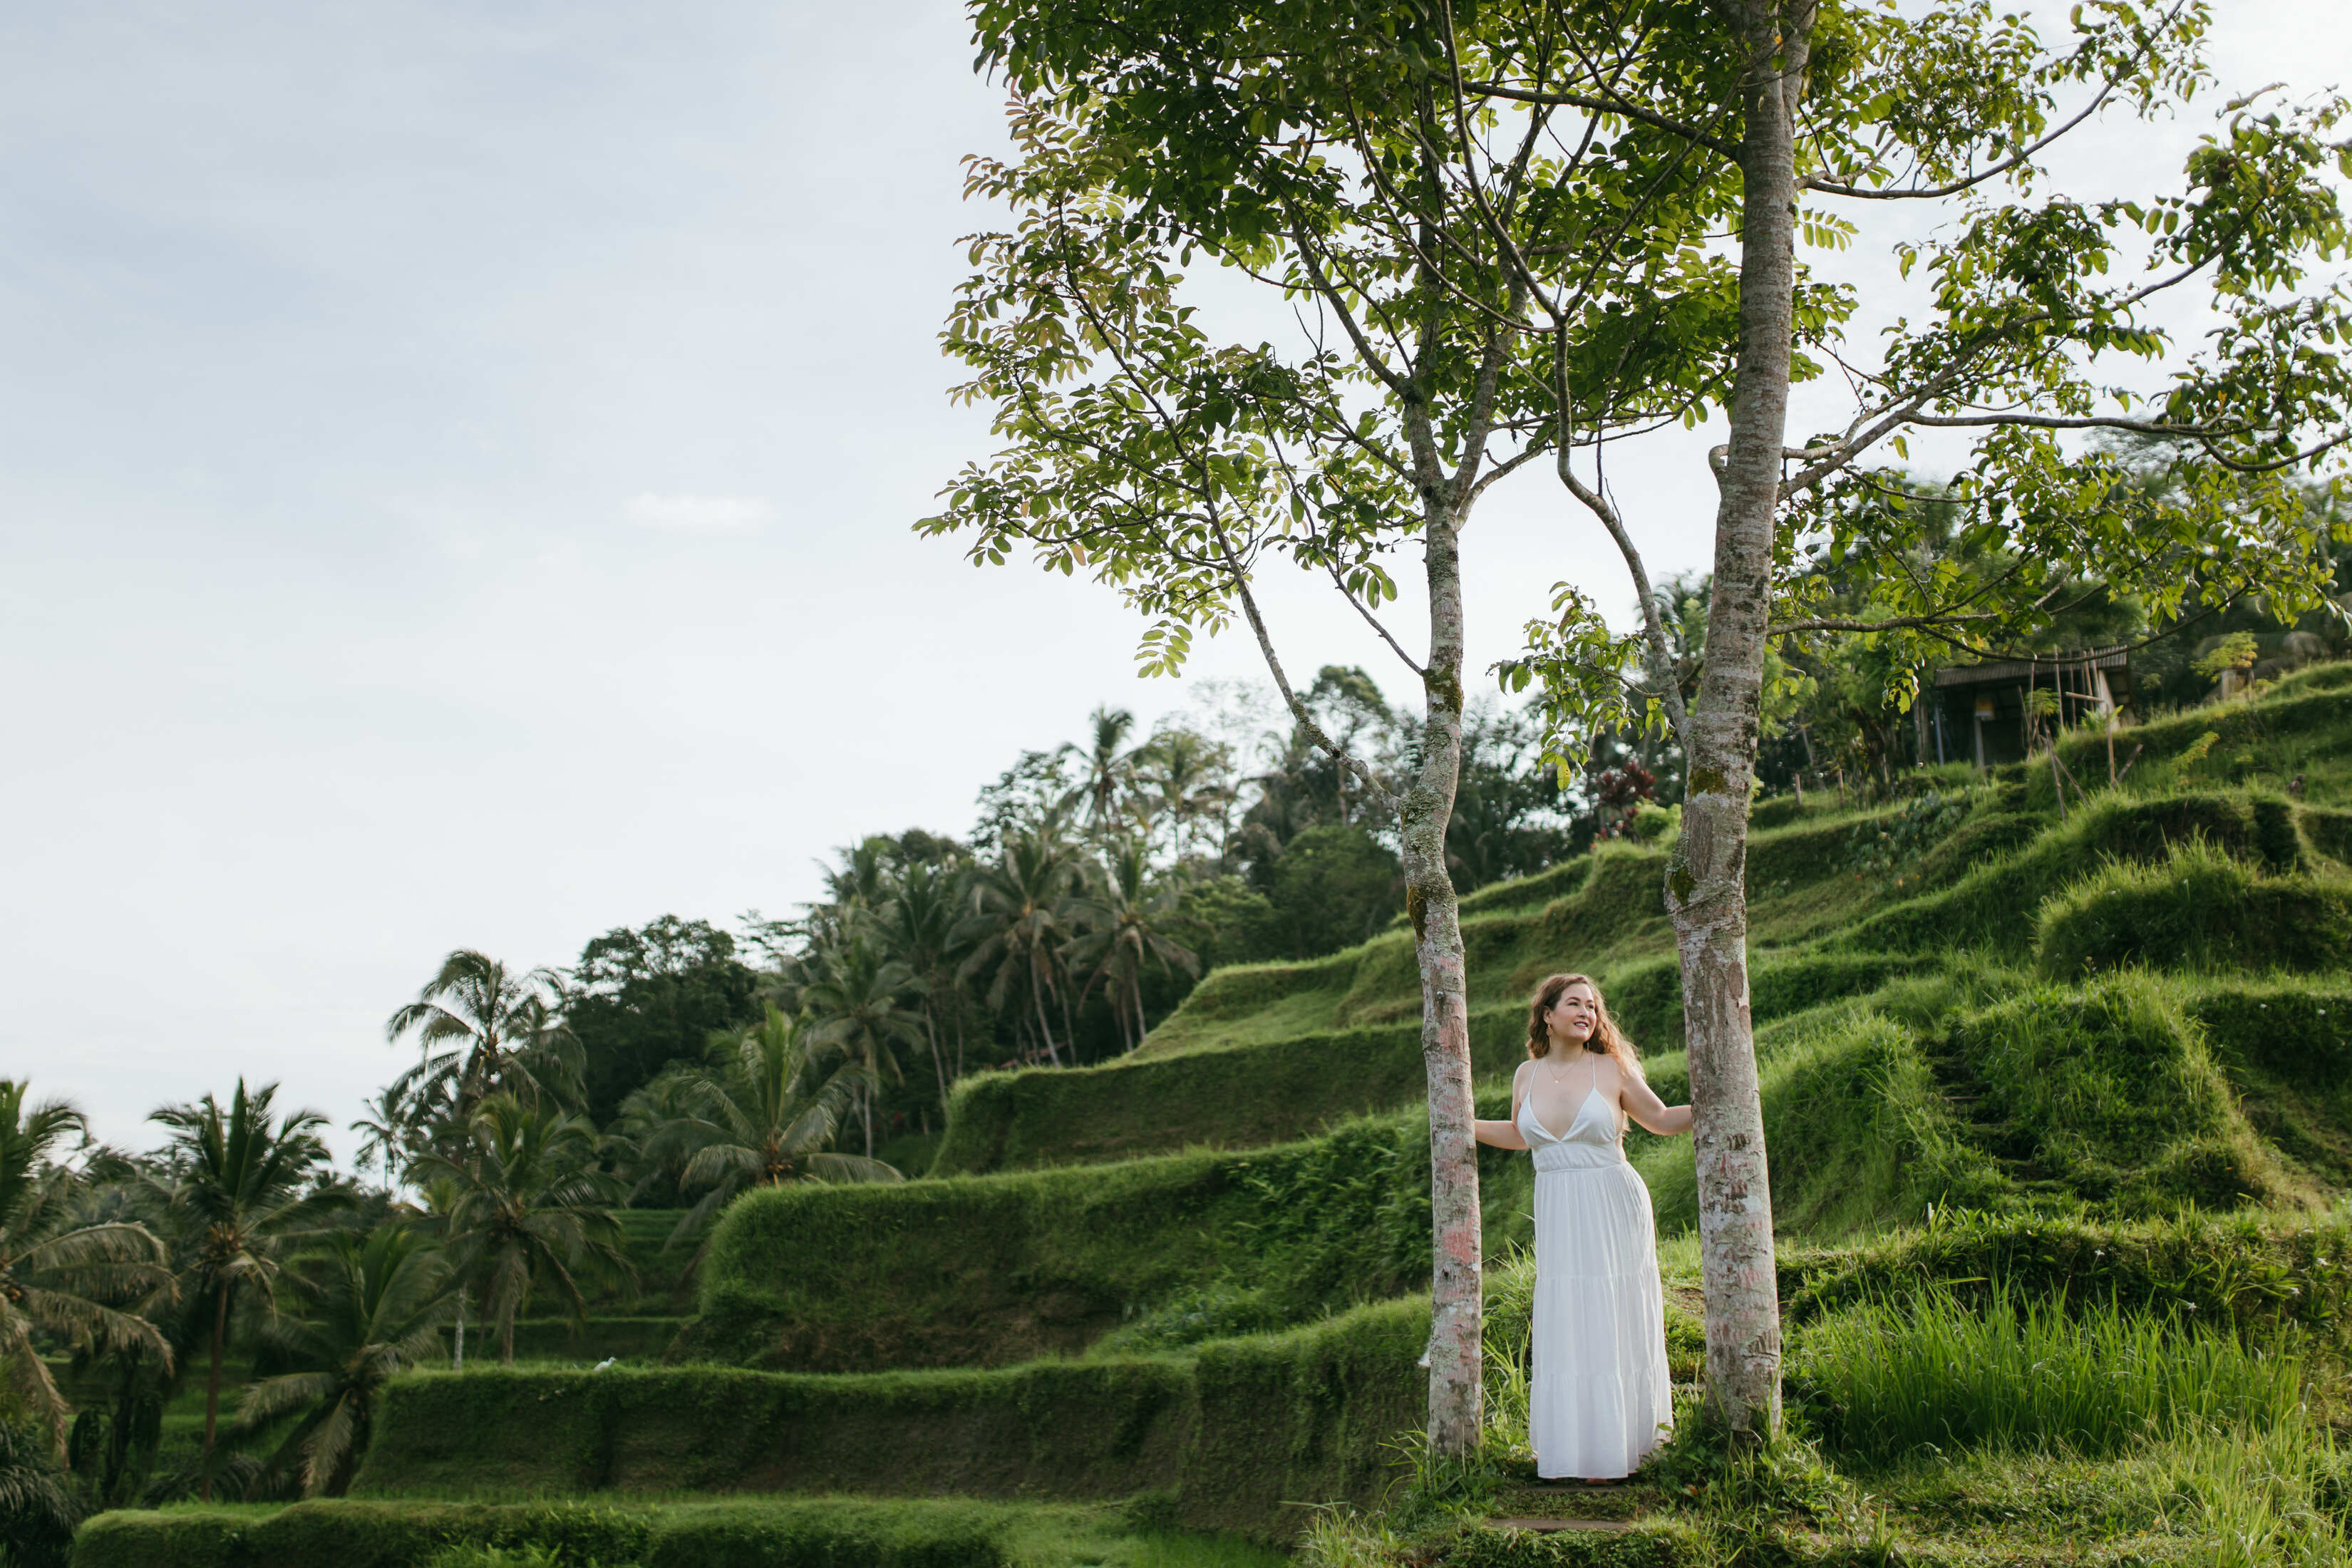
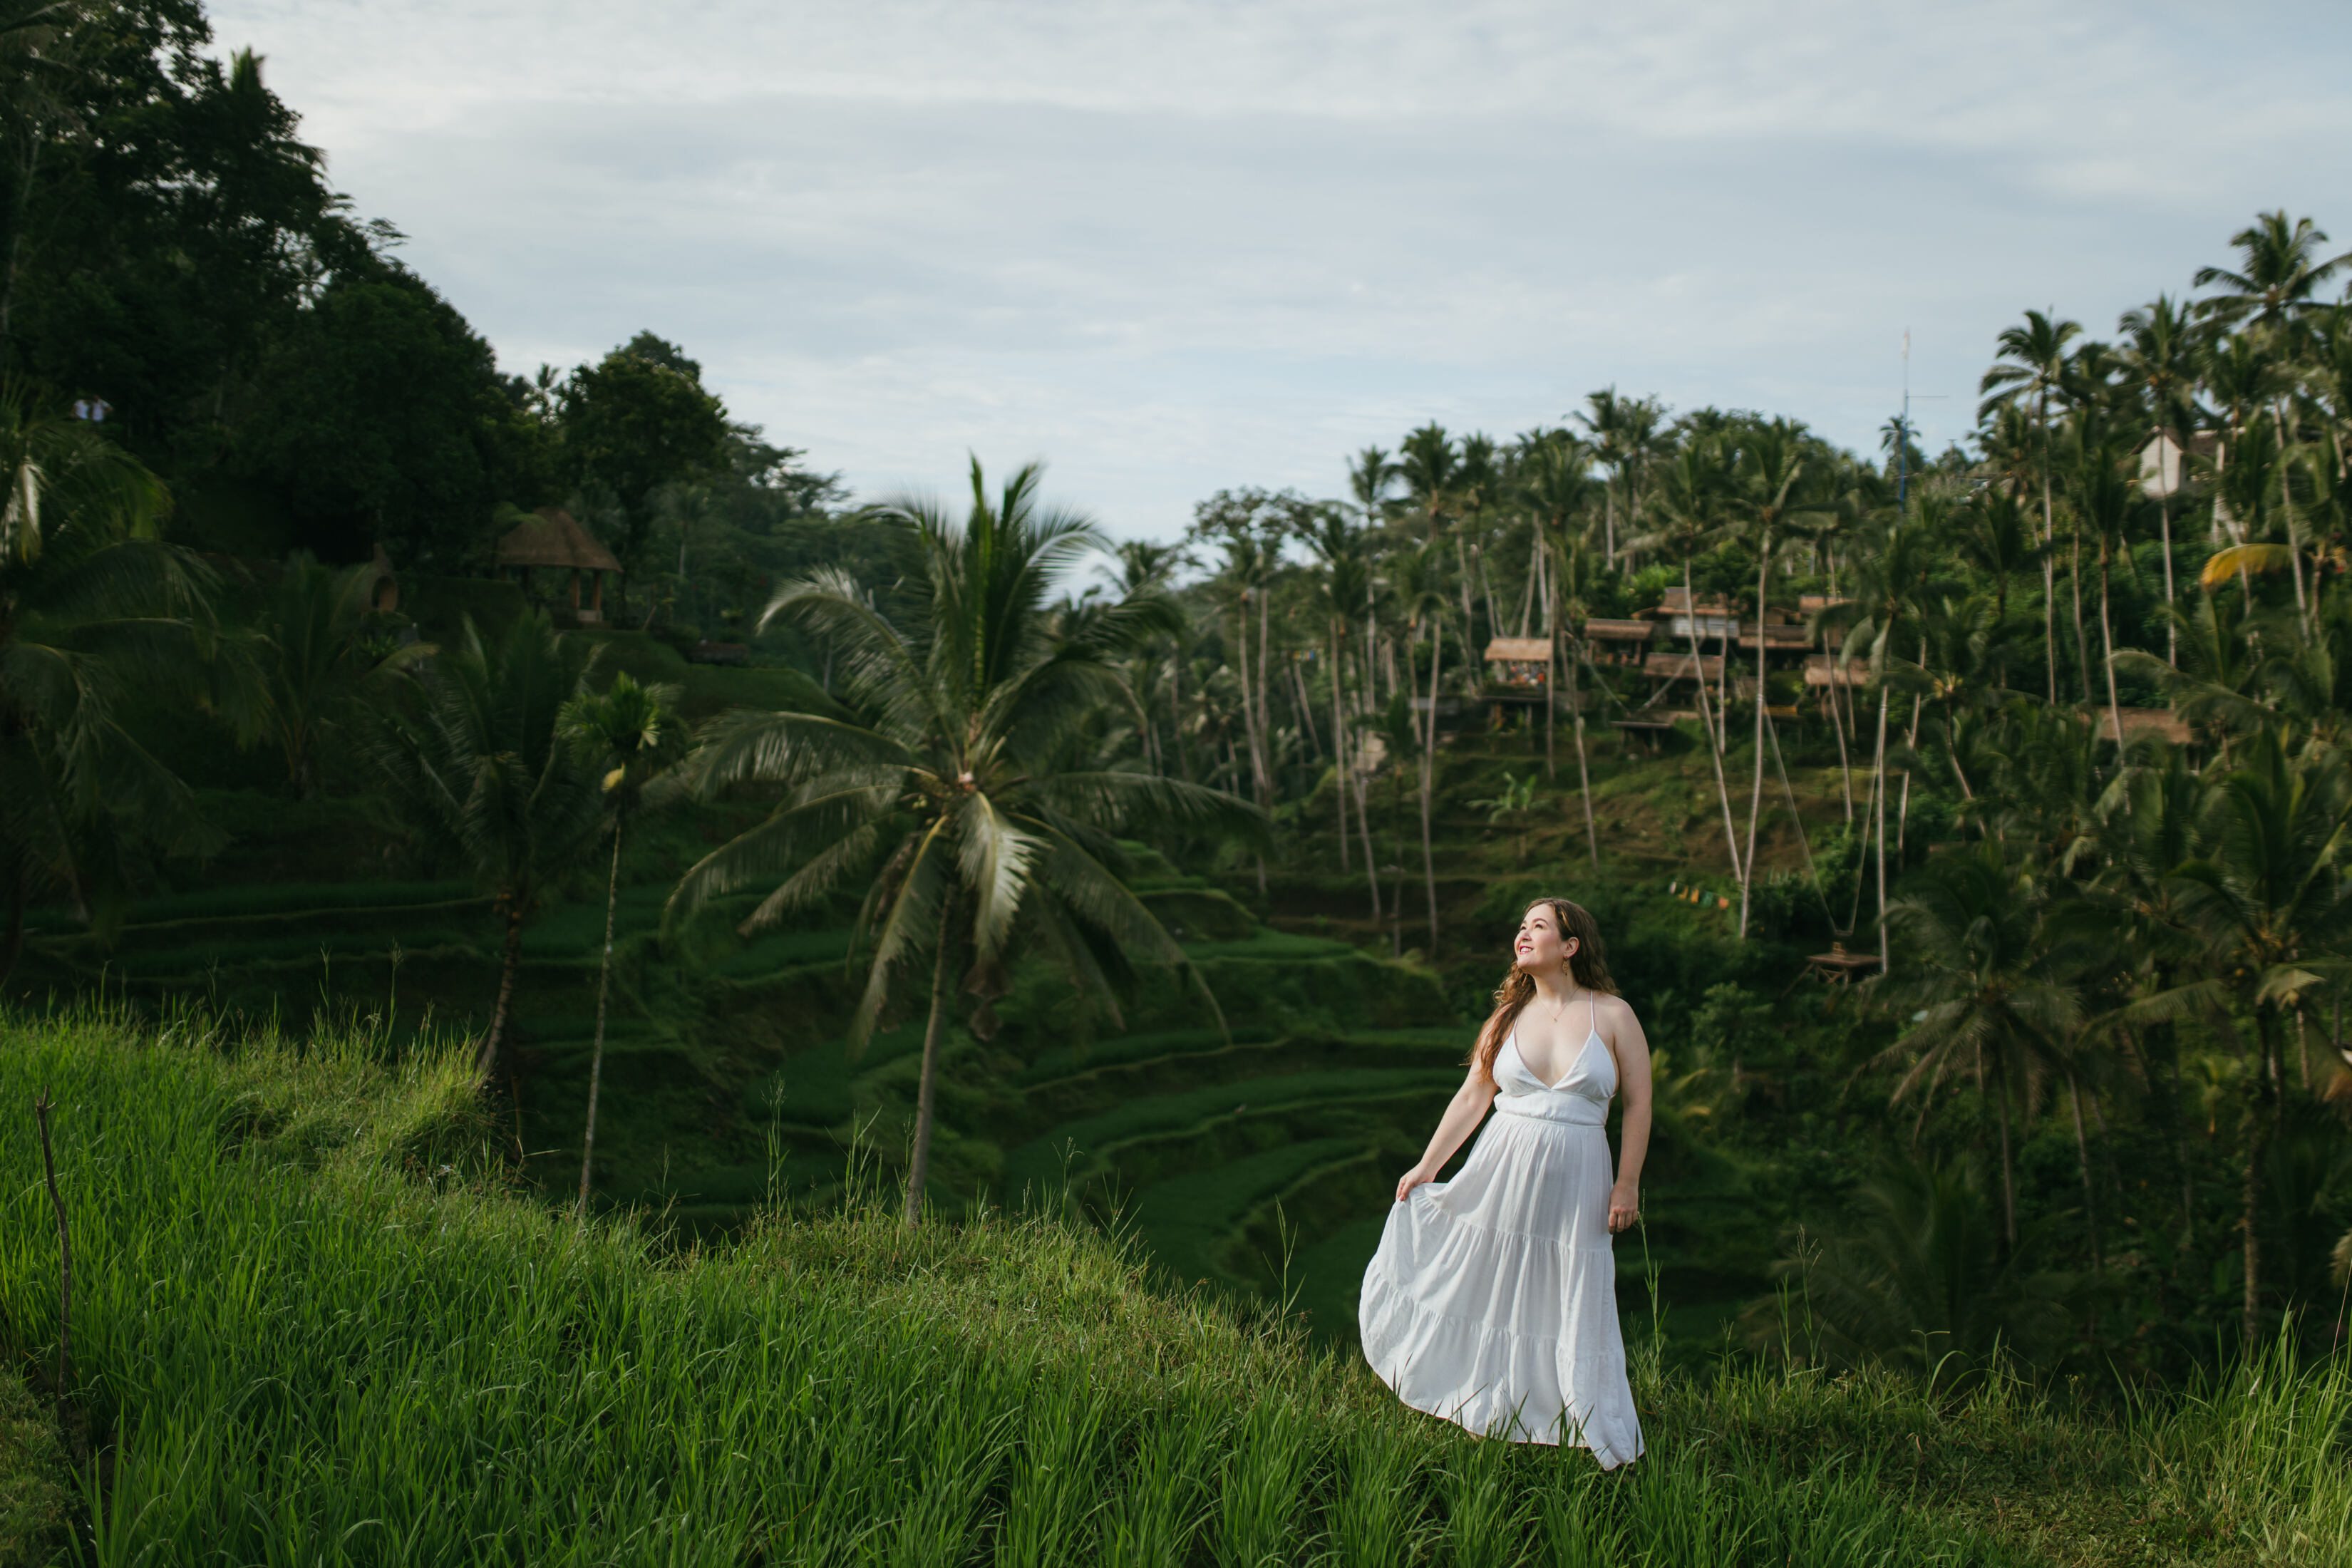
Photo: Jimie in Bali for Flytographer. Erin captures memories on a solo adventure to Bali.


4. Think About Self-Portrait Composition
The difference between a selfie and a self-portrait is composition. A little distance + incorporating more than just your face will separate typical vacation selfies from stunning solo portraits. Play with portrait mode. Try keeping your photos at eye level. Utilize the rule of thirds (you can turn this on in your phone if it’s not already; think of a tic tac toe board and position yourself along the lines or the intersections for a more natural and dynamic composition). Remember to keep the horizon and other architectural lines straight, and use your surroundings to create a natural frame.
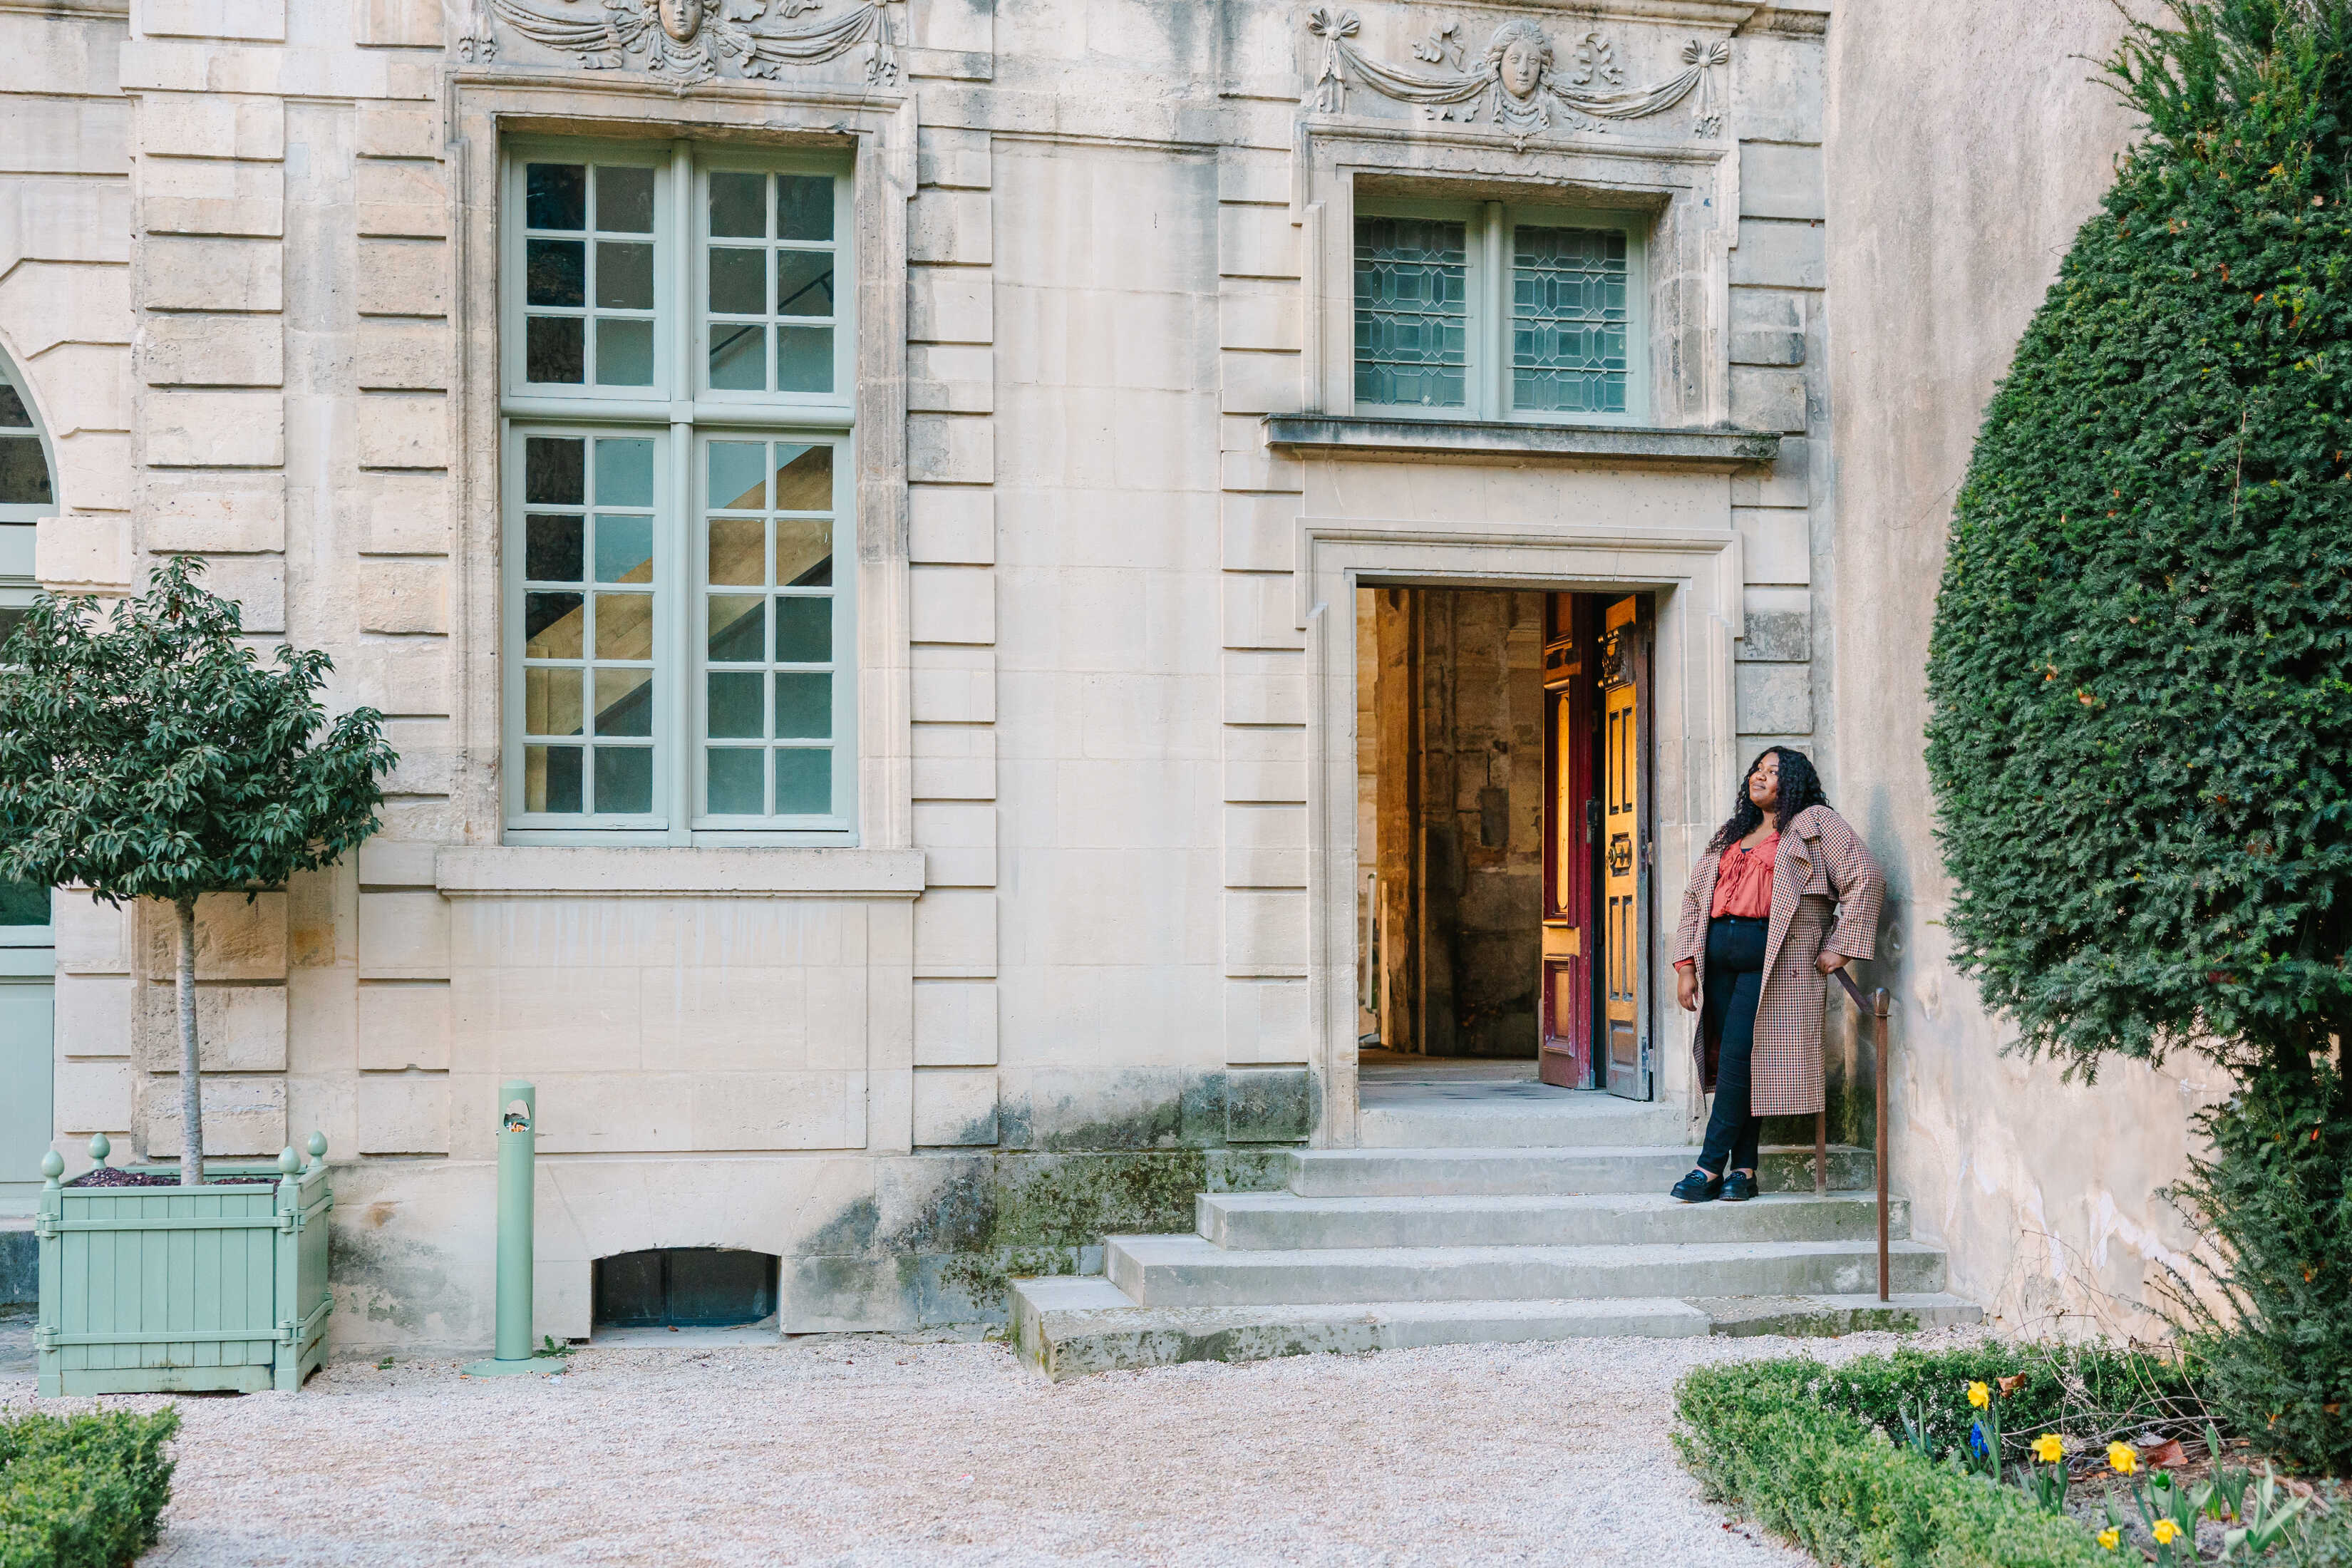
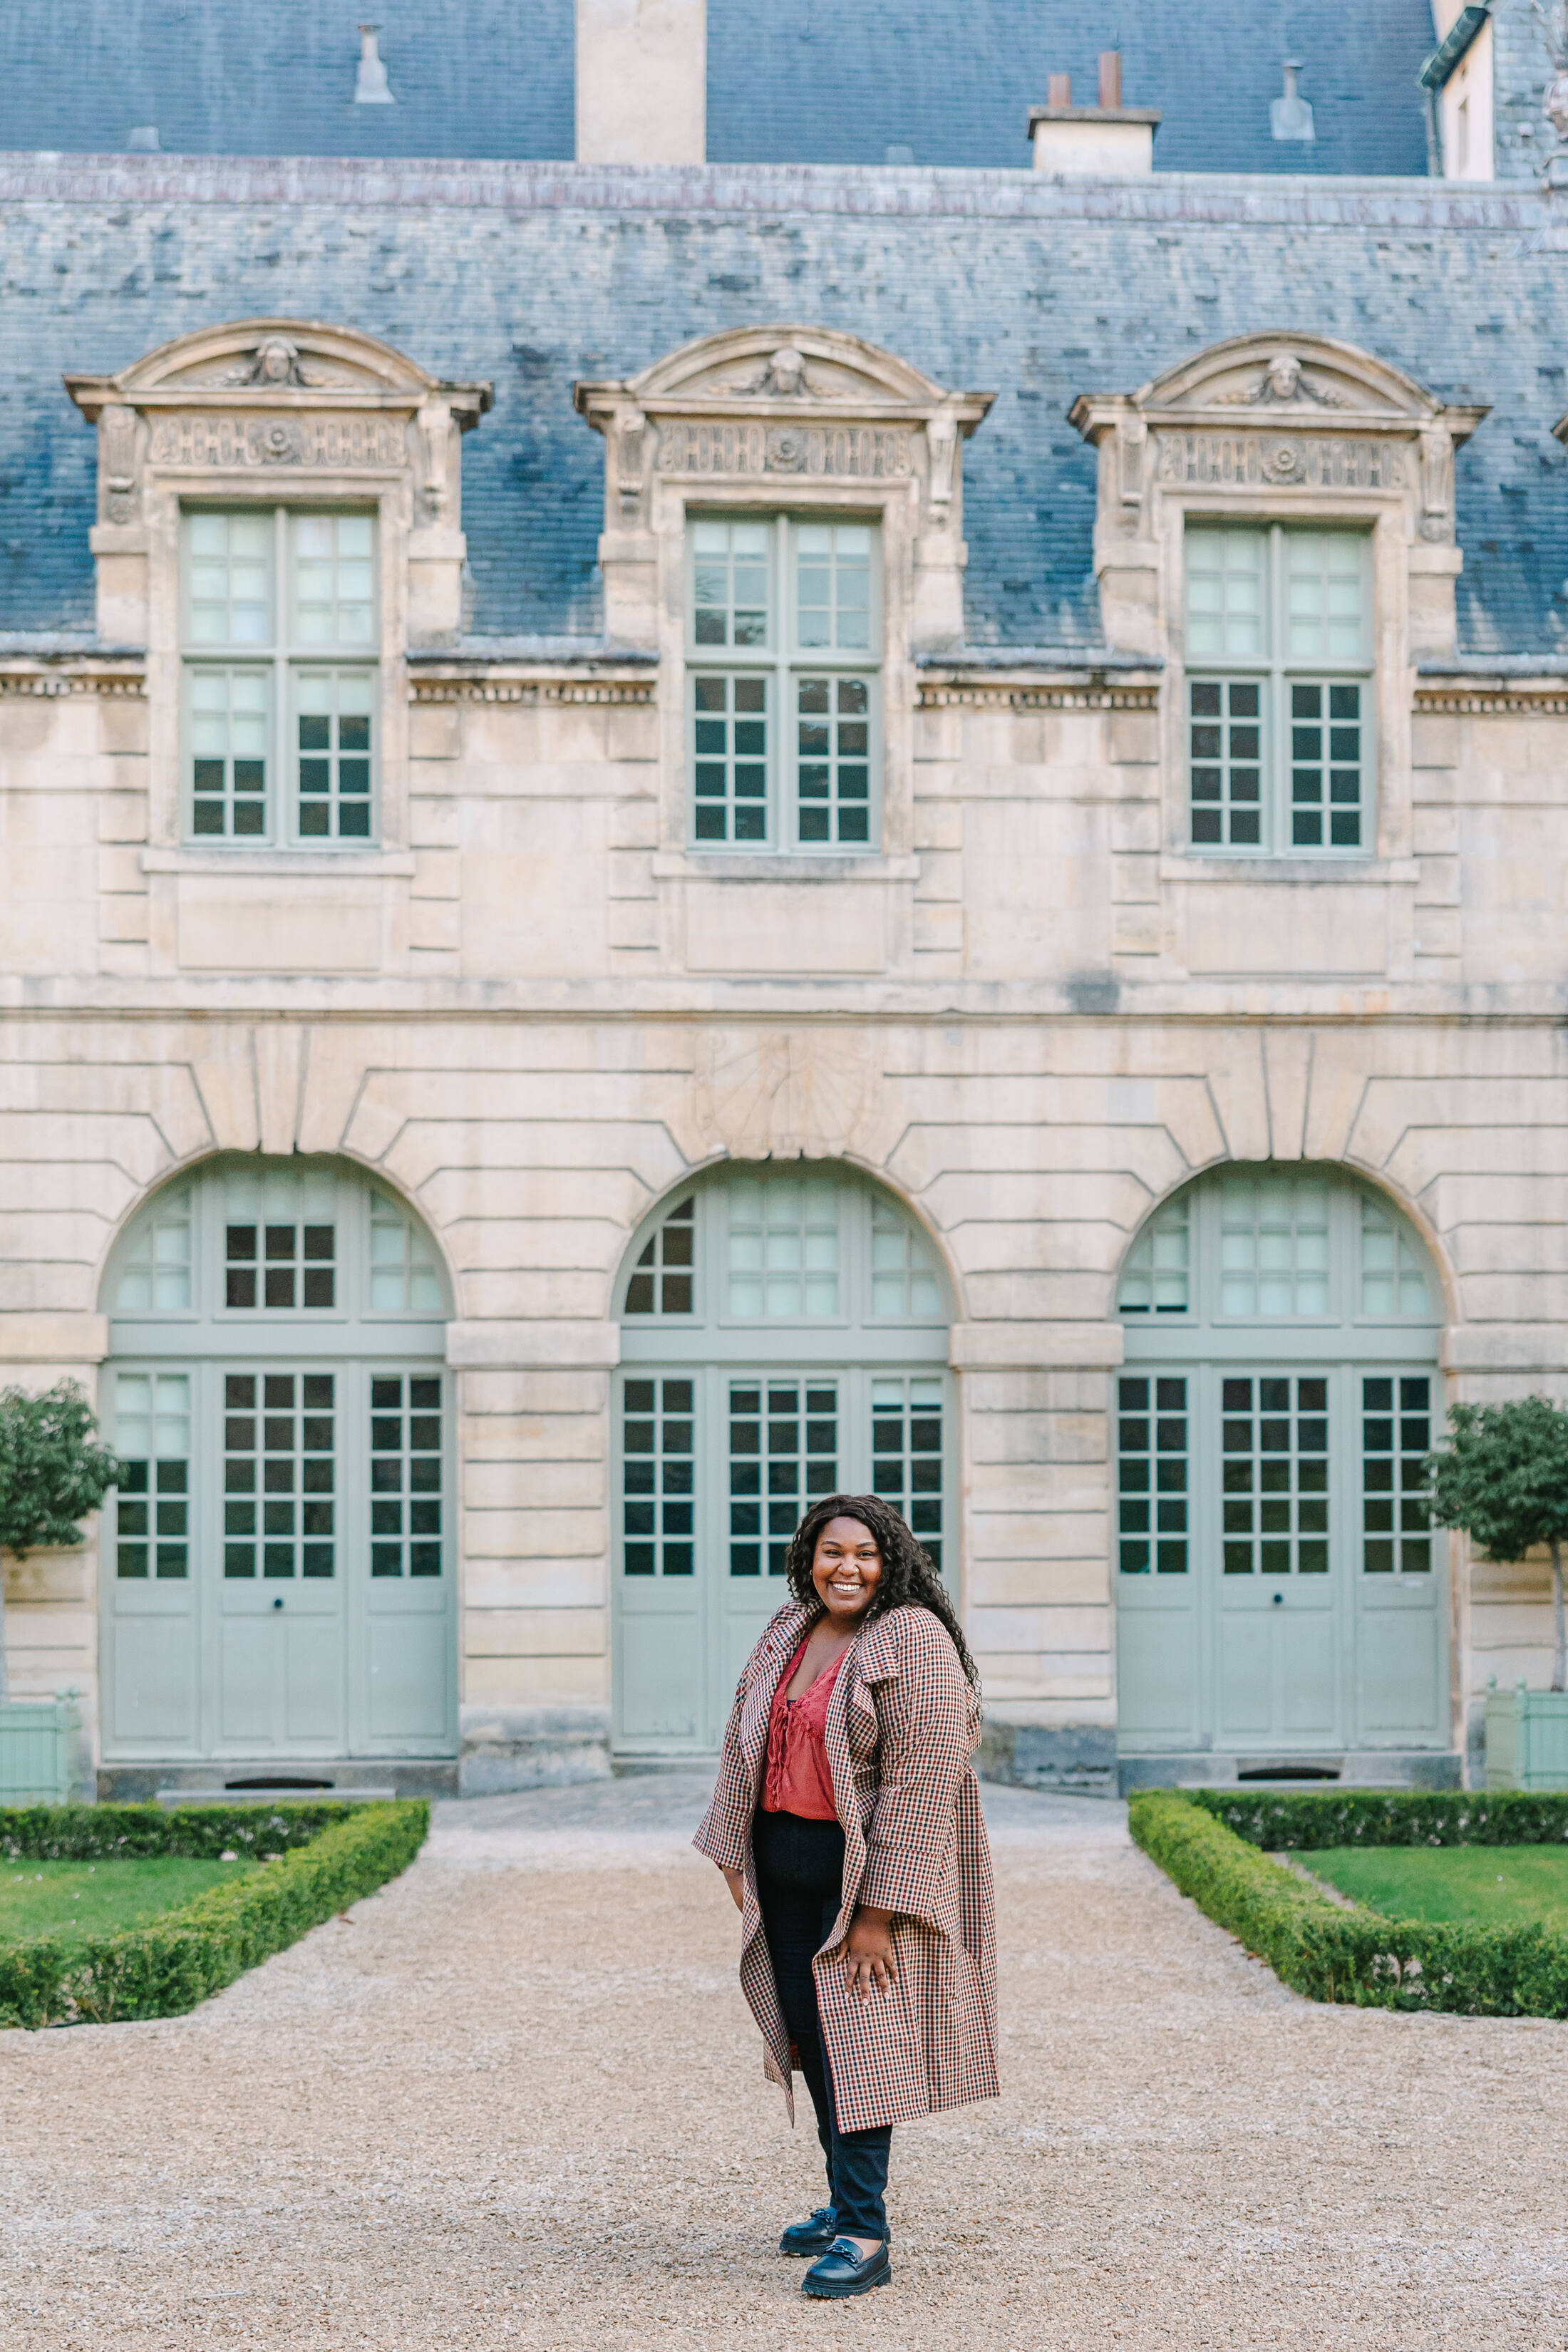
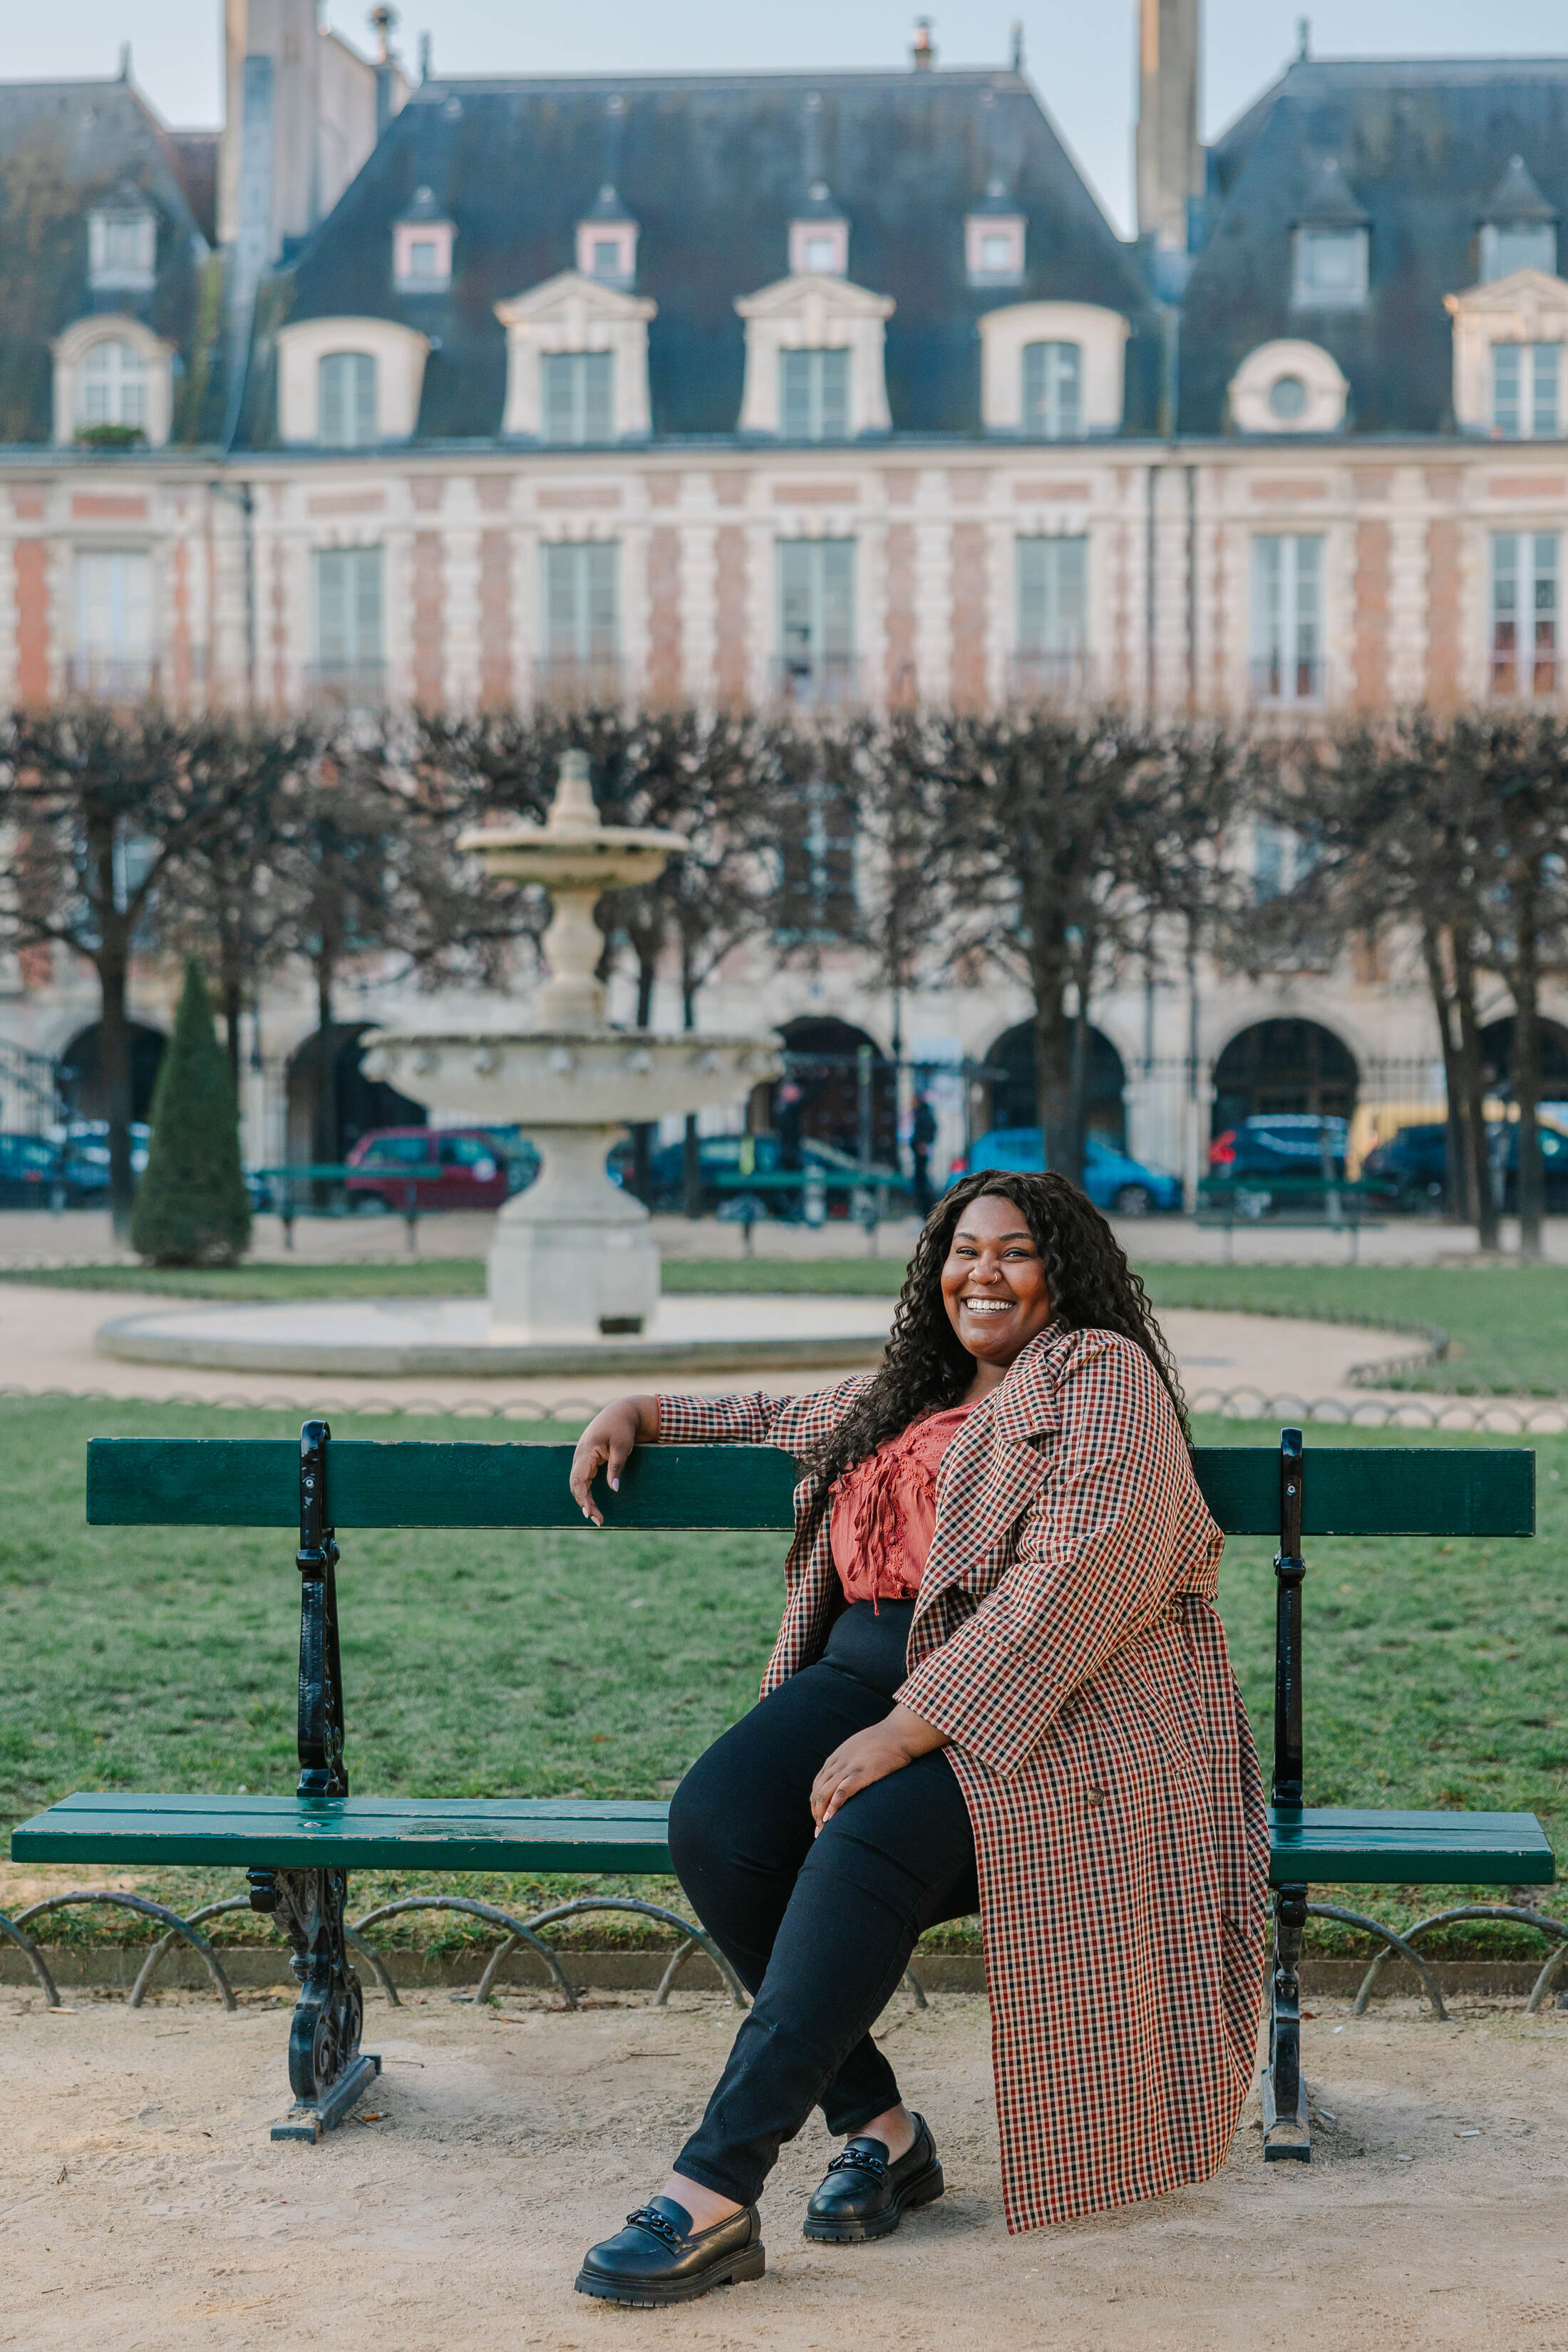
Photo: Rachael in Paris for Flytographer. Jessica captures memories on a solo adventure to Paris.
“As much as shopping for a new purse, new shoes etc. is exciting, I know that have memories turned into photographs are such a great way to capture something new and re-live it, time and time again. I wanted something that would capture that essence of the joy, happeiness and freedom I felt on that trip, and this photoshoot absolutely did that!” – Jessica
5. Enjoy the Moment, Post it Later
One of the best ways to truly enjoy yourself is to set aside time later to cull, edit, and post your photos. Save those Stories and posts for later and set social media aside while you enjoy the moment! 🧘♀️ As a solo traveller, take time to pause and savour the moment… so do yourself a favour and prepare in advance! Save the posting for back at your hotel or the airport when you have WiFi and are ready to decompress and reminisce on your day/week/whatever adventure you enjoyed.
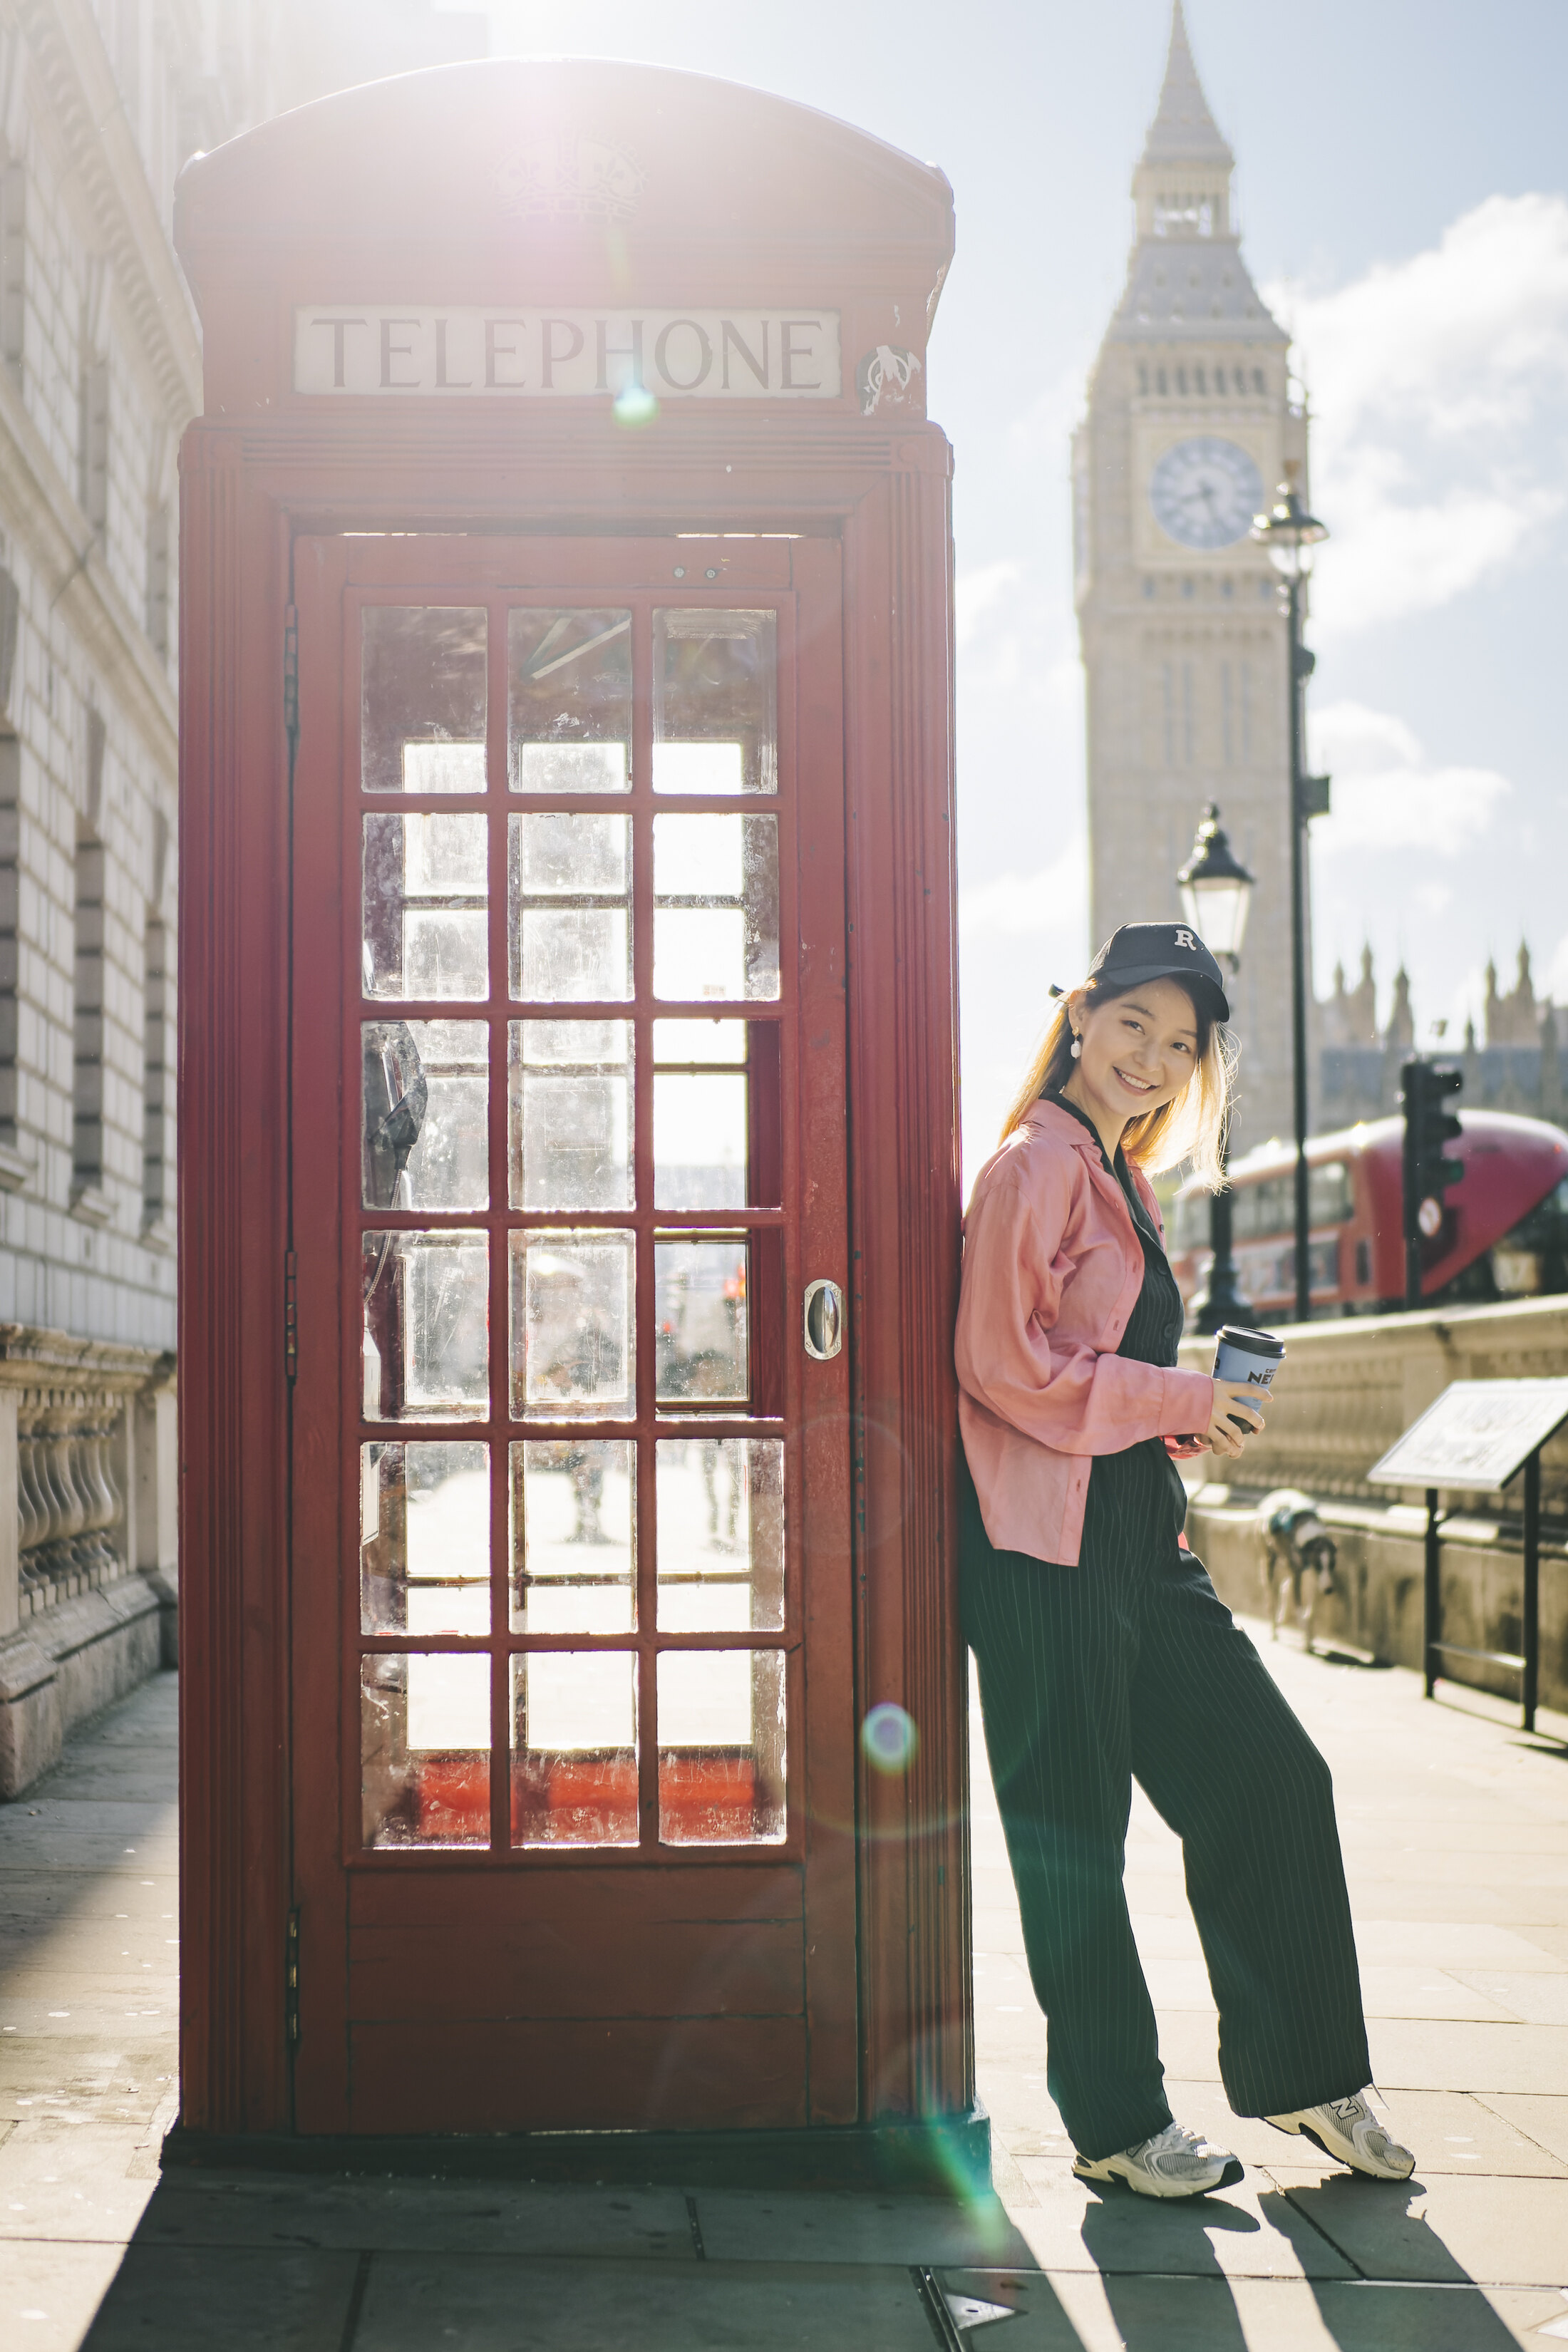
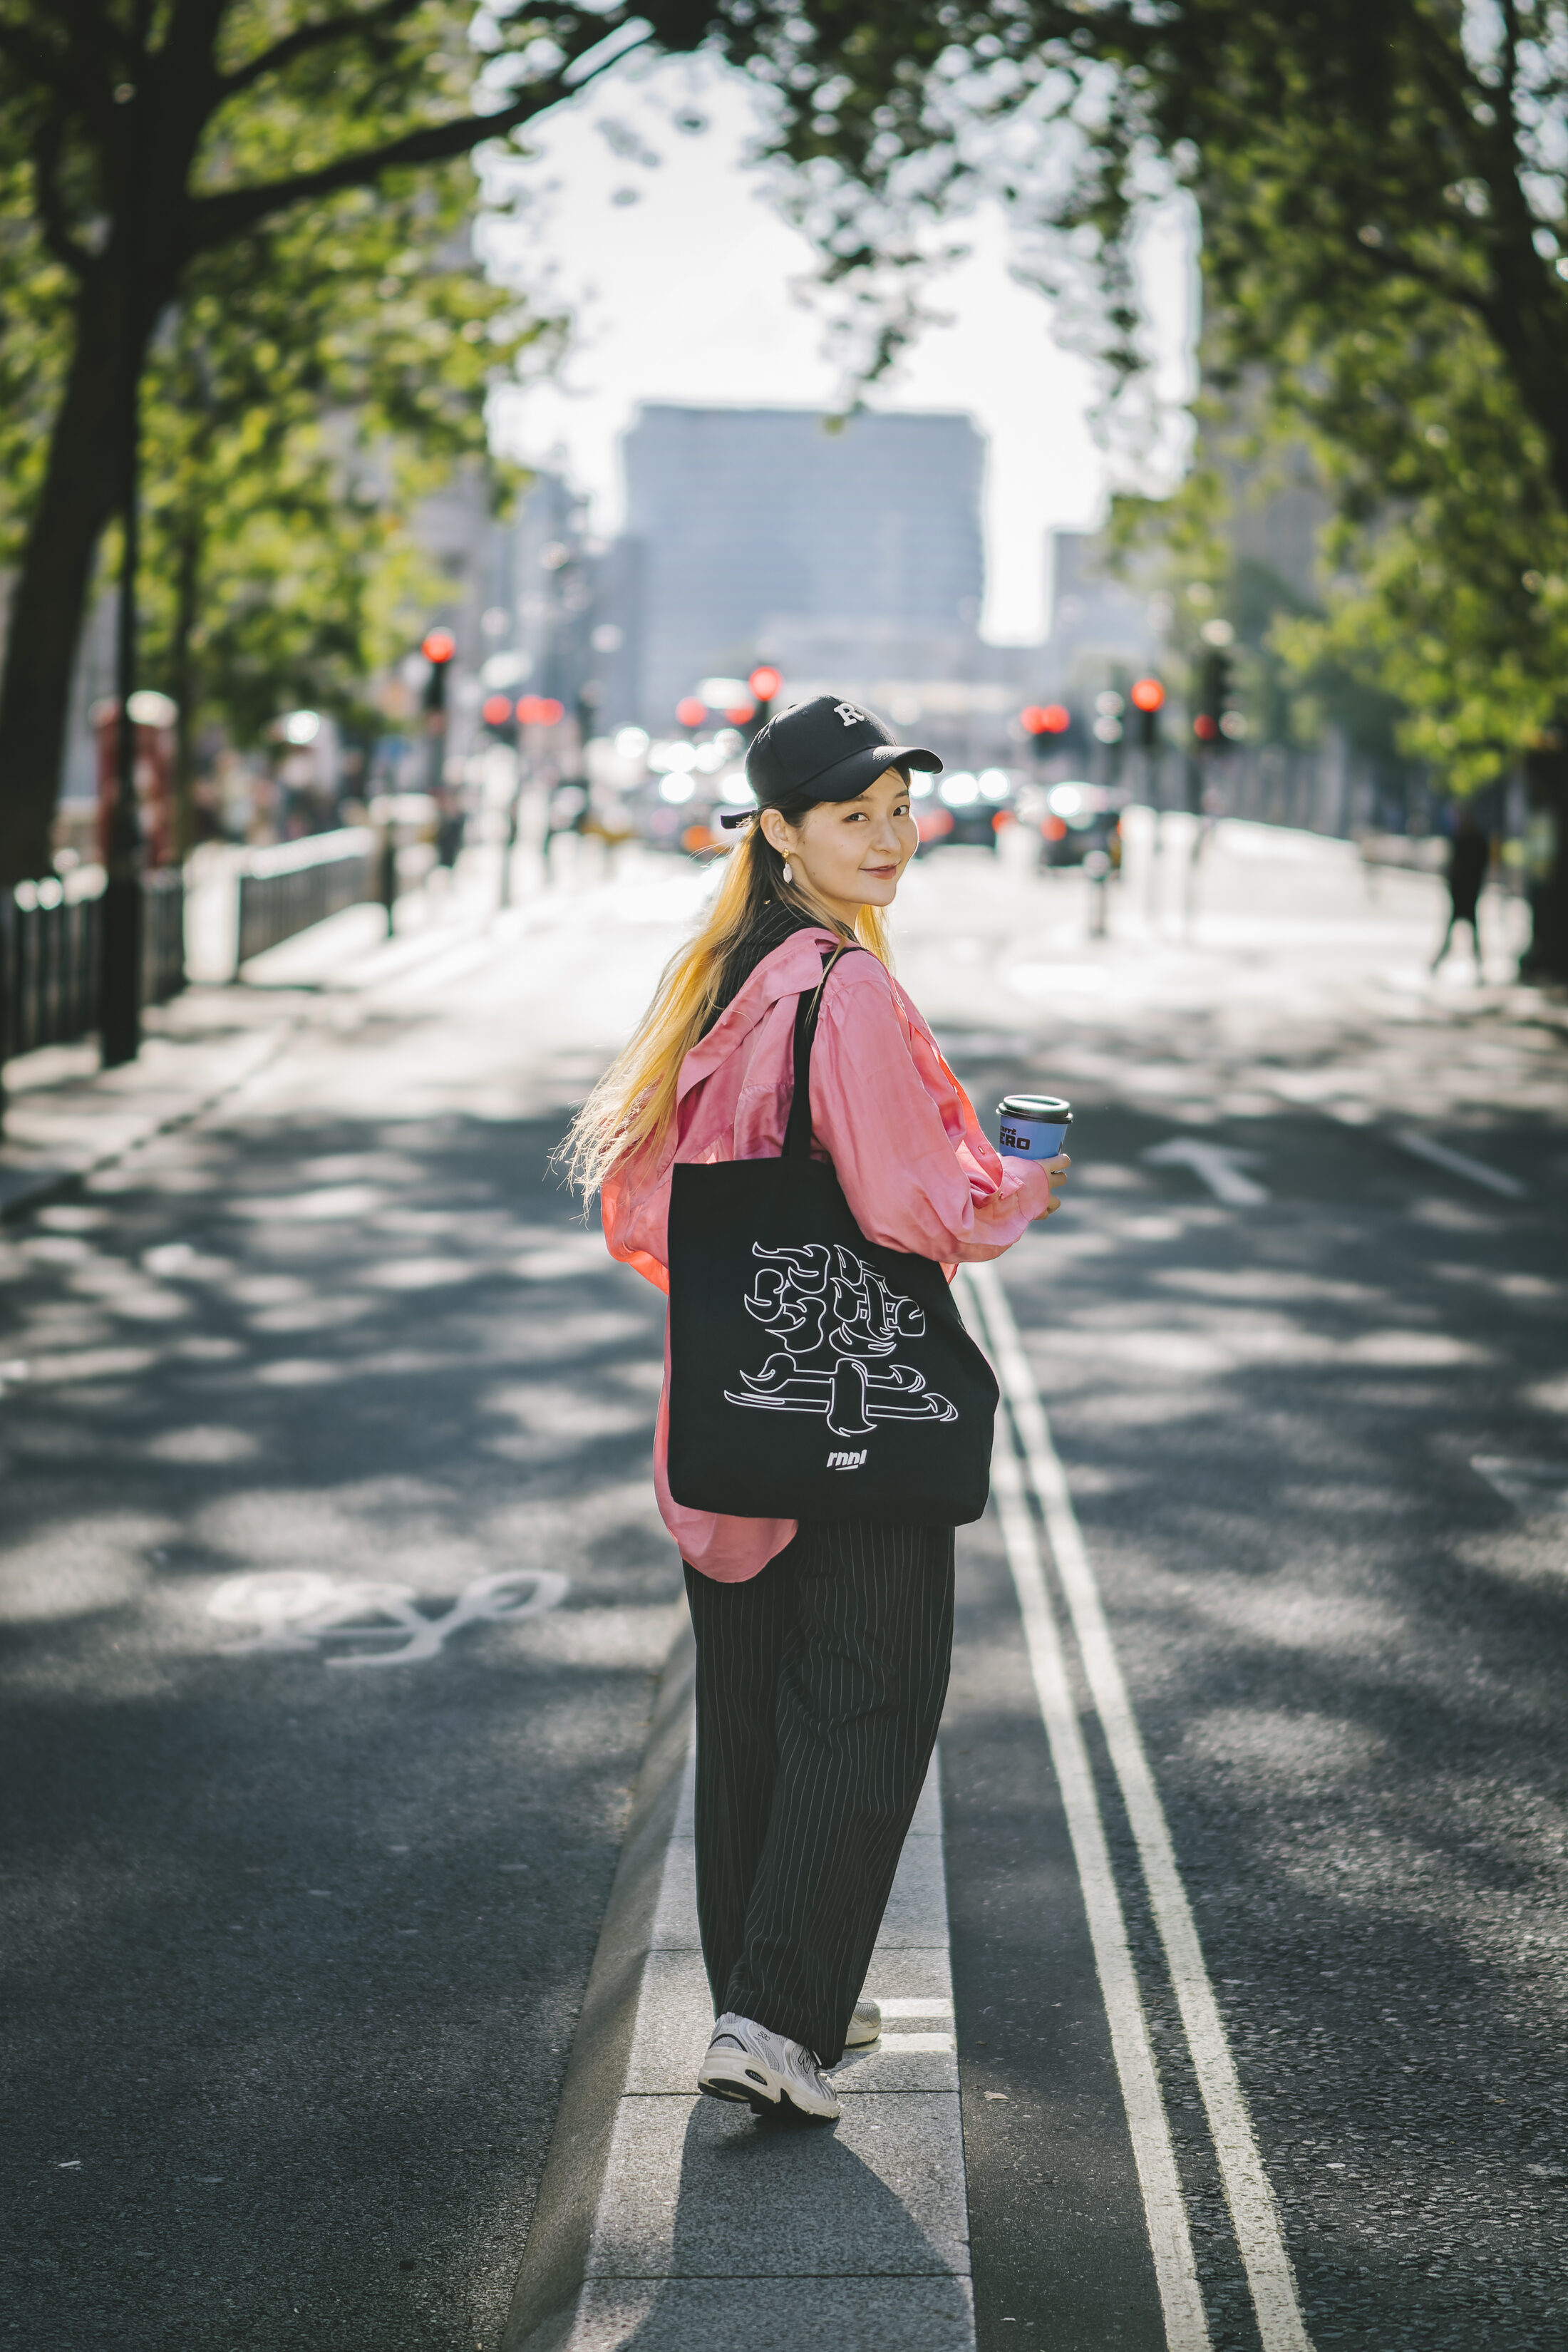
Photo: Jimmy in London for Flytographer. Leecy captures memories on a solo adventure to London.
6. Learn the Art of the Selfie
Remember how we were just talking selfies vs. self-portraits? Let’s get back to selfies! 🤳 The best camera is the one you have with you, and a selfie is a great way to capture the moment quickly. Before you work on enhancing selfies you take, make sure you’re not making regrettable mistakes prior to and while taking selfies. Check out our 5 iphone photography mistakes to avoid — filled with fabulously helpful info. Another fun fact: Your front-facing camera is often better optimized for selfies, so make sure to give it a try for comparison!
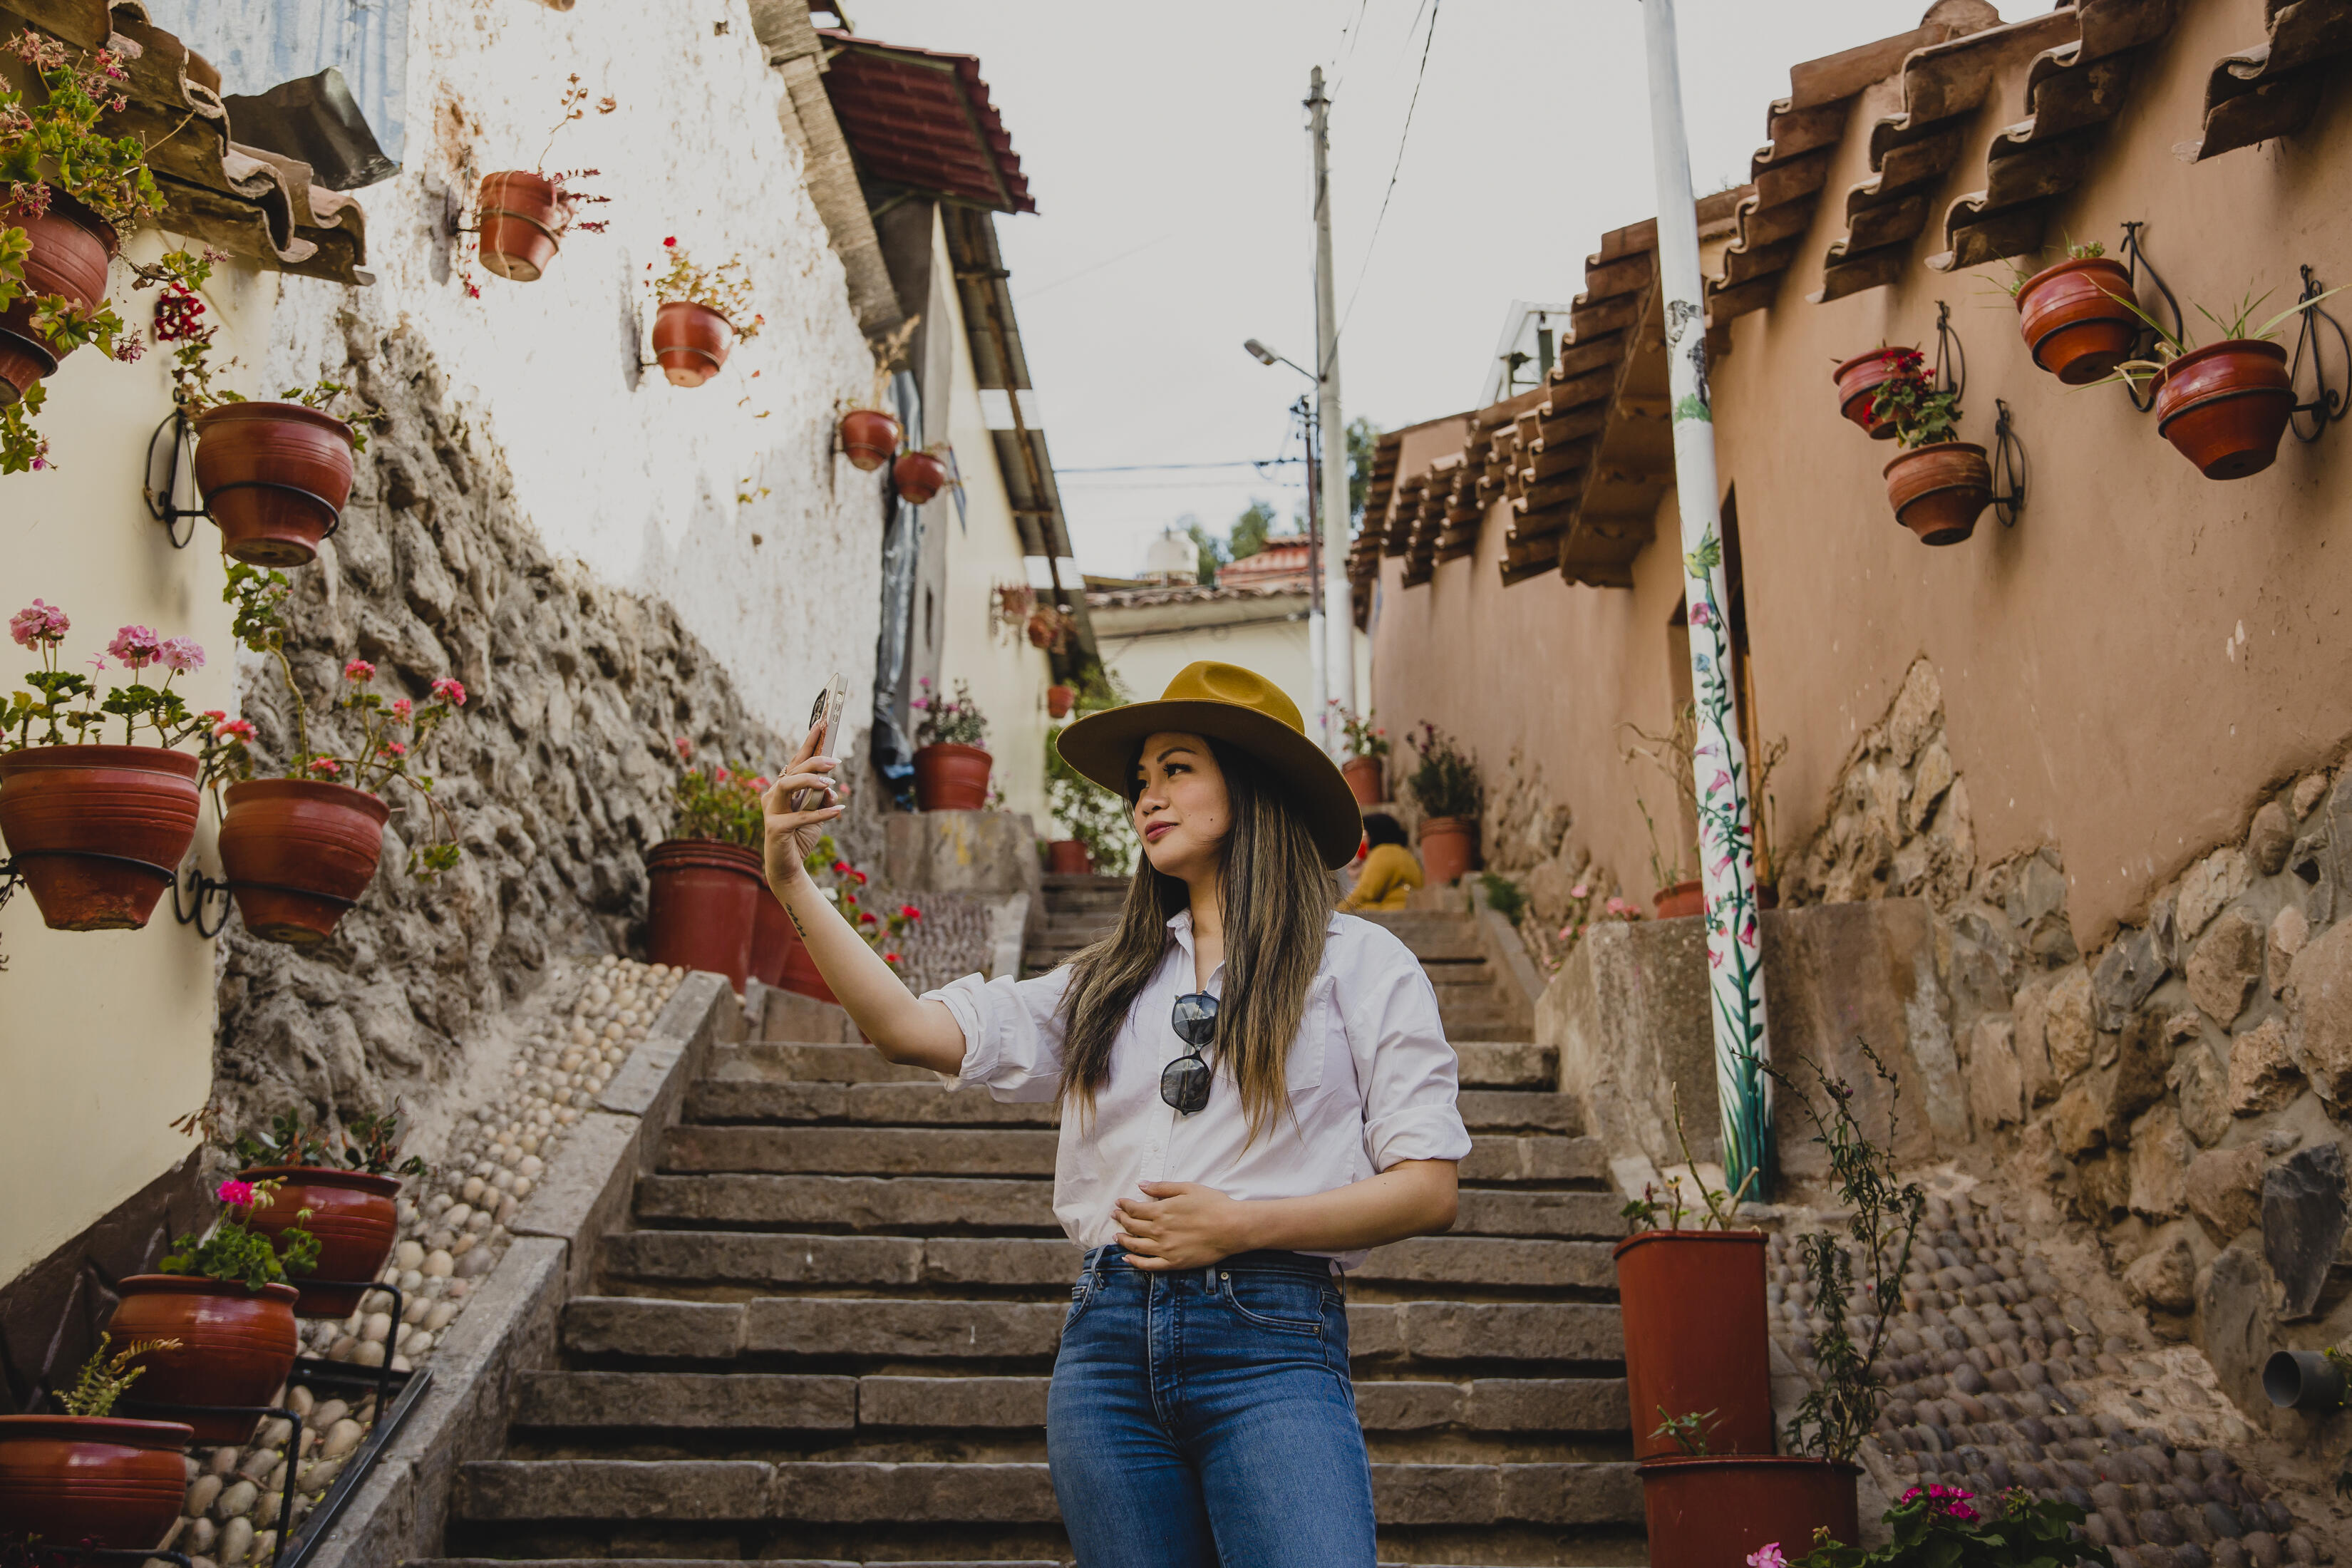
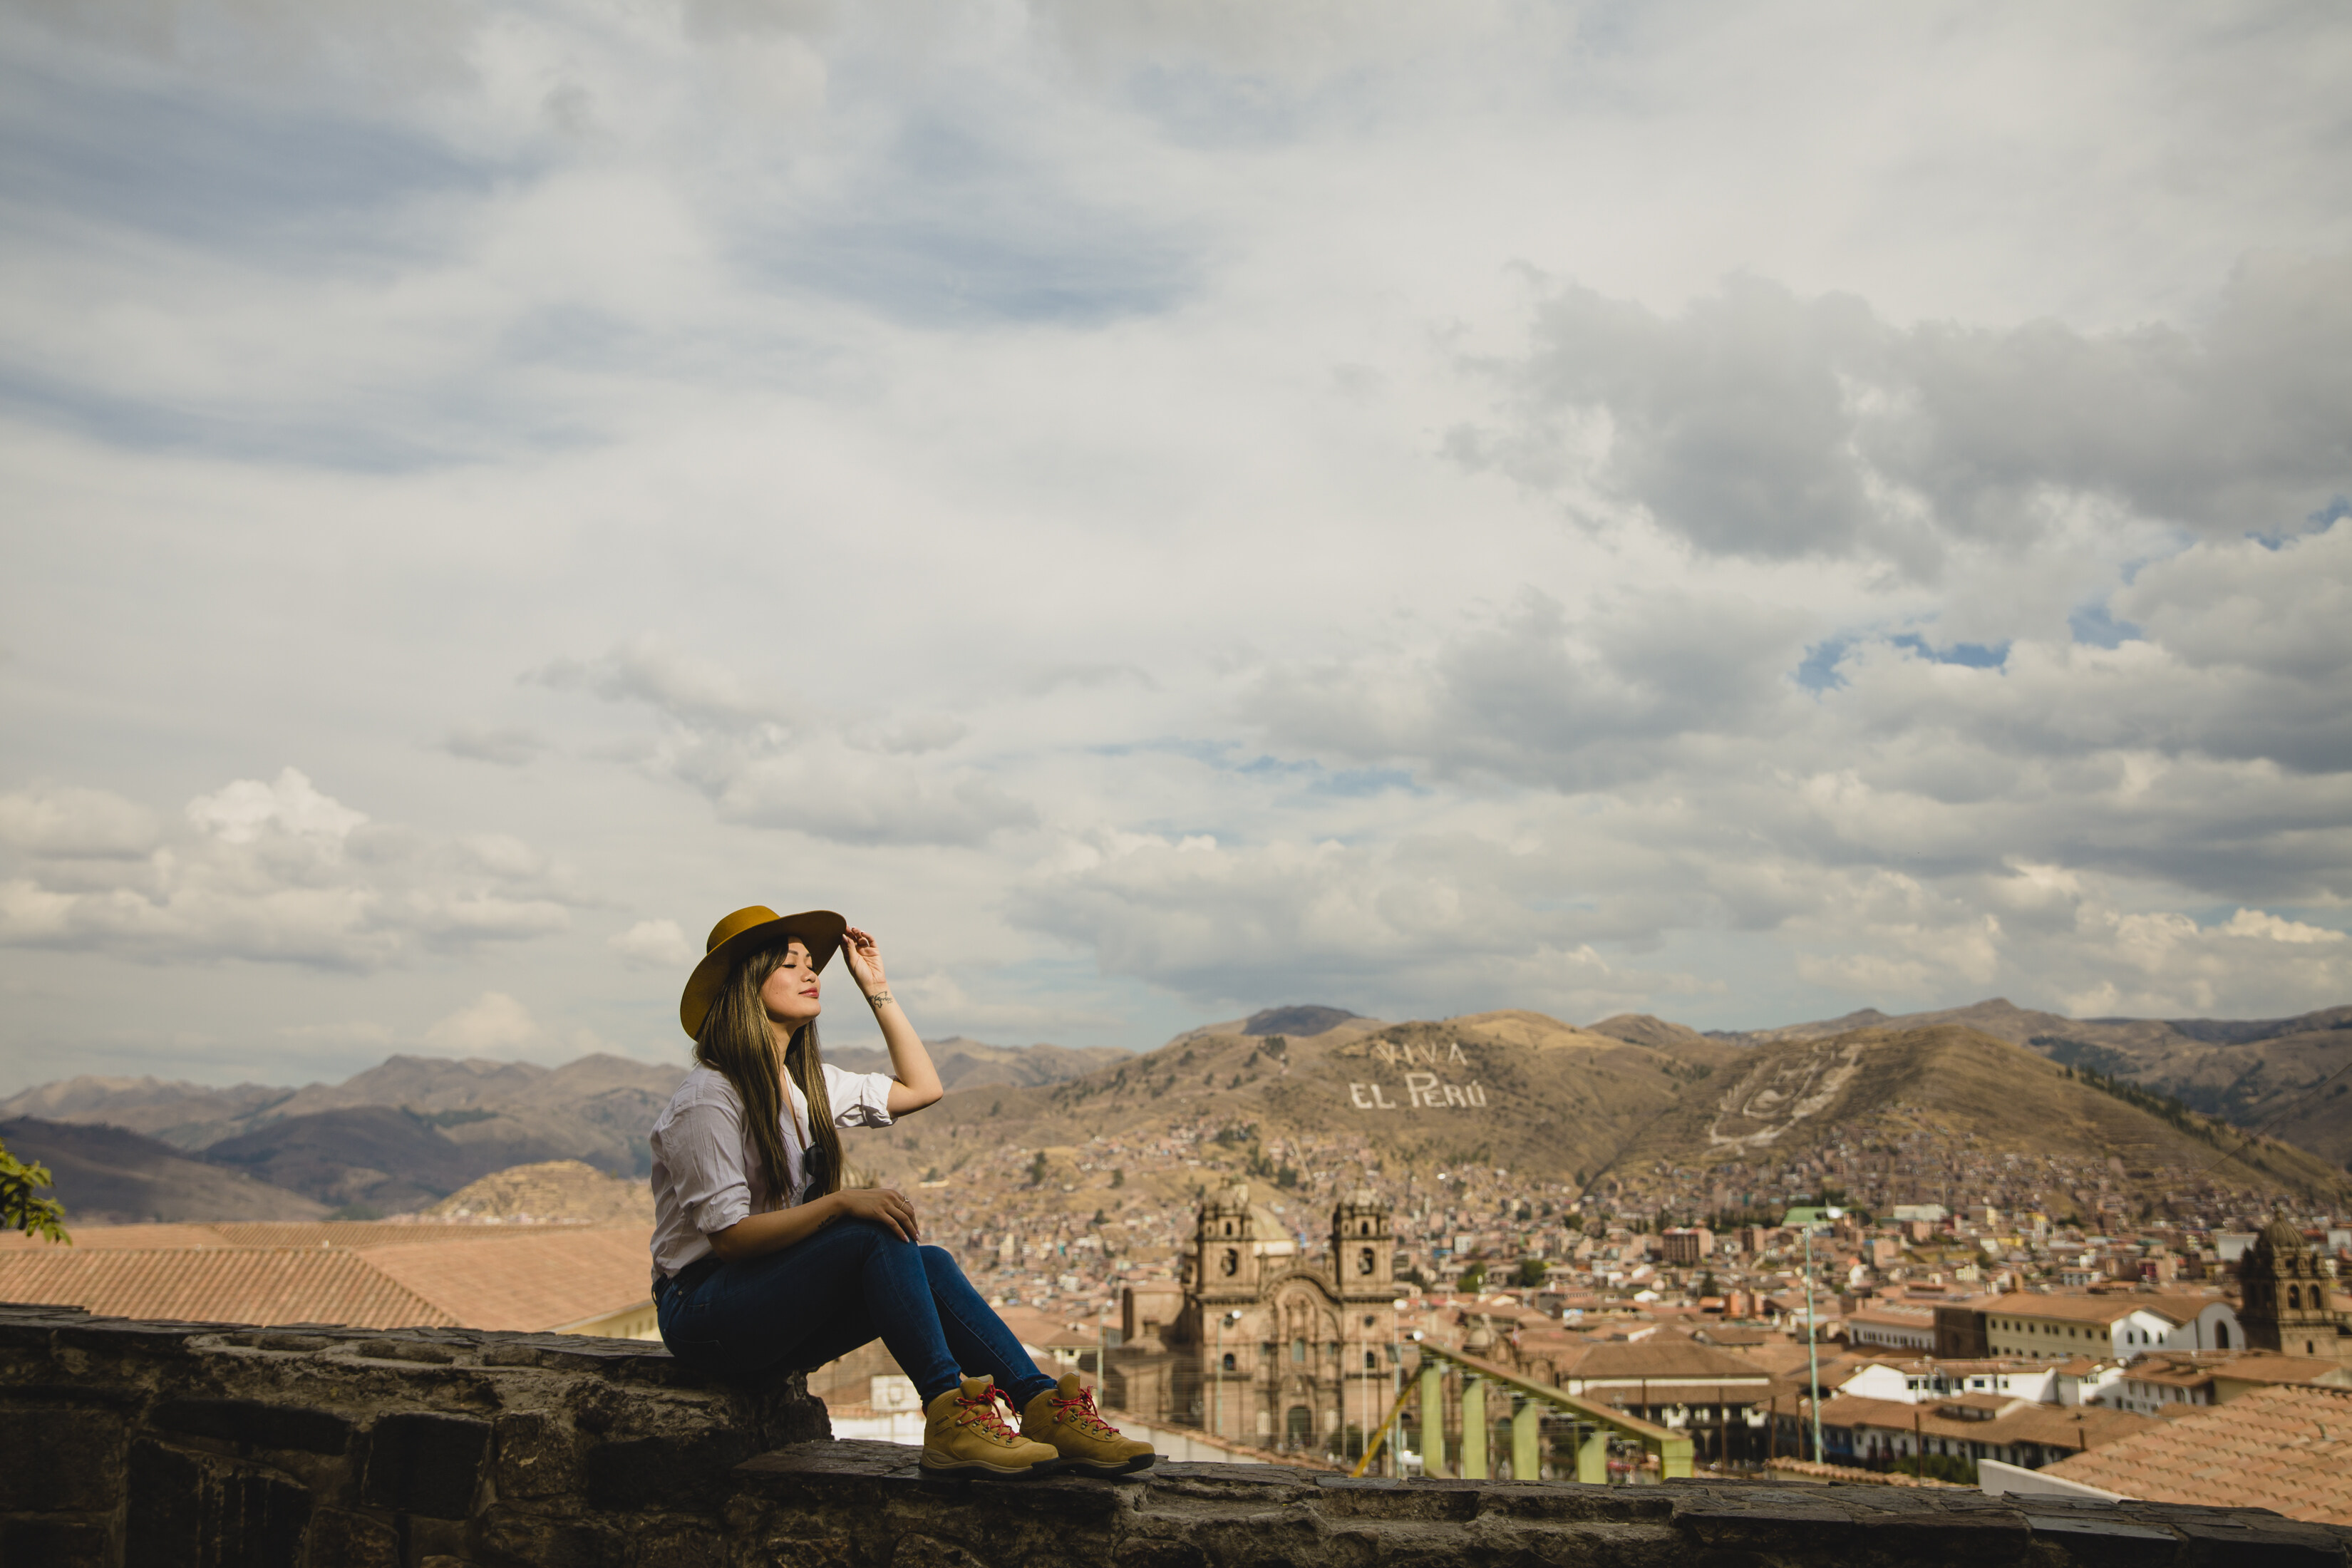
Photo: Livushé in Cusco for Flytographer. Bianca captures memories on a solo adventure to London.
7. Try Different Poses
One of the easiest ways to get a variety of photos from your trip and in various backdrops is to let loose! Especially since you’re travelling solo, don’t be afraid of trying new things. Keep an album in your phone or a Pinterest board with inspo pics to reference images you love, or people who seem at ease, carefree, and comfortable in front of the camera. Rather than simply recreating their photos, use them as inspiration as you create your own stunning images!
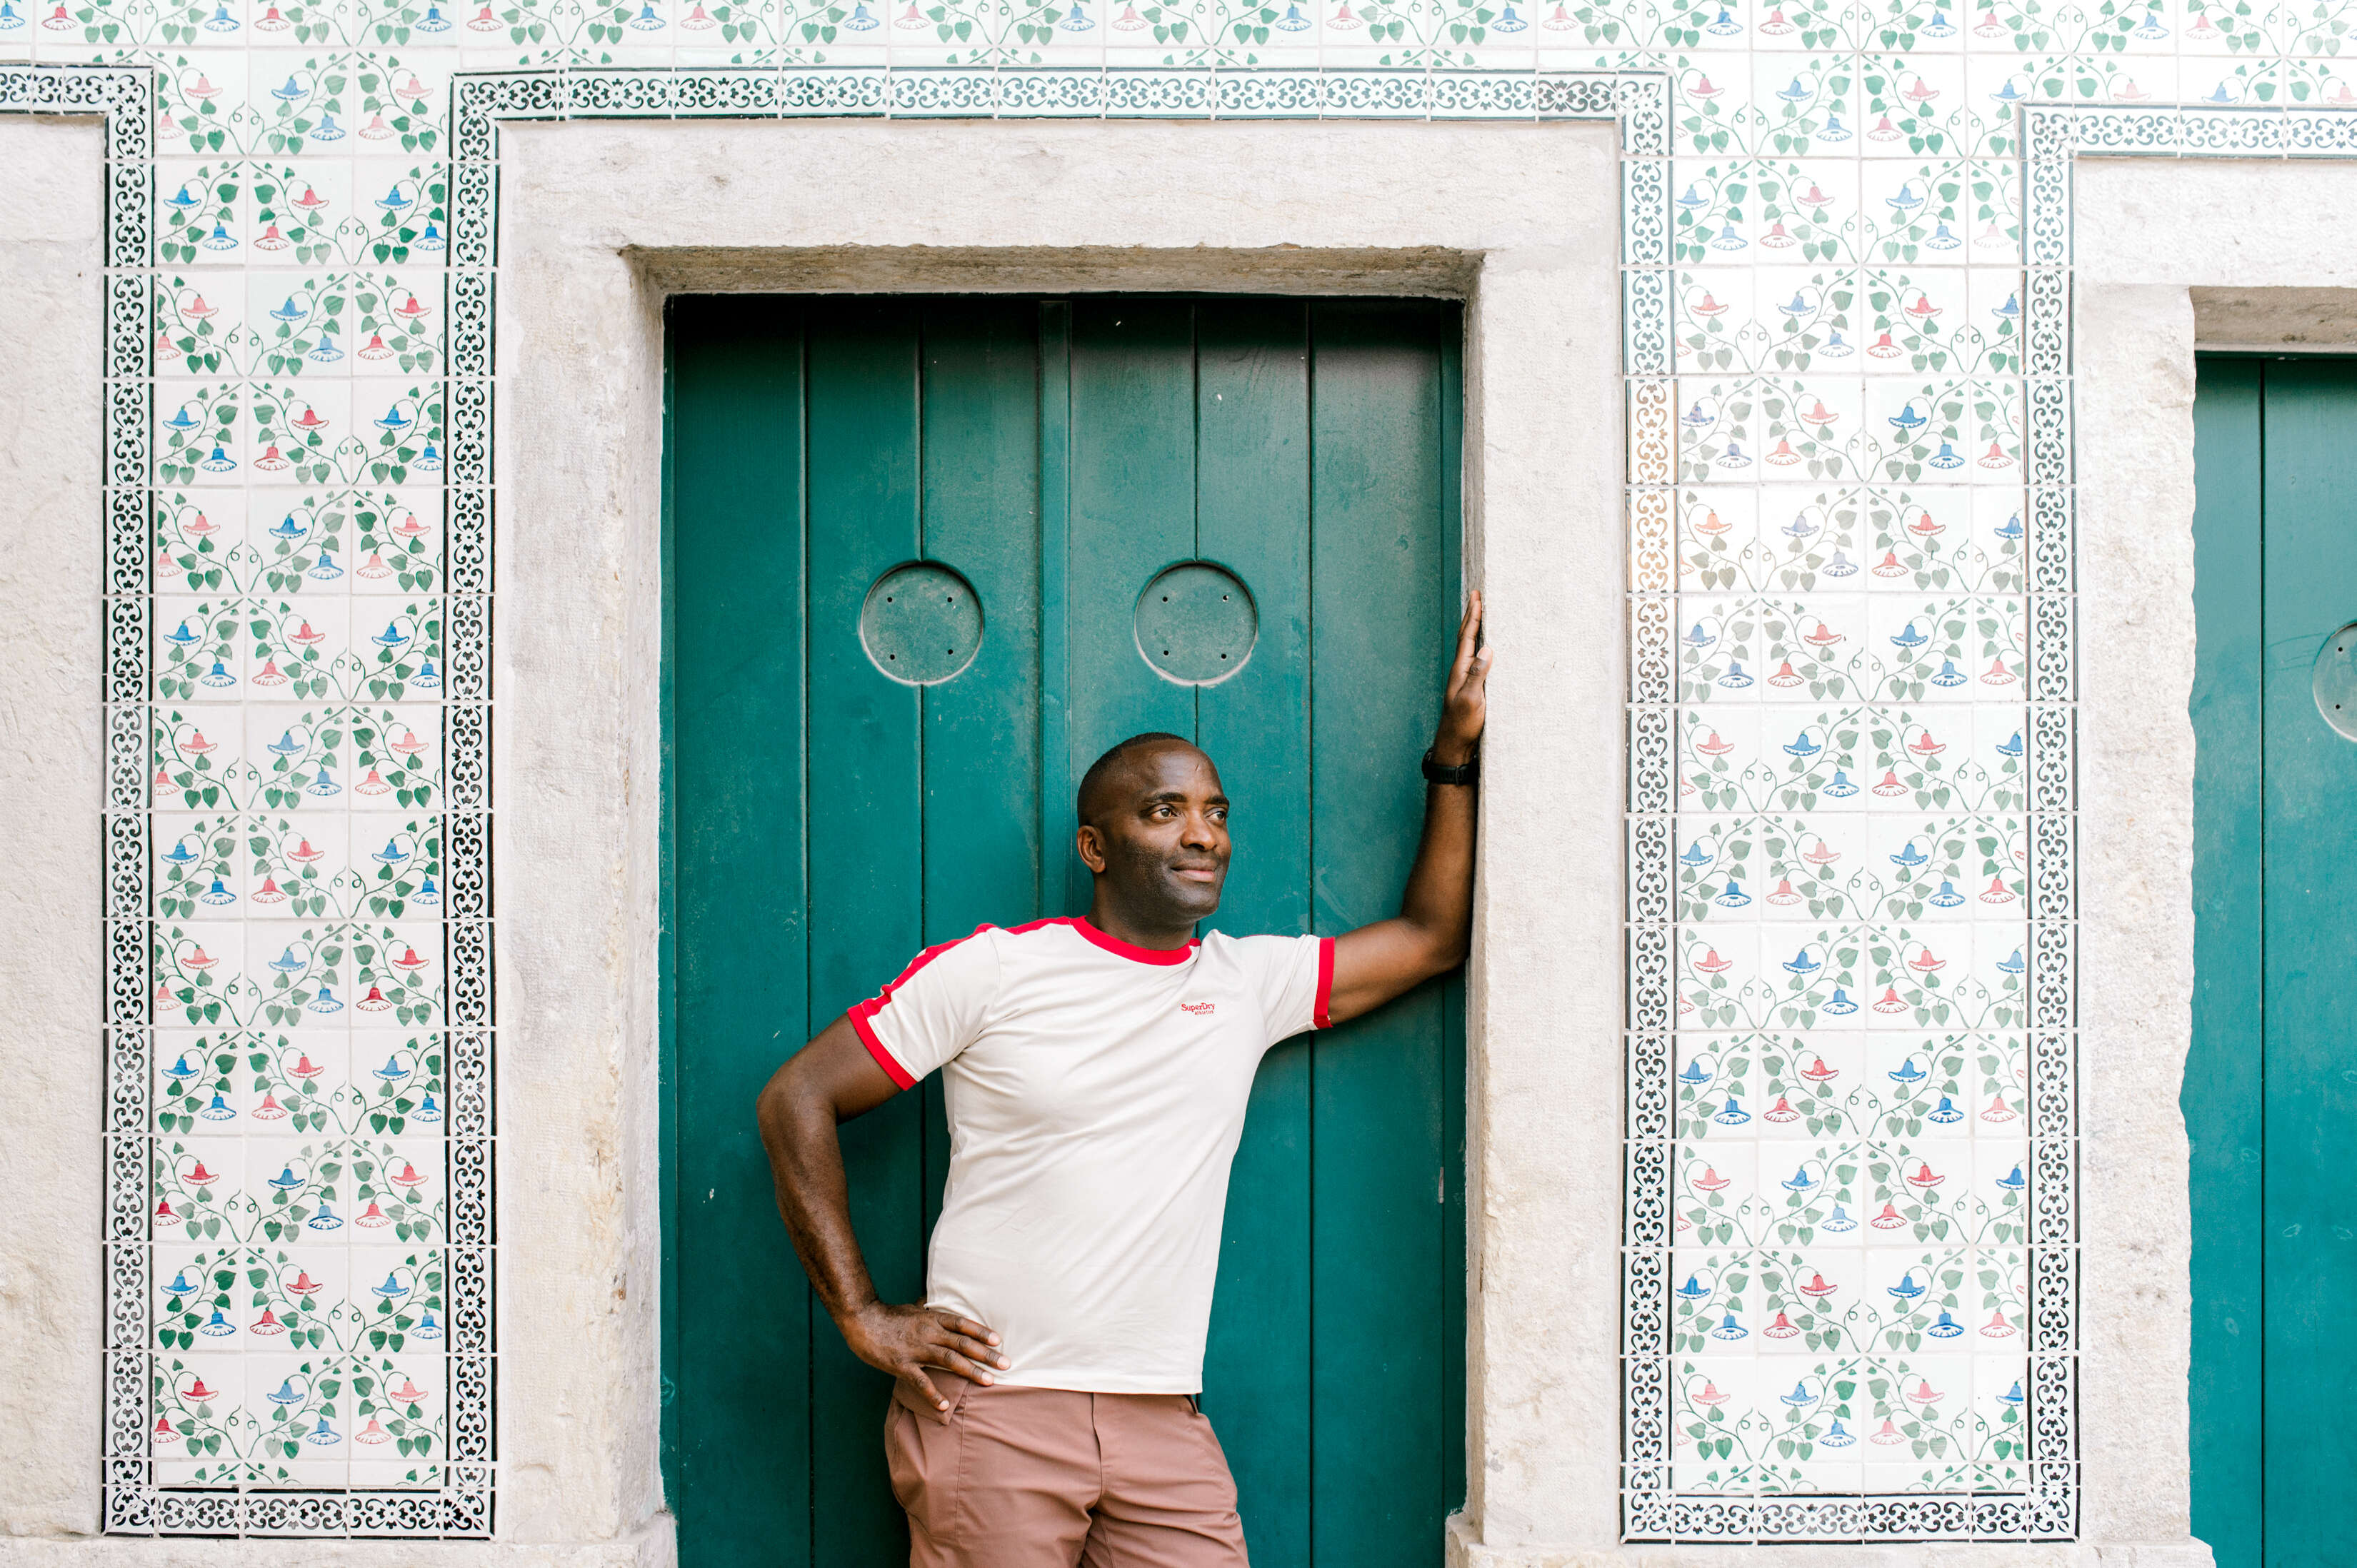
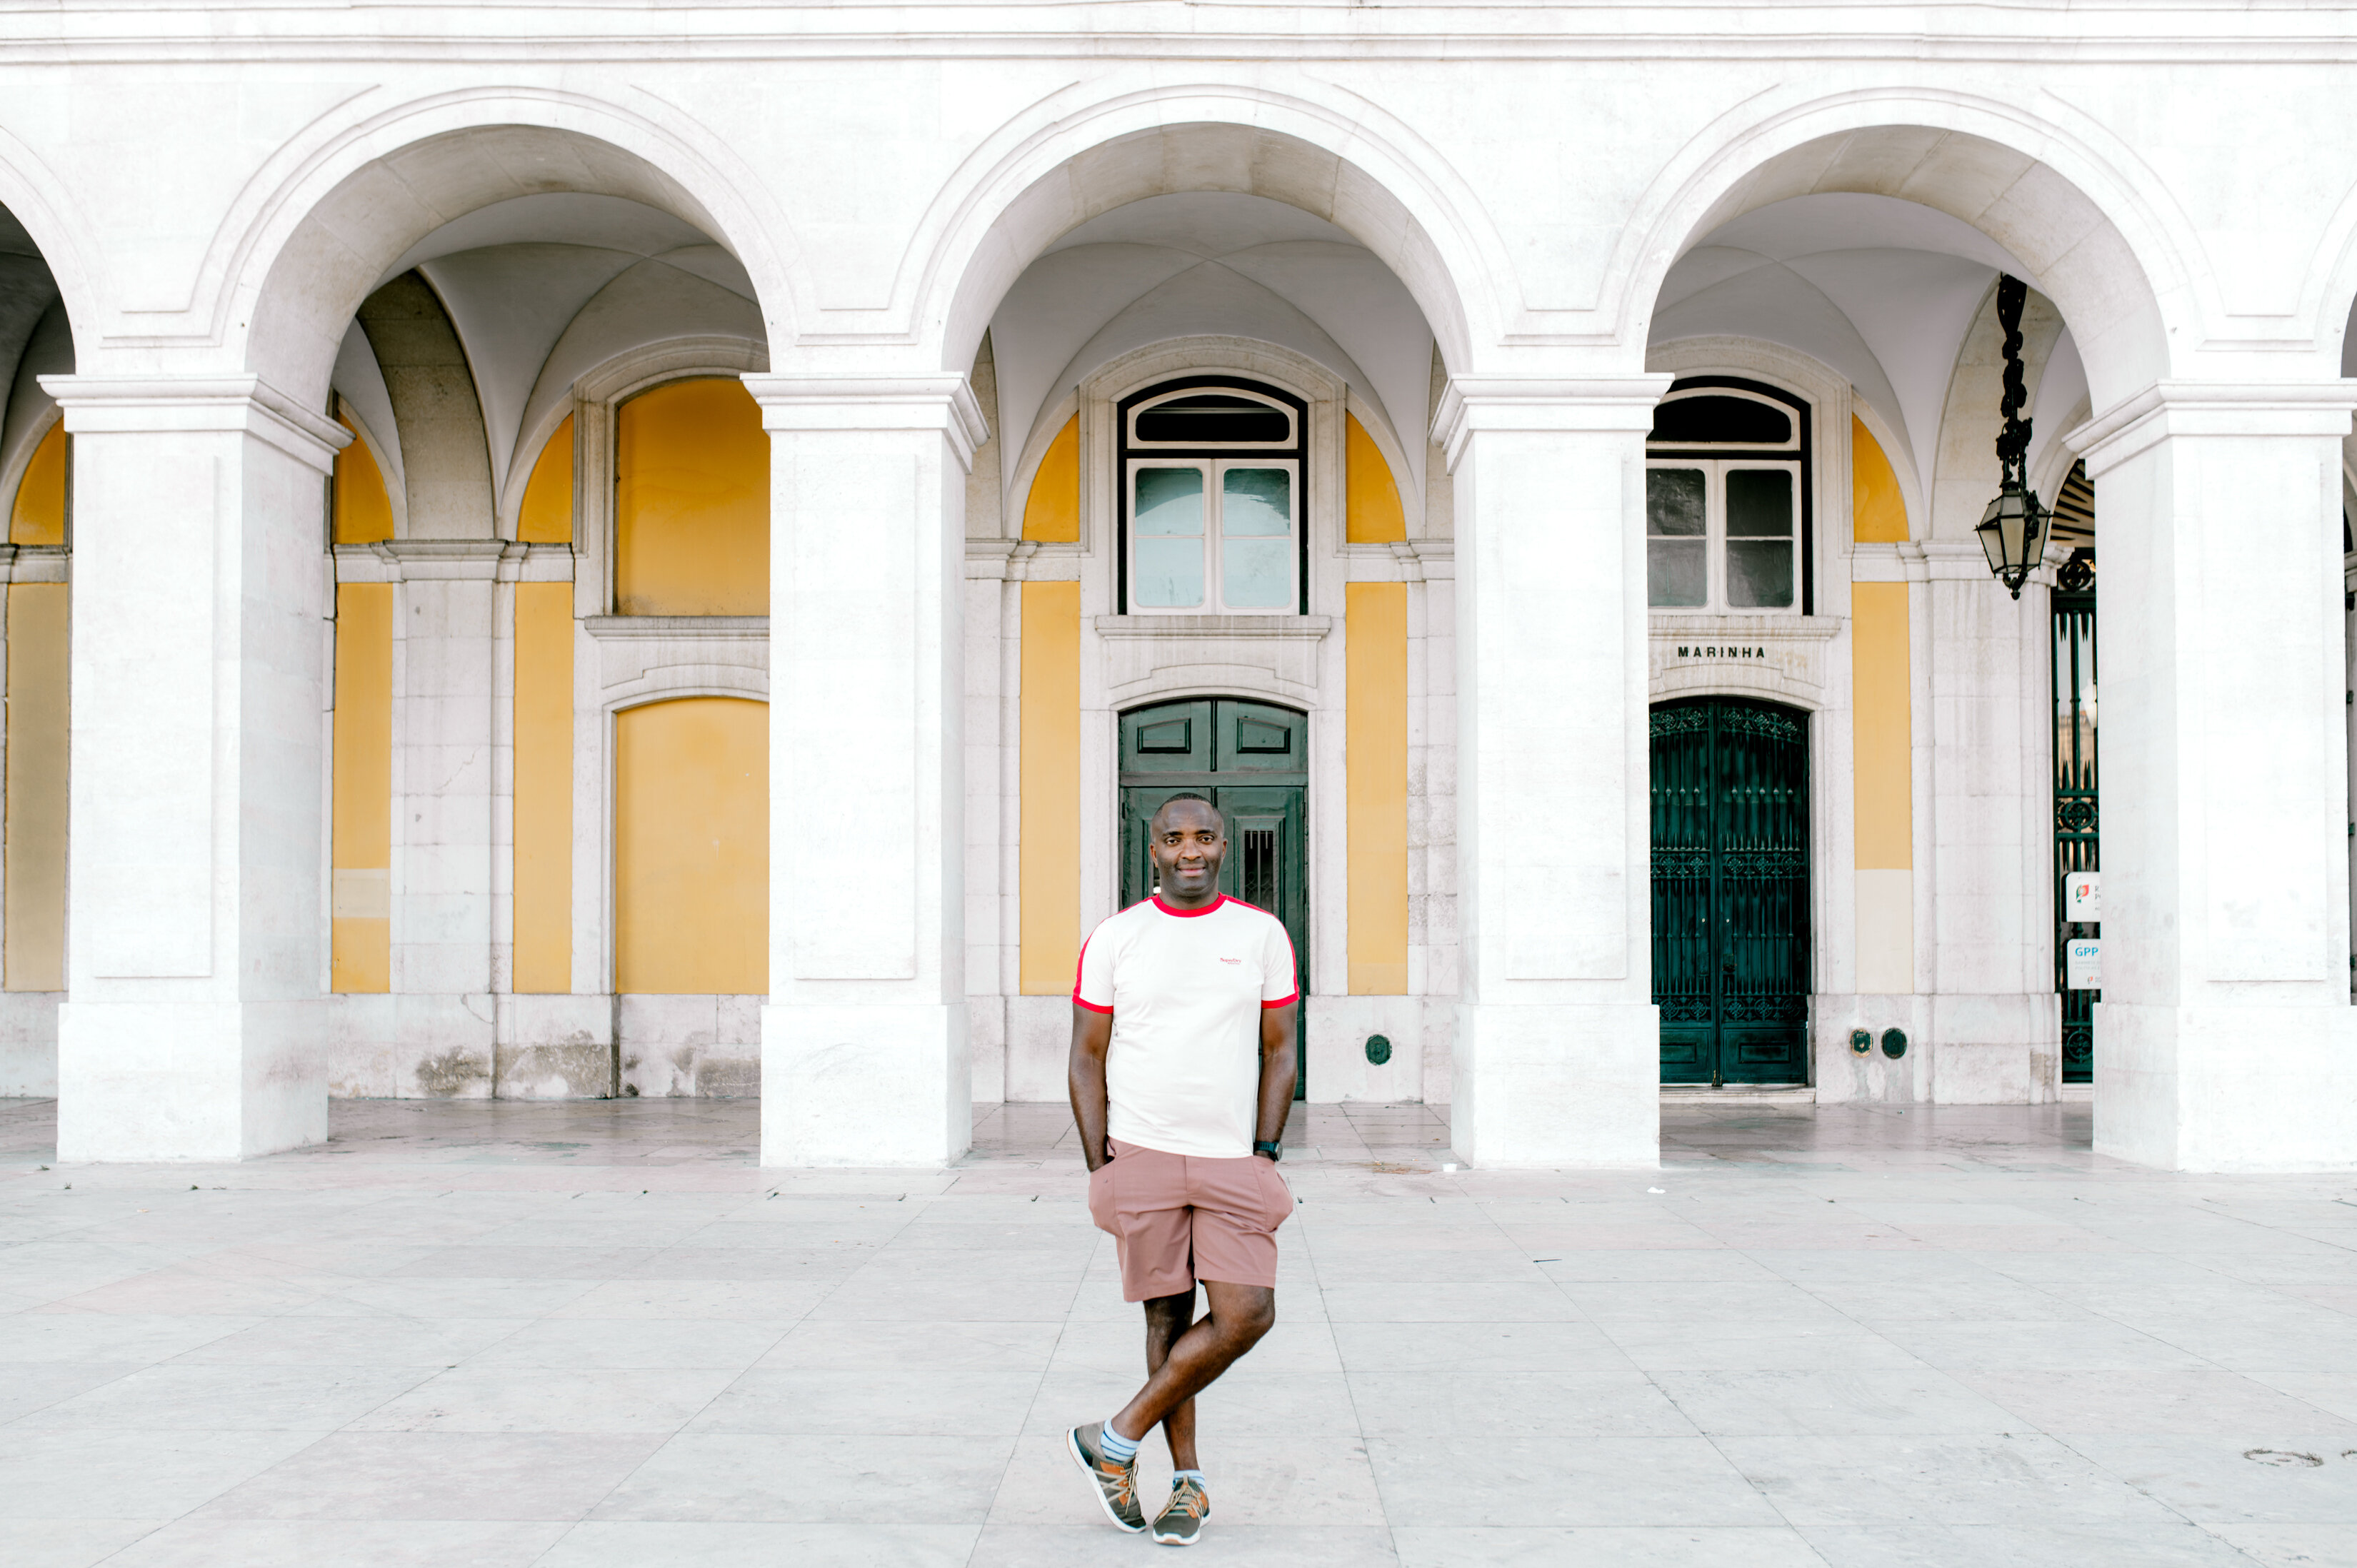
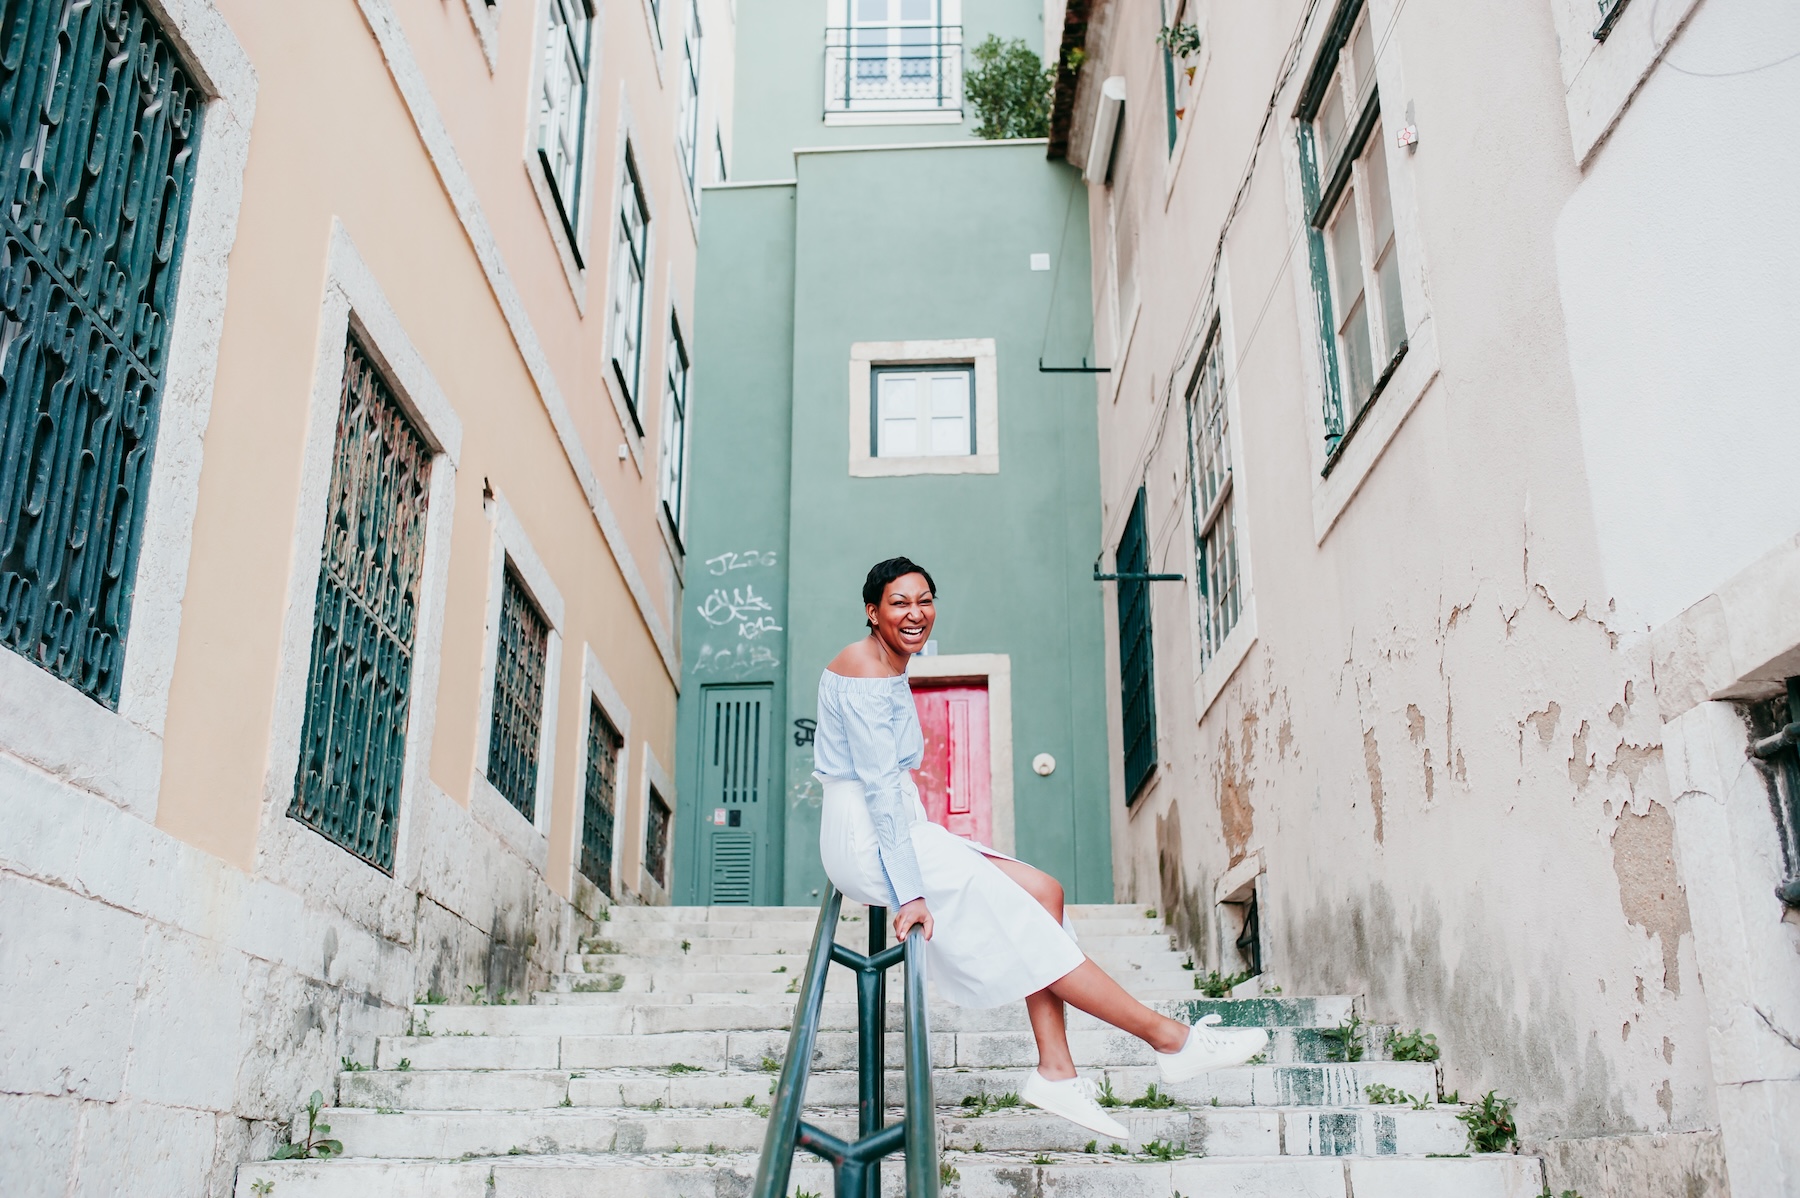
Photo: Claudia in Lisbon for Flytographer. Kidianga captures memories on a solo adventure to Lisbon.
8. Use Portable Accessories
Adding portable accessories to your repertoire will help you capture creative photos in new ways (and give you a break from consistent self-timer usage). Some ideas include:
- A collapsible tripod for your phone or camera.
- A leash for your iPhone (turning it into a necklace for easy camera access).
- Remote shutter device via bluetooth and/or app.
- Backup camera(s) aside from your iPhone to give variety to your images— point and shoots, DSLR cameras, disposable cameras, and more are some great additions.
- Portable chargers for your devices.
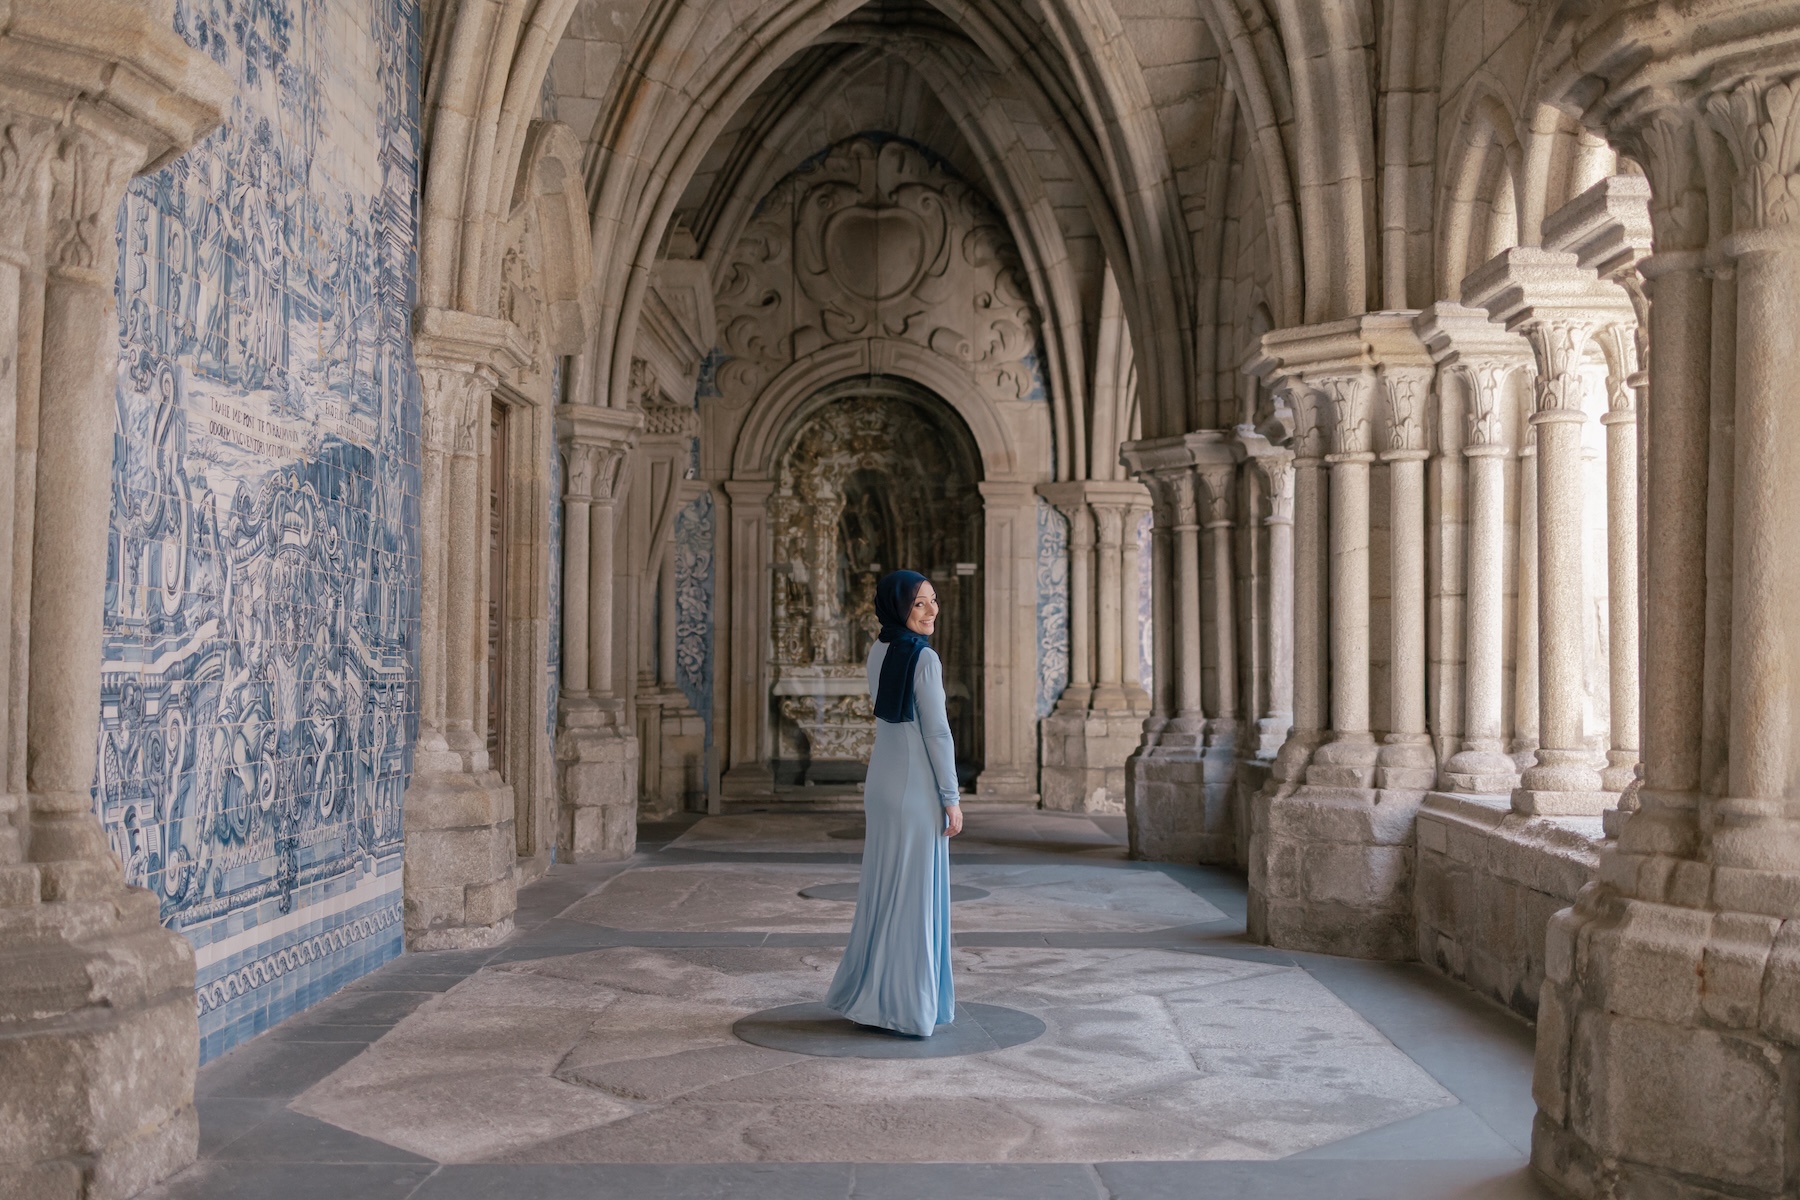
Photo: Joana in Porto for Flytographer. Saira captures memories on a solo adventure to Porto.
9. Experiment With Your Phone’s Camera Settings
Before you take photos, review your Phone’s camera settings to make sure you’re utilizing your camera to the best of its abilities. You don’t necessarily need a better phone or camera, you may just need to verify you’re utilizing the best settings… and that you have a clean camera lens! Whether you’re a beginner or advanced photographer, everyone’s photos are instantly levelled up with a smudge-free lens!
Get creative post picture-taking and continuously experiment with editing your photos. From minimal edits to new apps, Lightroom or other presets, don’t be afraid to experiment a little or a lot. We also highly recommend checking out our FREE iPhone course to take better everyday photos- it’s a tutorial that just keeps on giving!
Photo: Claudia in Lisbon for Flytographer. Louisa captures memories on a solo adventure to Portugal.
10. Leave it to the Pros at Flytographer
Now, for our favourite photography tip and the ultimate solo travel hack: hiring professionals! 📸 Hire a professional photographer via Flytographer to capture you in your best light, for professional results with minimal effort. Flytographer pricing starts at $325 USD for a 30-minute shoot, and that includes a gallery of wall-worthy photos to remember your solo trip forever.
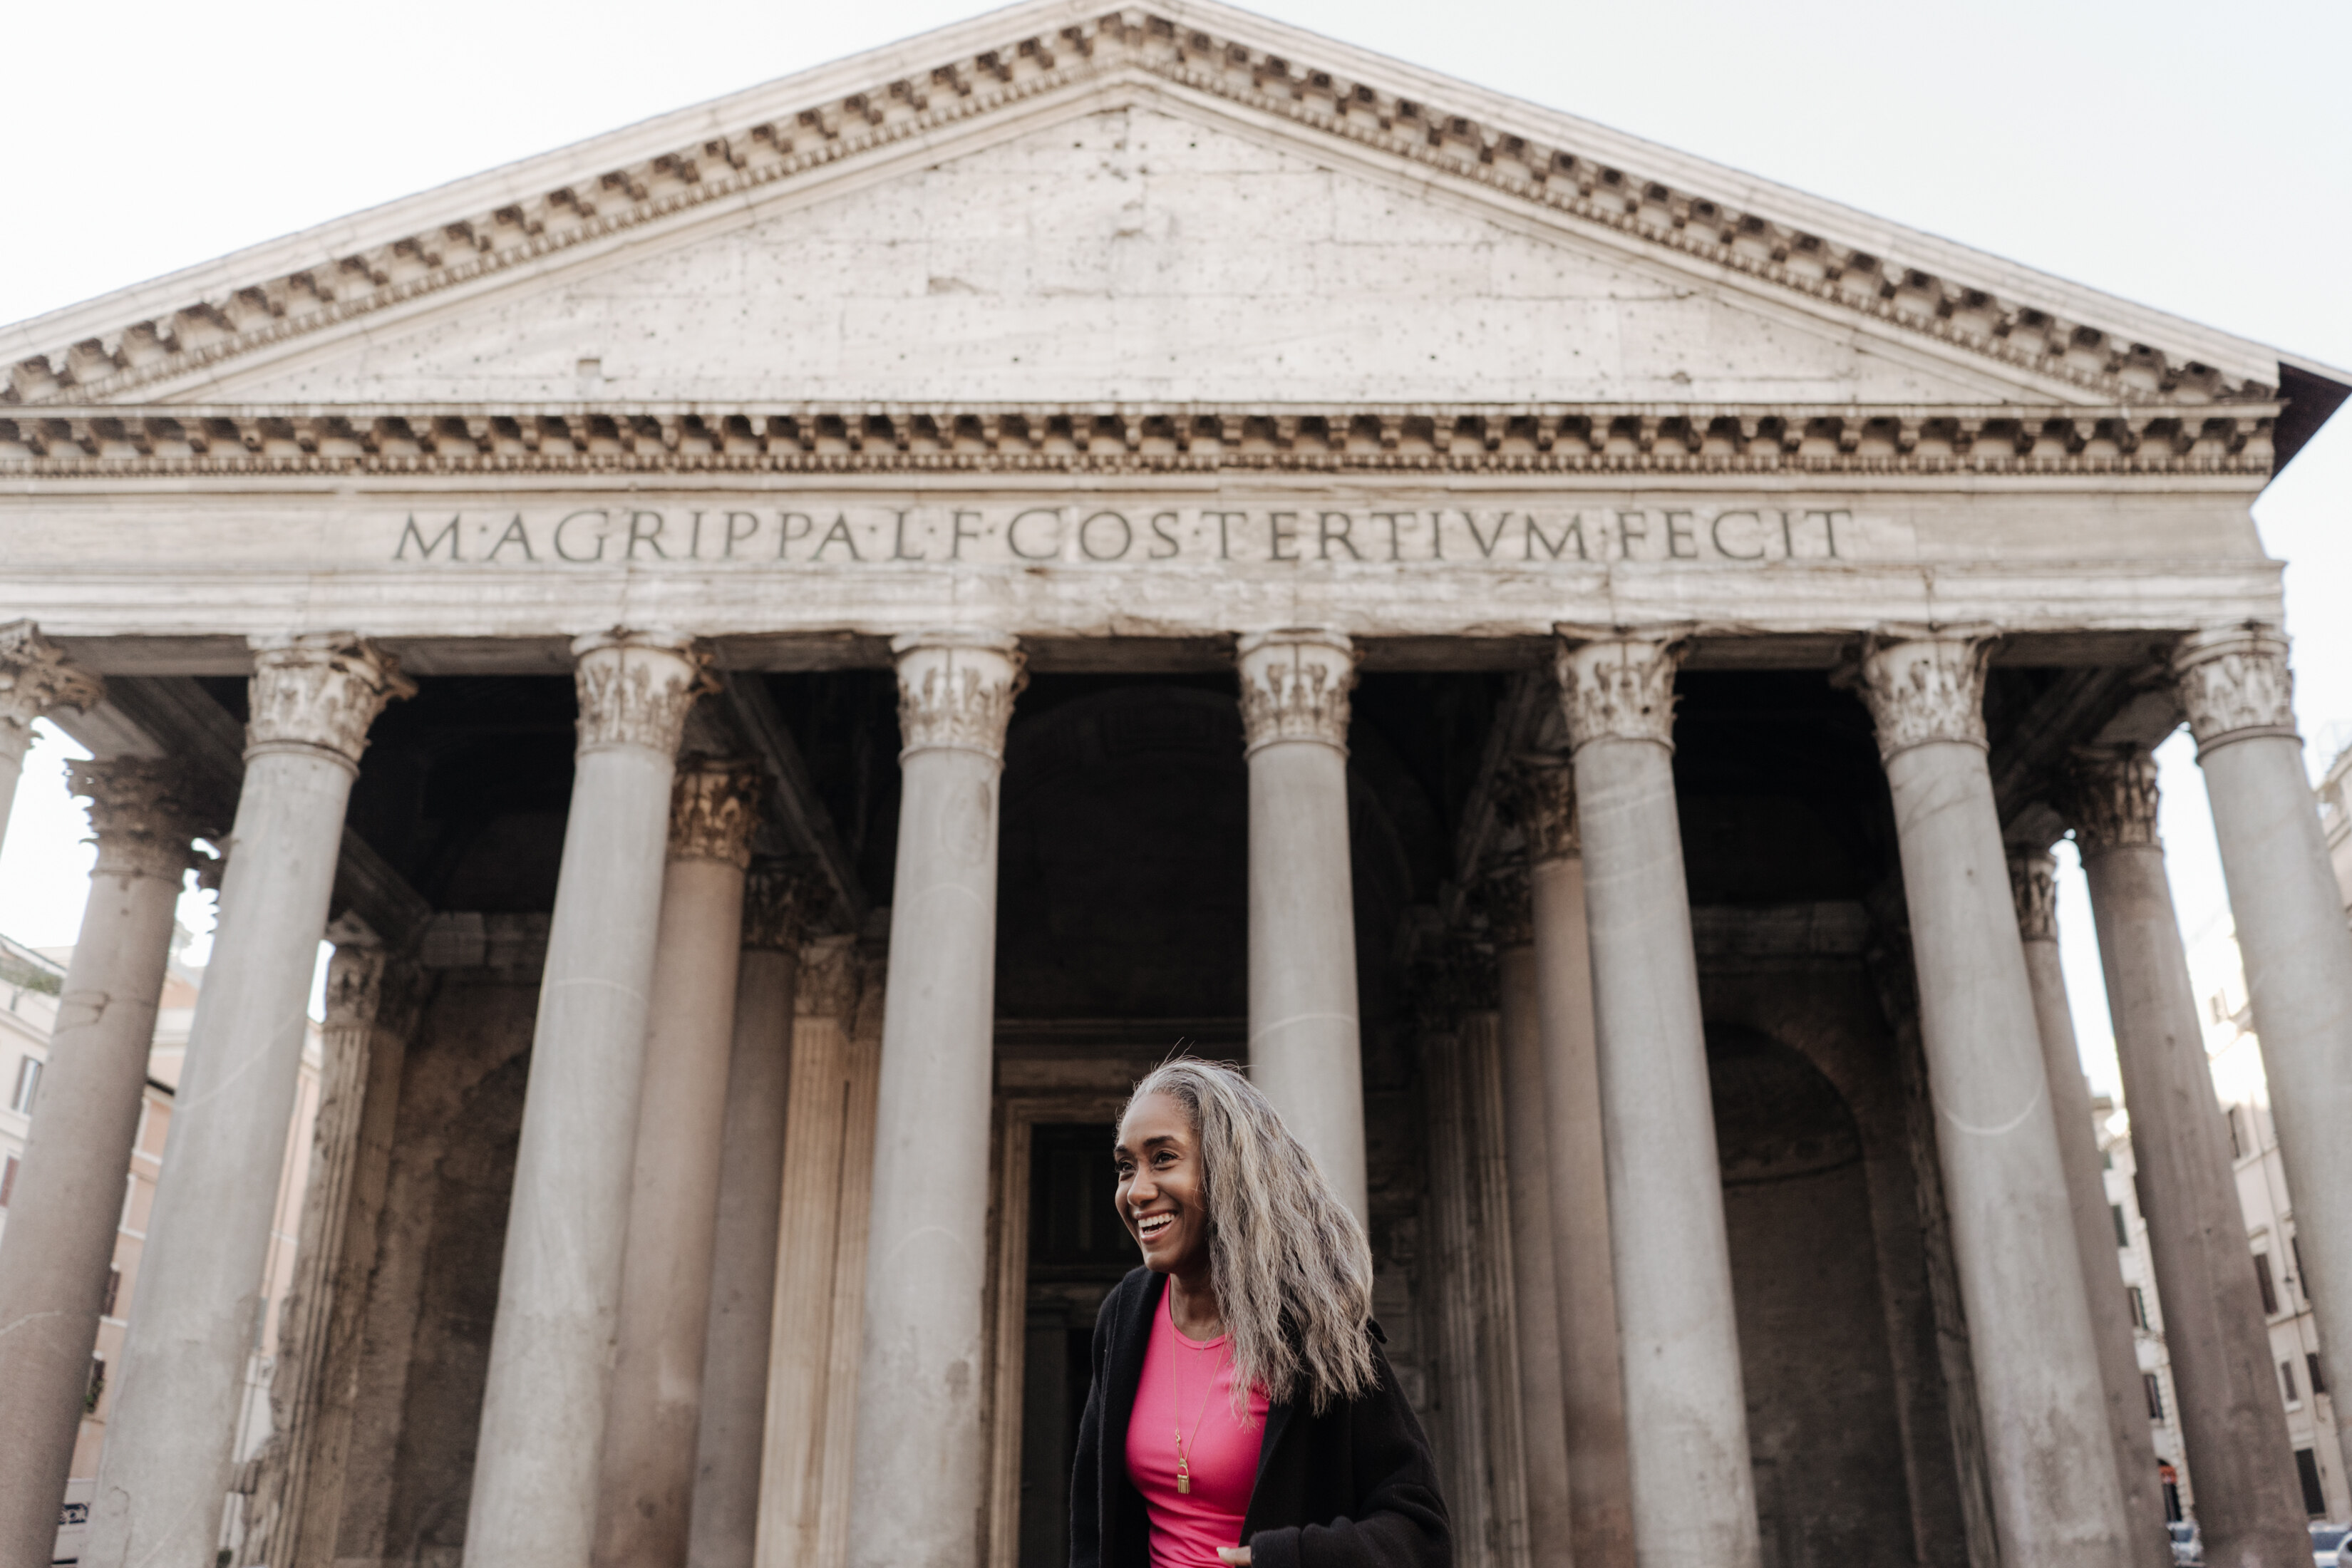
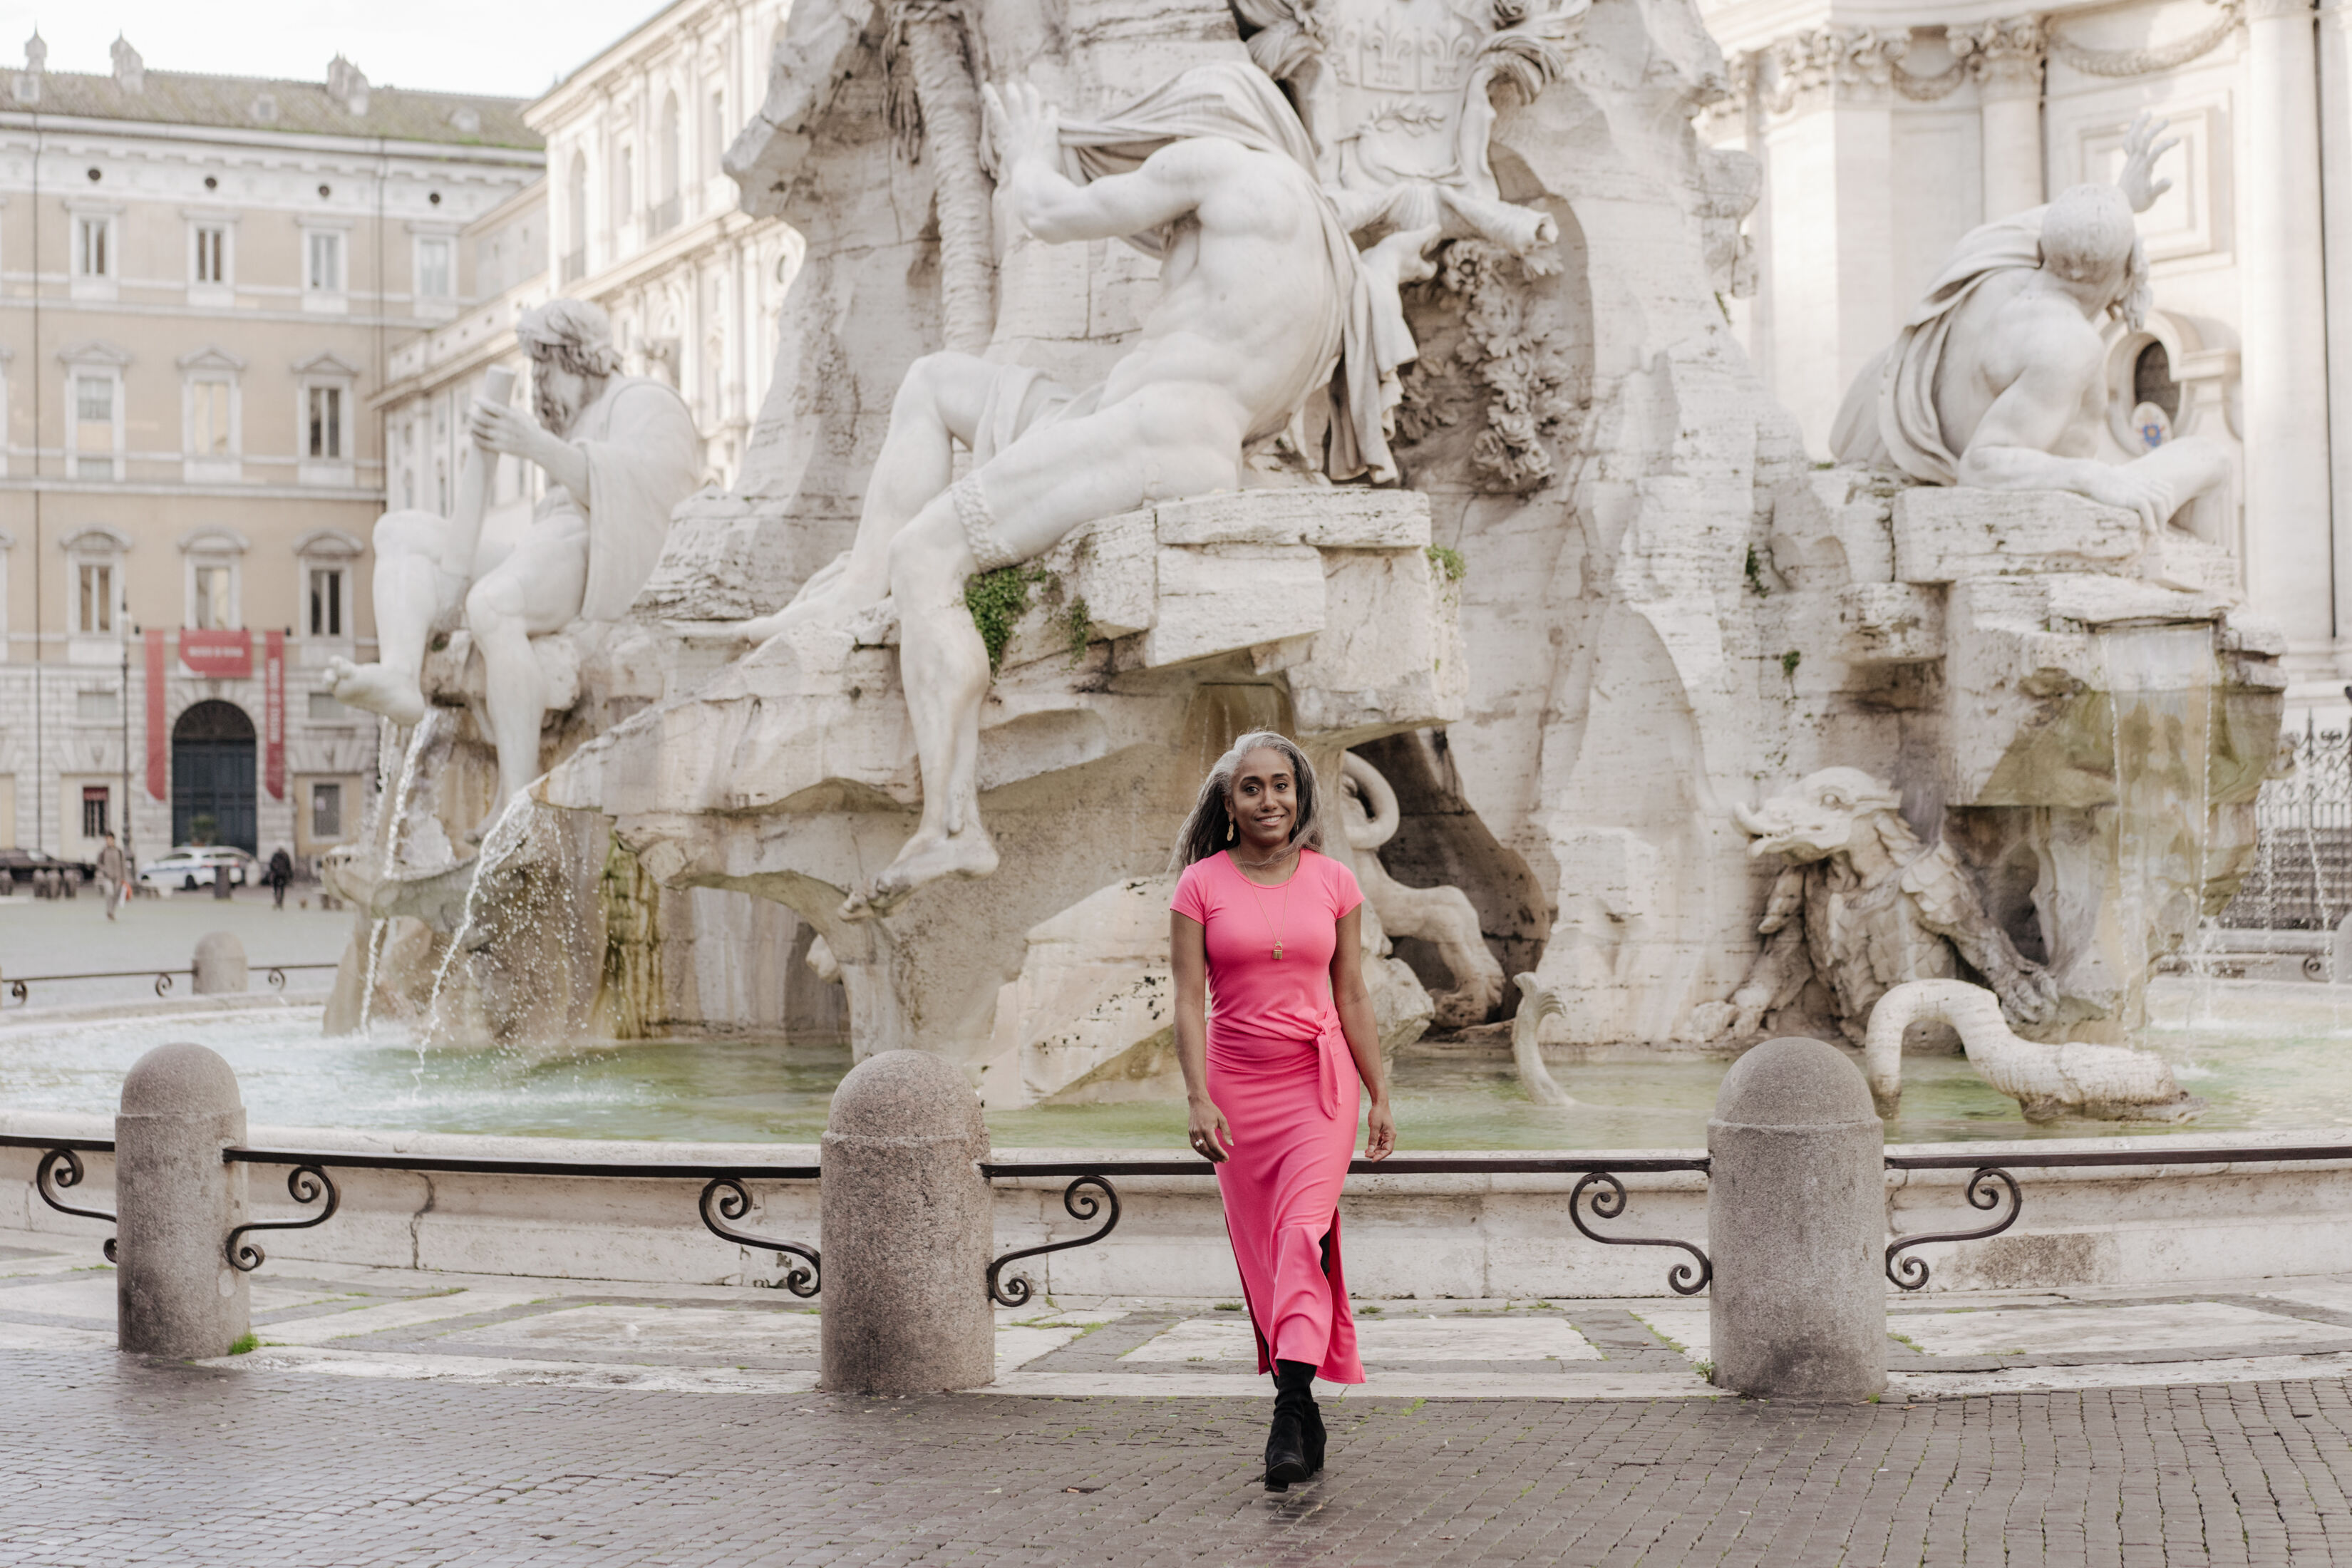
Photo: Roberta in Rome for Flytographer. Kristine captures memories on a solo adventure to Rome.
Capturing the Best Solo Vacation Pictures
Capturing photos of yourself while travelling solo is hopefully feeling easier and less stressful now that you have even more info in your pocket for your next solo adventure. Taking your own photos can seem a bit daunting, but it doesn’t have to; see these tips and remember to check out our awesome Flytographers all over the world who are excited to help capture you!


“Rachael not only exceeded our expectations with our photos but she made the whole experience one to remember. It was a little chilly at sunrise and we were a little sleepy but she made it such a fun and memorable experience. She was lovely to work with and we will cherish these photos of our two year anniversary trip to Paris from Canada. We can’t wait to bring our kids one day and have her capture us all!”
Hannah

 Sacré Coeur & Montmartre
“CLAUDIO AND BARBARA WERE AMAZING!! Could not speak more highly of them, Barbara was great at communicating throughout my whole booking process and Claudio was the one who took our pictures he was so calm even though my plans got changed last minute due to weather. He made me feel so calm despite of that and made our proposal perfect! He took us to the best places in Positano and I am so excited to see these pictures.”
Oriana
Positano Village
“We had an enjoyable time doing the shoot with Daniel. Daniel was friendly, and great to work with. The shots were spontaneous, and not too posey. Daniel was very patient with my cheeky eight year old, and I think my son had a lot of fun too. We love the end results!”
Kin Hoi
ShibuyaFrequently Asked Questions
What’s the difference between a selfie and a self-portrait?
The difference between a selfie and a self-portrait comes down to composition. A selfie is quick and close-up, usually just your face; a self-portrait pulls back to include more of the scene and follows real composition rules. For a stronger self-portrait, try portrait mode, shoot at eye level, and use the rule of thirds (turn on your phone’s grid lines and position yourself along the lines or intersections instead of dead centre). Keep horizon lines and architectural lines straight, and use doorways, arches, or railings as a natural frame around you.
What’s the best time of day to take photos of yourself while traveling?
The best times are golden hour (the hour after sunrise or before sunset) and blue hour (the cool, moody light just before sunrise or after sunset), when light is soft and flattering. Overcast skies also work well since clouds diffuse the light evenly, and window light is the best option indoors, at a hotel or restaurant, for example. Shooting in early morning has a second benefit beyond lighting: fewer crowds in your shot than midday or evening in nearly any destination.
How can you make solo travel photos look natural instead of like typical selfies?
Natural-looking solo photos come from a few small habits: use your destination itself for outfit inspiration, since colors and local style can complement the scenery without any editing; save an album or Pinterest board of poses that feel relaxed rather than copying them exactly, and adapt them as your own; and hold off on editing and posting until later so you’re not distracted mid-trip. Some travelers save that time entirely: services like Flytographer connect travellers with vetted local photographers who handle composition and posing so the shots feel candid rather than staged.
How much does it cost to hire a photographer for solo travel photos?
Hiring a photographer through Flytographer starts at
$325 USD for a 30-minute shoot, which includes a full gallery of edited, wall-worthy photos. That’s typically enough time to cover two or three locations or looks during a solo trip. It’s a fixed, upfront cost rather than a per-photo or hourly rate, so there’s no surprise editing fee once the gallery is delivered.
Is hiring a photographer worth it for solo travel?
For many solo travellers, yes. A professional photographer solves the two hardest parts of taking your own photos: composition and timing, so you get shots that use portrait mode, natural light, and framing correctly, without setting a timer and running back into place. Flytographer matches travellers with a vetted local photographer in over 350 cities worldwide, and the sessions run about 30 to 60 minutes with edited photos delivered afterward. It’s especially worth it if solo trips are rare for you and you want photos of yourself actually in them, not just landscapes and food.
ABOUT THE AUTHOR

Amanda Petersen
Amanda is a published travel writer and professional photographer based in New York City. Specializing in photography and travel focused articles, Amanda brings a wealth of technical knowledge to her articles. When she is not behind a lens or laptop, you can find her spending time with her family enjoying life in the big city.