Are you guilty of these?
Our iPhones are like our most loyal friend — always there, ready and willing to help out. It spends a lot of time multi-tasking: keeping us organized and connected, entertaining and informing us, and most importantly, (in our opinion anyway) capturing and storing our most precious everyday memories. The camera is so easy to use — merely a press of a button — that most people don’t give it a second thought. But what if we told you there are some really simple solutions to some of the most common mistakes people make with their iPhone camera? Read on and level up!
1. Having a grimy camera
To start, always wipe off your lens before taking a photo! Throughout the day, your phone collects dust and fingerprints and a dirty lens will lead to blurry and distorted images. Make it a habit to do a quick wipe with a cloth or the hem of your shirt as you open your camera app, and you’re ready to go.


2. Neglecting your light source
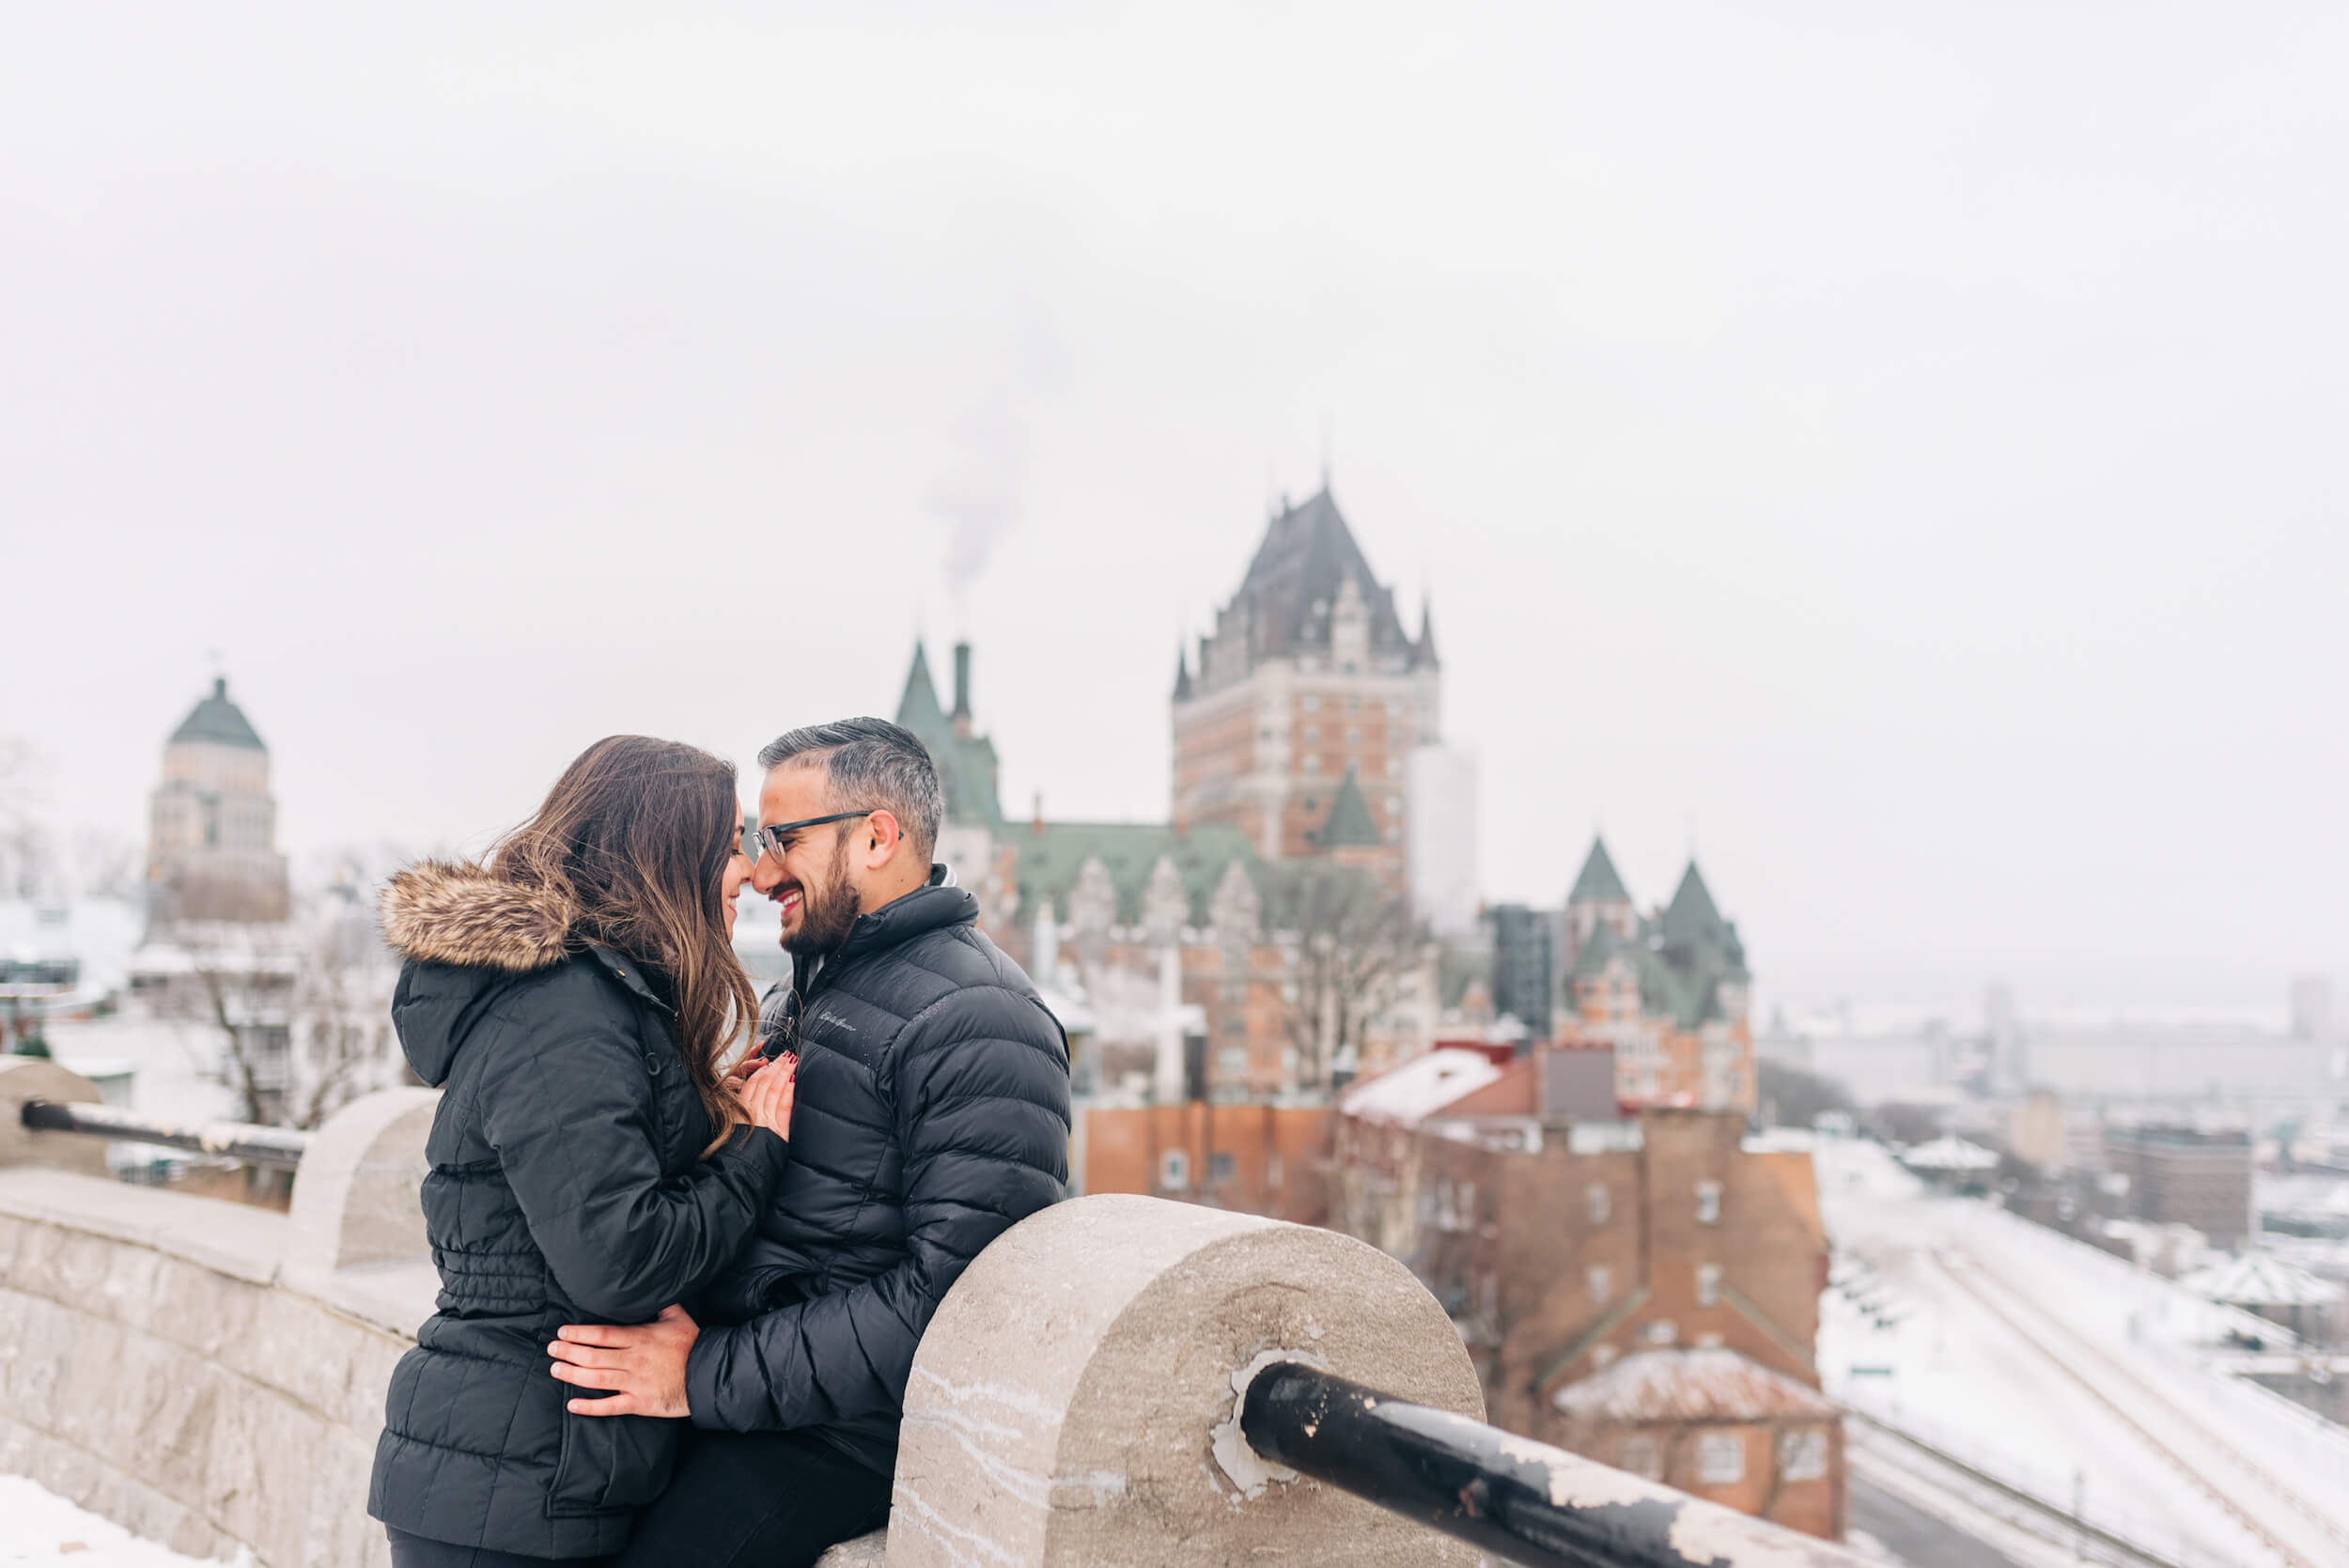
As you prepare to take your photo, take note of the light, because light is the foundation for a beautiful photo. Our Flytographers love “golden hour,” which is the hour after sunrise and before sunset when the sun is low on the horizon and the light is soft. If you are taking photos in the middle of the day when the sun is high and bright, try to keep the sun behind your subjects to avoid harsh or unflattering shadows.


3. Not tapping on your subject
To avoid blurry or out-of-focus photos, make sure you hold your phone very still, touch your finger to the subject on the screen to focus them, and gently tap the shutter button to avoid jostling the phone while taking the photo. (Tip: You can also use the volume buttons on the side of your phone as a shutter release.) Does your image look too dark or too light? Tap on the screen to focus, and then slide your finger up or down on the screen to adjust the exposure, which is the brightness of the image.


4. Underutilizing new features
With every update and new iPhone model, there are more and more incredible features added to the camera. For iPhone models 7+ and up, be sure to utilize “Portrait Mode,” which can give your photos a professional look. This mode mimics a wide aperture on a DSLR lens by creating “bokeh,” which means “blur” in Japanese. Or to put it simply, it blurs the background while keeping your subject sharp and in focus. You can even adjust the “f-stop” with a slider that adjusts the blurriness of the background; a low number like 1.4 adds more blur, while a high number like 16 is less blurry.


5. Snapping without purpose
Take time to compose your image. A photo has the power to tell a story, invoke emotions and bring back powerful memories. Look for interesting backgrounds that capture the mood or destination you’re in, or opt for simple backgrounds when you want to focus on your subjects. Finally, don’t be afraid to have fun and laugh! While most of us were likely taught to “sit still and smile for the camera,” often our favourite images are those in-between moments, when we’re able to be silly and authentically ourselves with our loved ones.
Learn more about the features of your iPhone camera, photo composition, lighting, and storytelling in Flytographer’s new iPhone photography course: “Better Everyday Photos with your iPhone.” (Bonus: travel virtually to Paris, Santorini, Hawaii and London while you learn!) Our team of Flytographers around the world are ready to take you on a journey to capturing better everyday photos.