Enjoy $20 Off Your First Shoot 📸 🎉
Create Your Dream Gallery Wall in Five Easy Steps
How to create a photo wall?
We are all guilty of it: a phone bursting with photos — most of them of our pets, kids, breakfast, and/or terrible selfies. Even our #WallWorthy Flytographer photos are relegated to digital folders and camera rolls. None of them are printed or adorning our homes.
Friends, it is time, time to free your photos, to give your memories the reverence they deserve. Today, we make a plan to get your memories on your walls in five easy steps.
1. Find Your Style
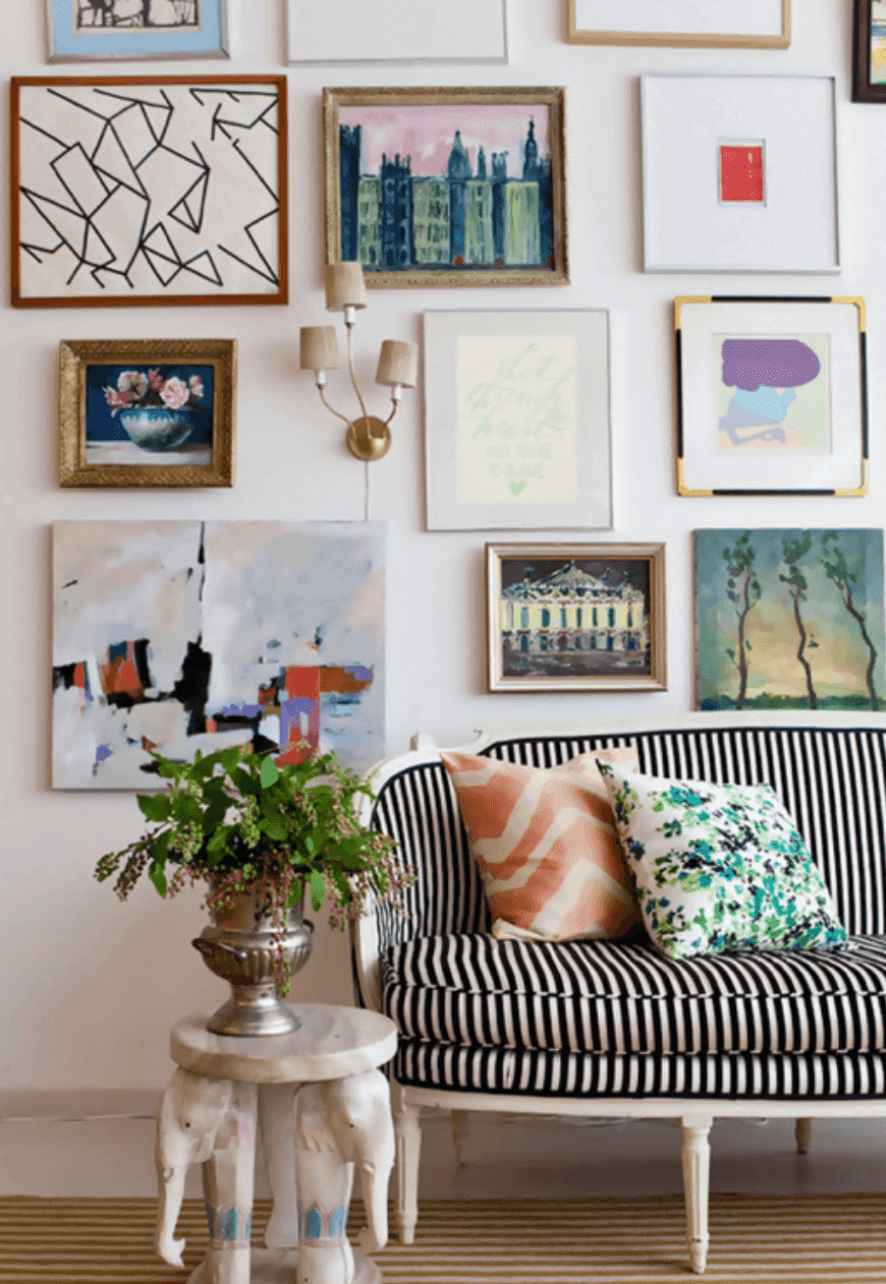
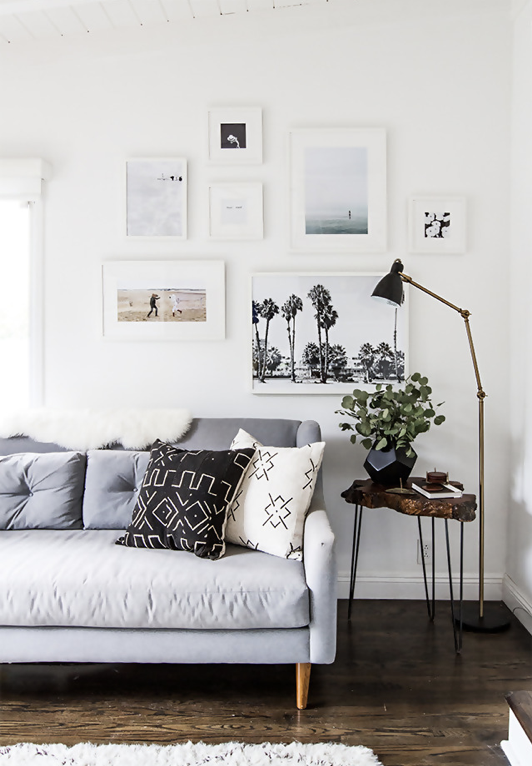
Decide what kind of gallery wall best reflects you and your home. Pinterest has approximately a billion inspiration photos to help you find your style. If you have a penchant for clean lines and minimalism, you’ll likely want simple frames in a cohesive colour palette, with a structured layout. If you’re looking for an eclectic vibe, you might opt for mix-and-match frames, showcasing a variety of photos, art, mirrors, or anything else you want to hang or frame. There are no right or wrong answers!
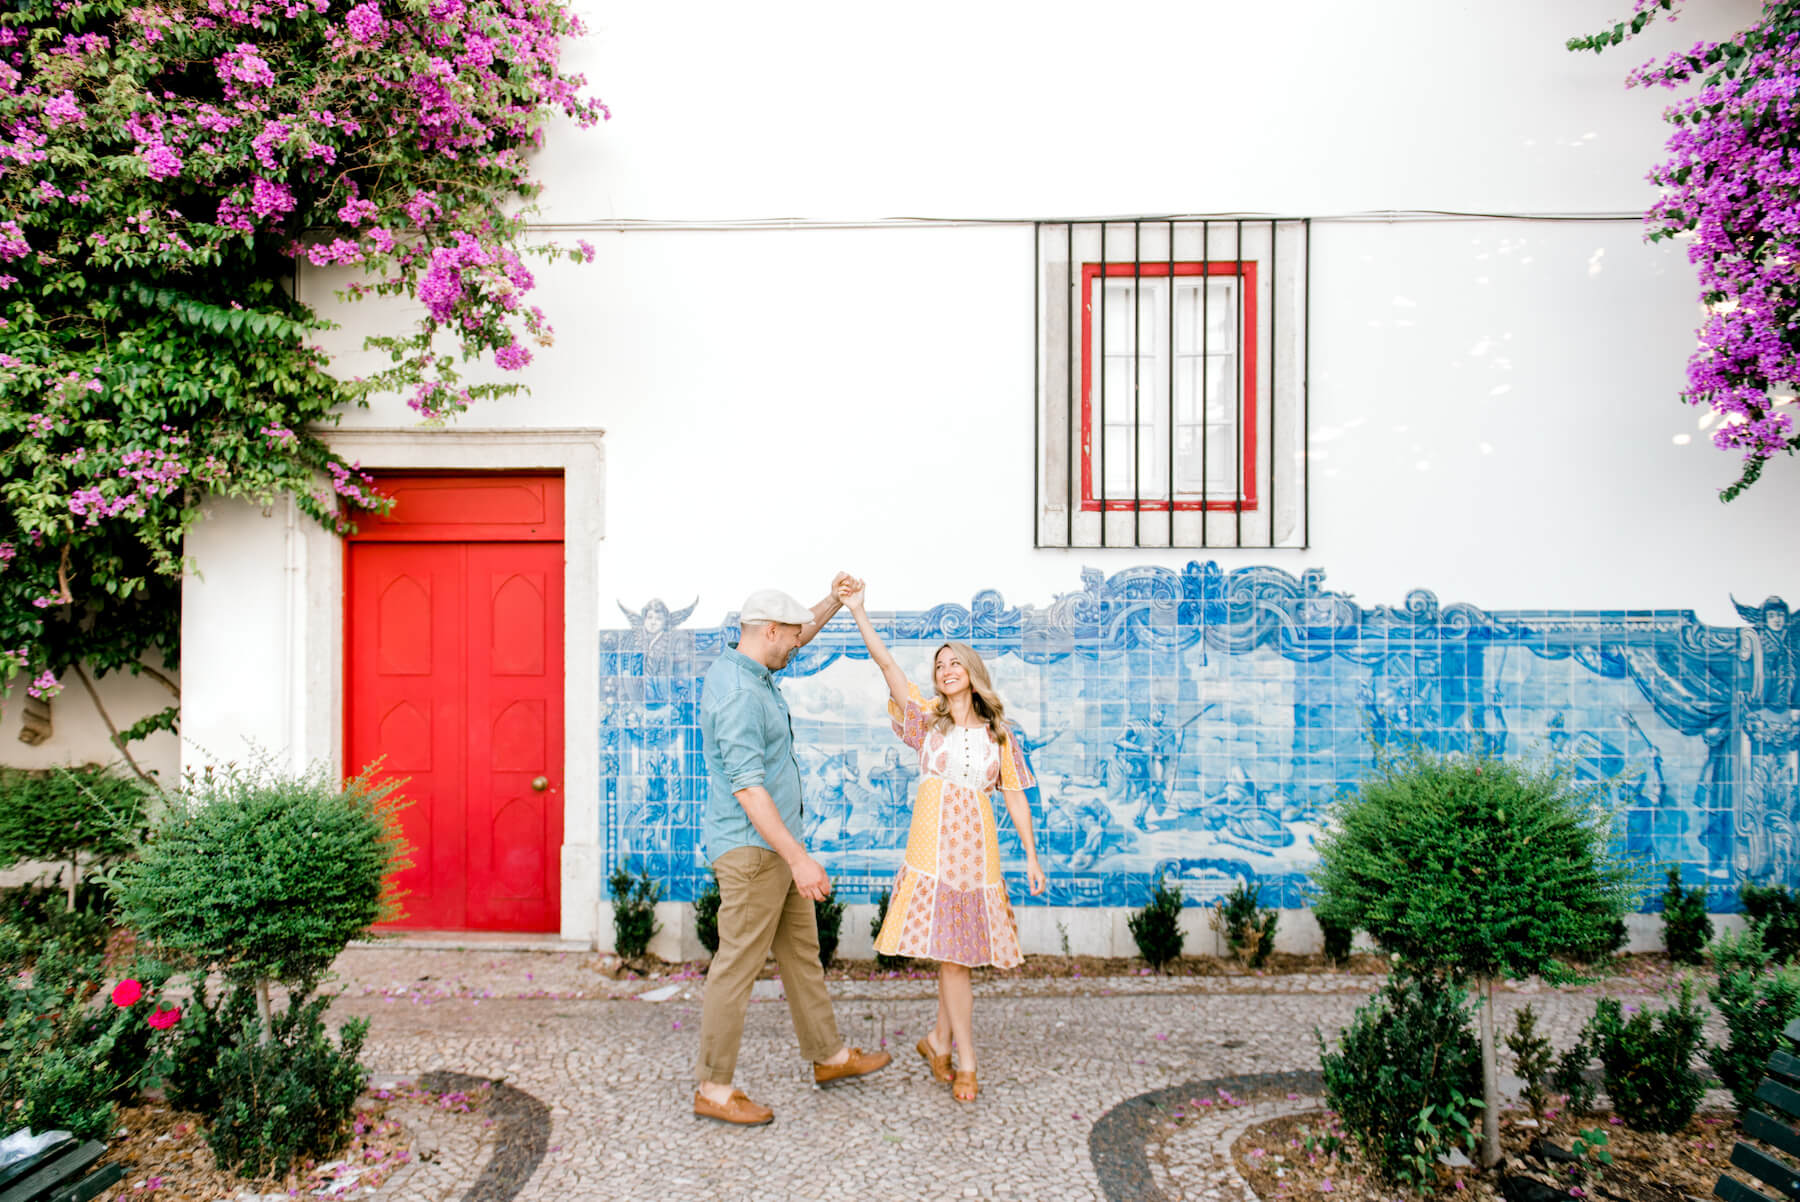
Step One: Start creating Your Memories
2. Create a Layout
Once you’ve settled on a style, you can start mapping out your memory masterpiece, determining how many photographs you’d like to feature, and their sizes. When deciding on frame sizes, you will want to account for matting. An 8×10 photo, for example, will look best in an 11×14 frame, with a 1.5×2 mat, or larger. At this stage, it’s prudent to cut out craft paper in corresponding sizes and arrange a mock layout on your wall to ensure your vision translates accurately to the room.
3. Print + Frame
Now that you’ve masterfully executed (and fallen in love with) your craft paper layout, it’s time to get your memories in frames. You can print (and frame!) your photos directly through the Flytographer dashboard by simply logging in to your account and selecting Order Prints. Easy, right? You can even print a memory-laden mug from which your morning coffee will surely taste even better.
There are print and framing options for every timeline and budget: from Costco prints and IKEA frames to local fine art printers and framers — and an internet full of resources to help you along the way. You’ve got this.
4. Hang Time!
Your memories are framed. Your layout is set. It’s time to get these puppies on the wall! You may be confident wielding a hammer and nail; but if not, there are loads of handy tools to help you mount your memories (or hire a local professional!). If you are hanging the pictures yourself, best practice is for your lowest frame to hang 4-8 inches above your furniture, or 50-60 inches above the floor.

5. Style + Celebrate
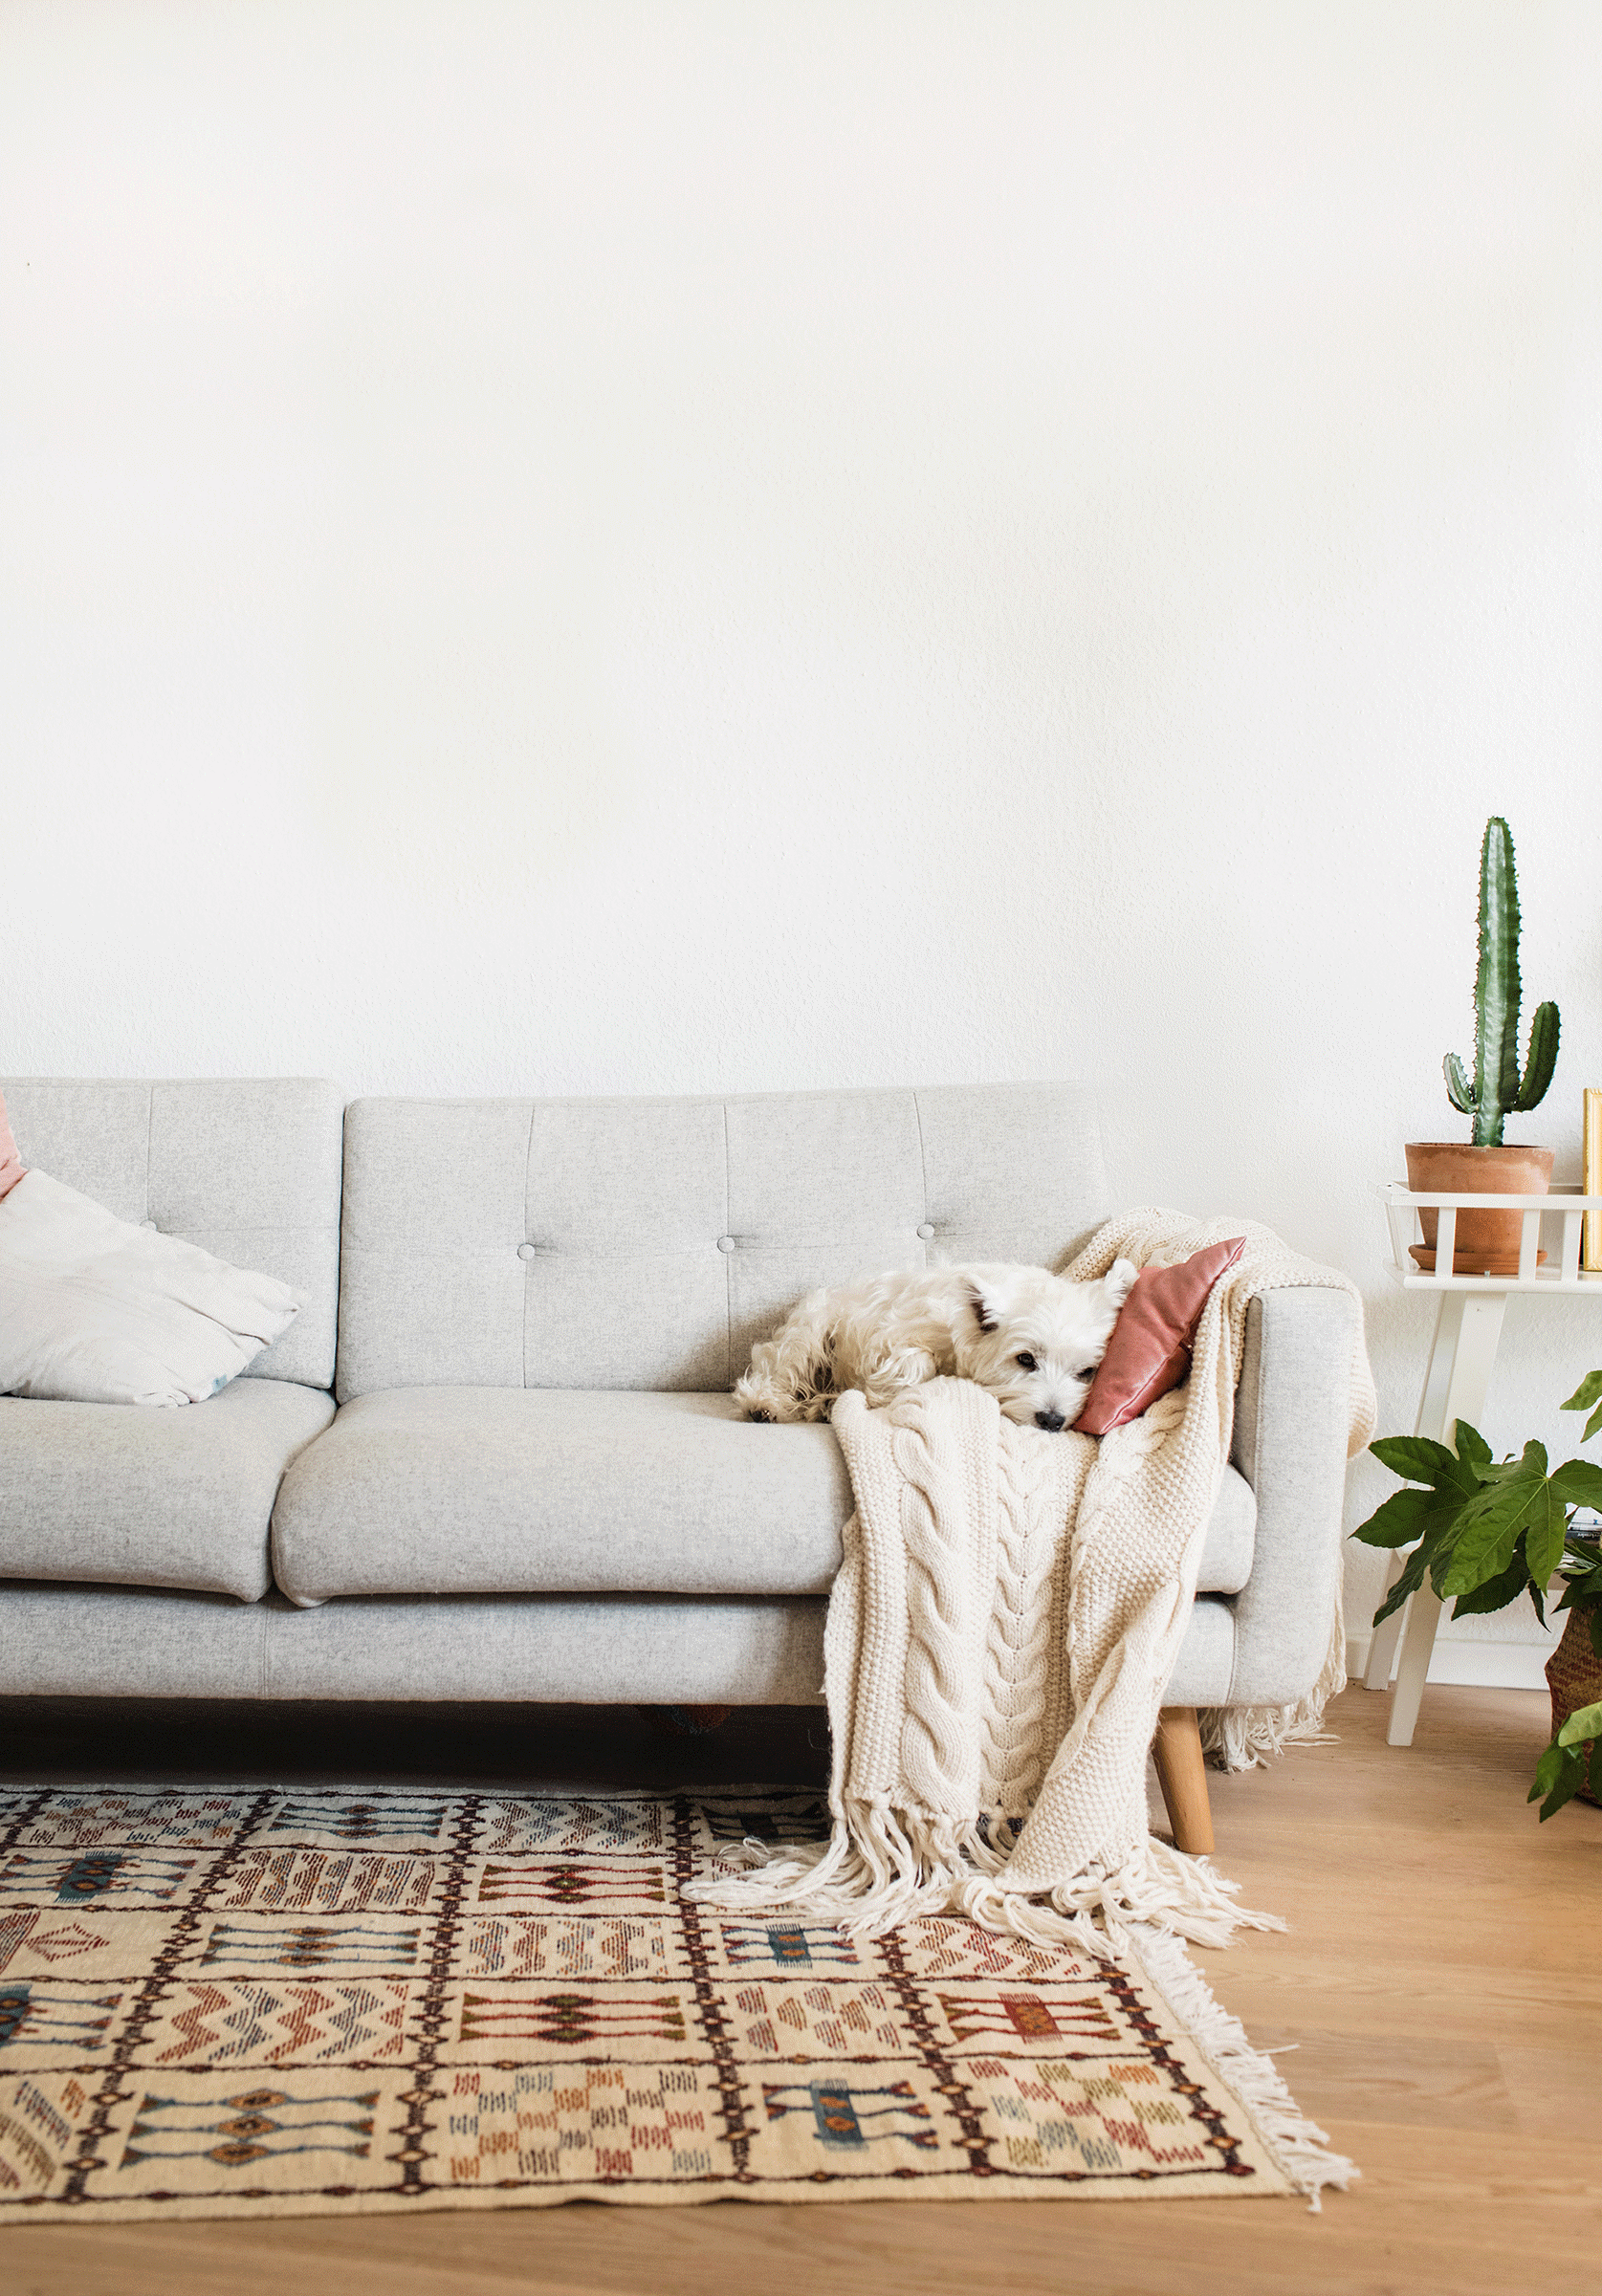
Step back and revel in your design brilliance. Bonus points for splurging on that fab throw pillow, floor lamp, or giant cactus to complete the look. Pop the bubbly (water or vino) — and celebrate your home feeling a little bit more like home.
Itching for your next adventure? Where will your next #WallWorthy adventure take you?
Step One: Start creating Your Memories
