Enjoy $20 Off Your First Shoot 📸 🎉
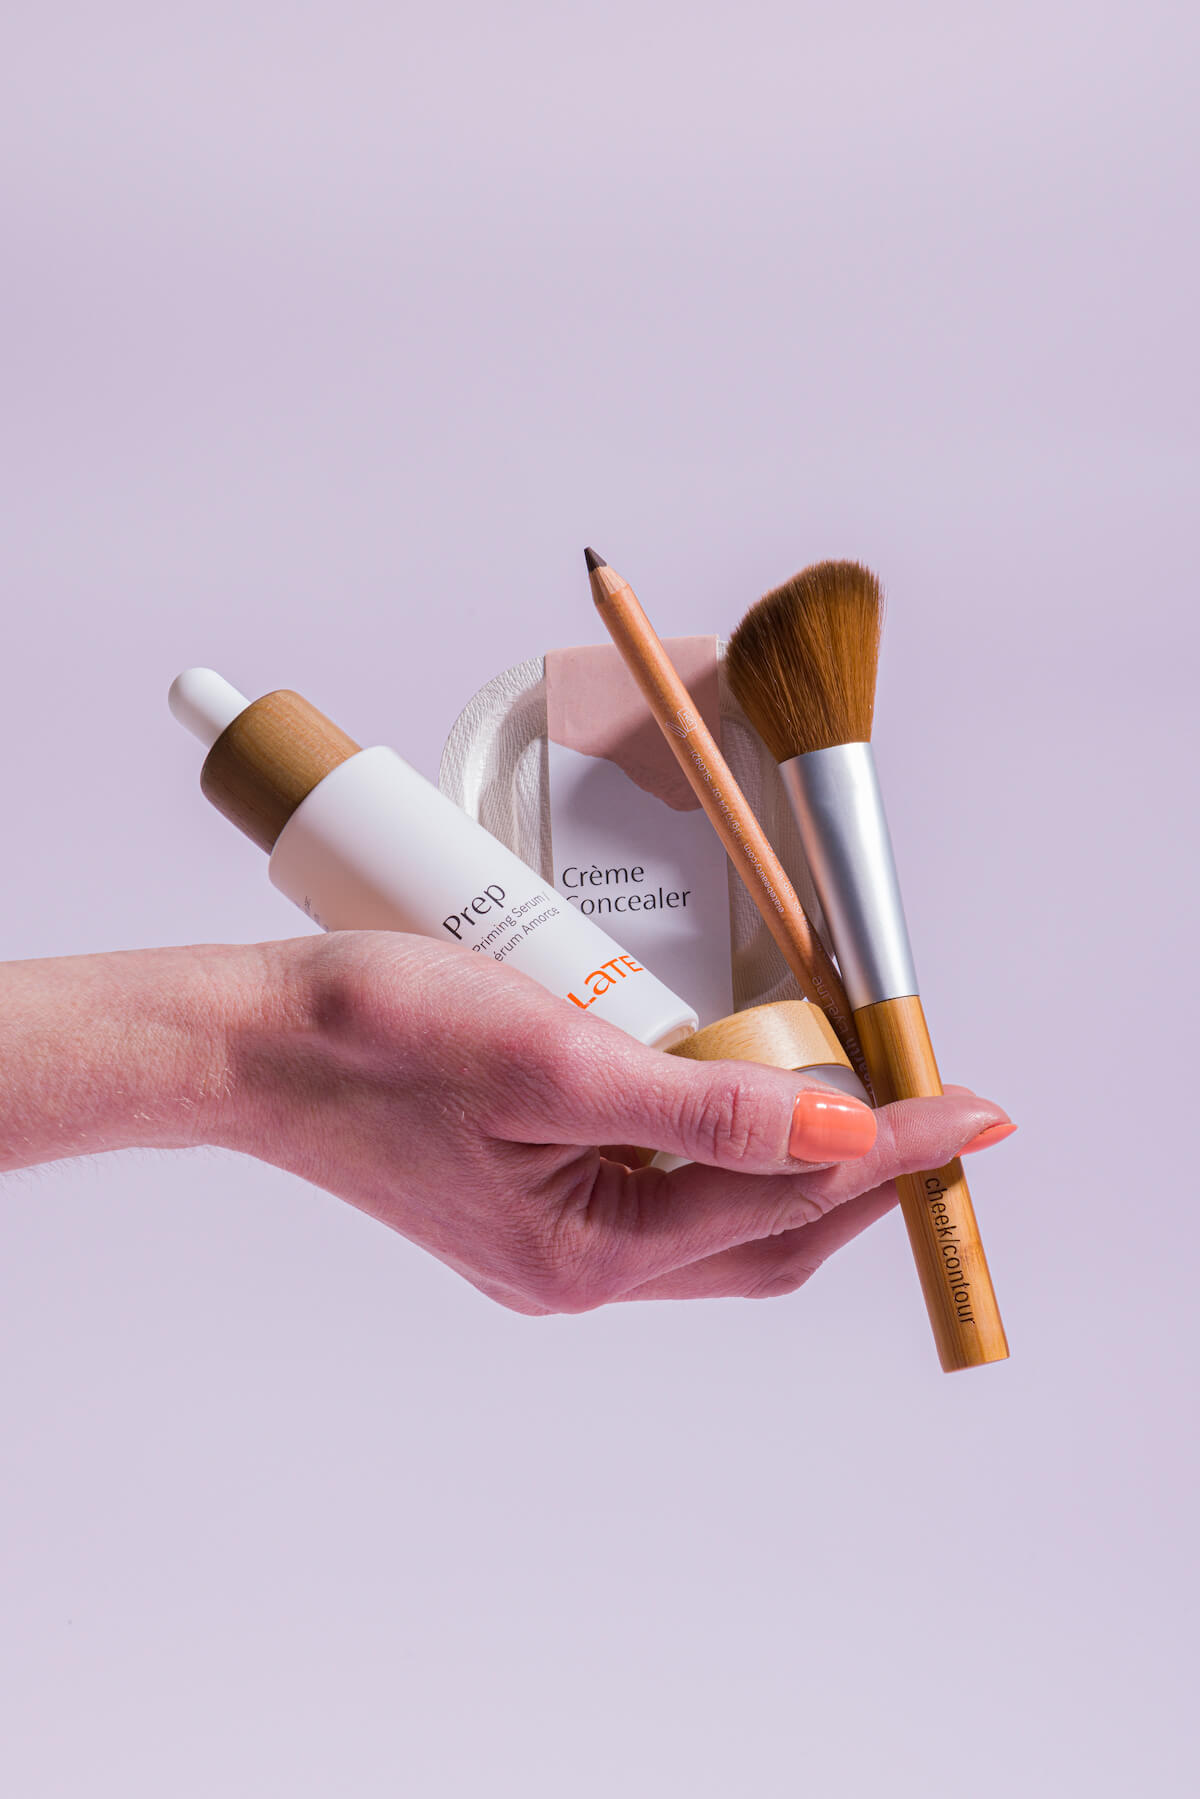
How to do Your Makeup For a Photoshoot With Elate Beauty
What makeup should I wear for a photoshoot?
Whether it’s an impromptu photoshoot in your hometown or a holiday halfway around the world, you don’t need to be a professional makeup artist to be photo-ready! 📸 We partnered with Elate Beauty to swap out drugstore brands for a clean and sustainable alternative. With our step-by-step makeup tutorial and a few insider tips and tricks, you can do your own makeup for a photoshoot and feel perfectly polished for your close-up with a local Flytographer!
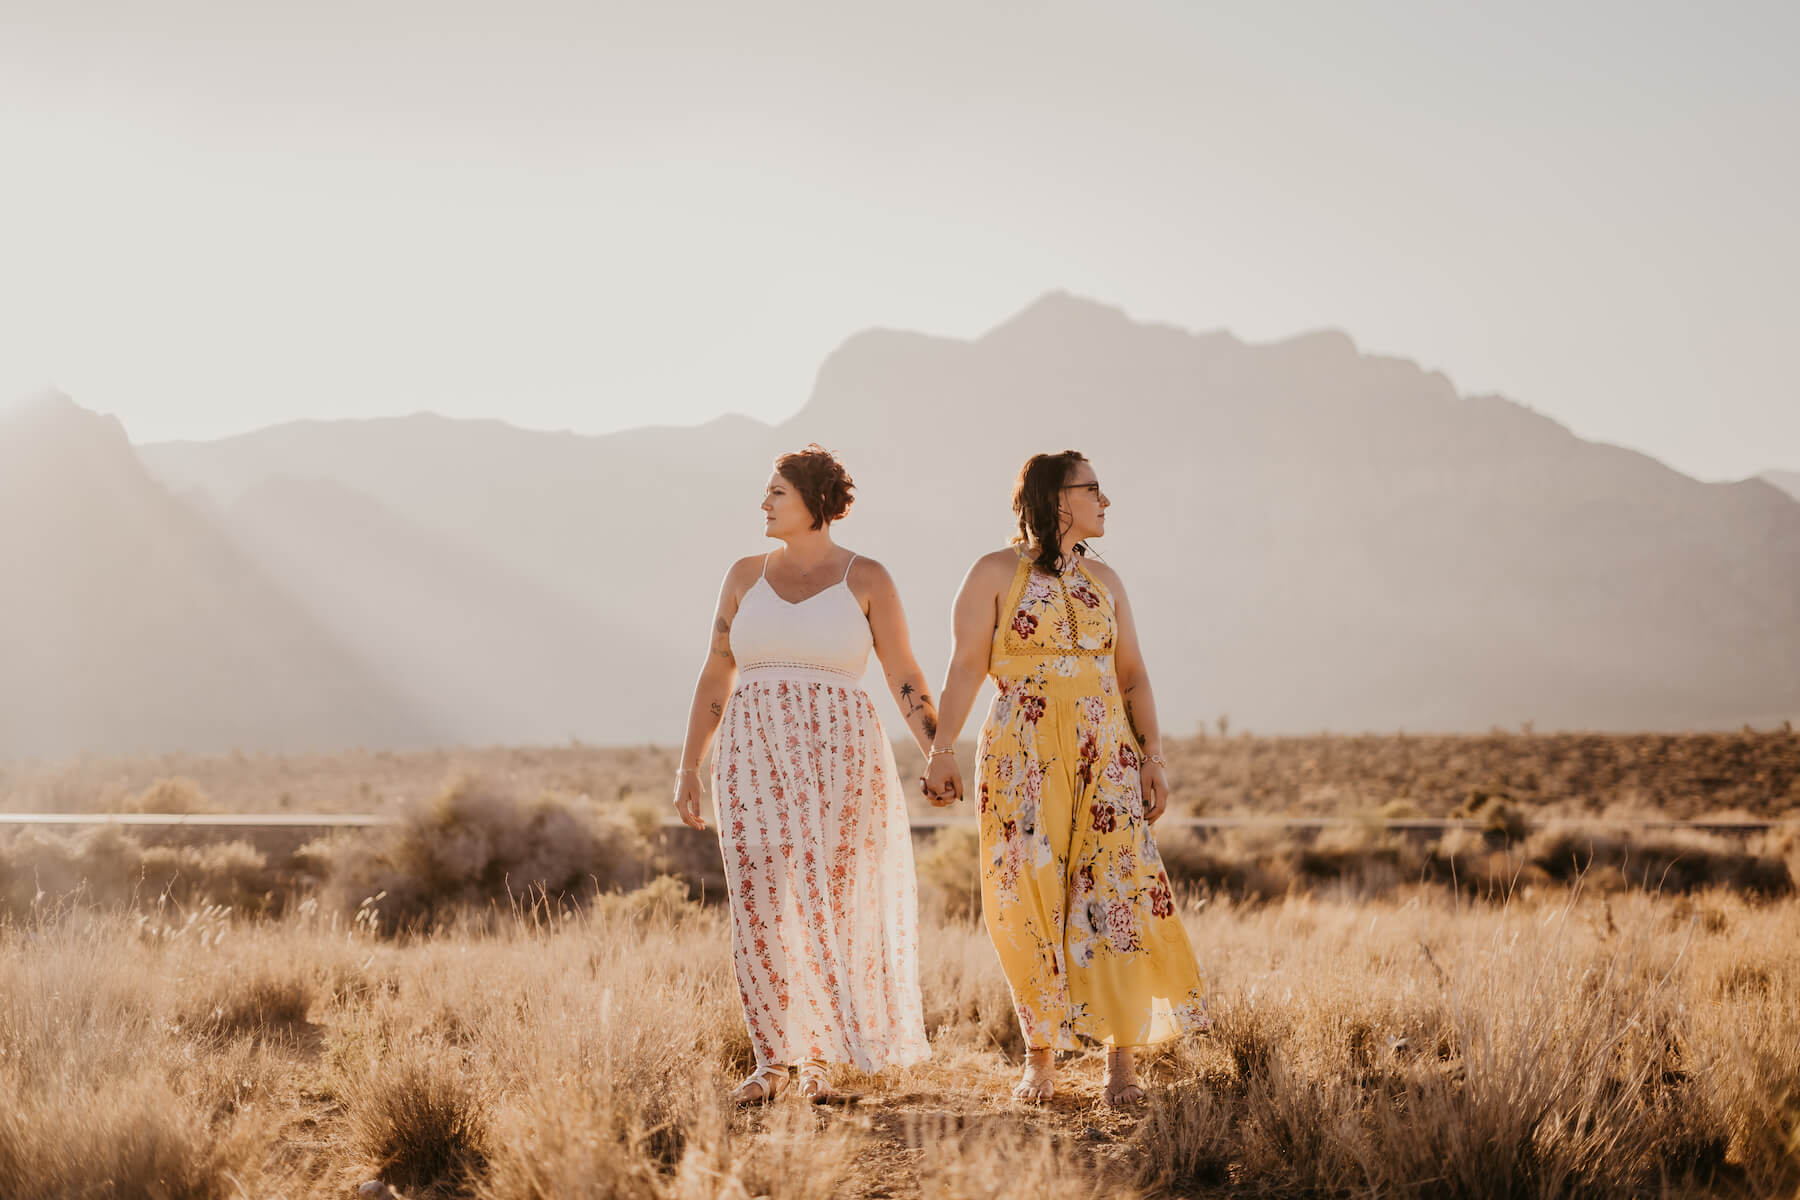
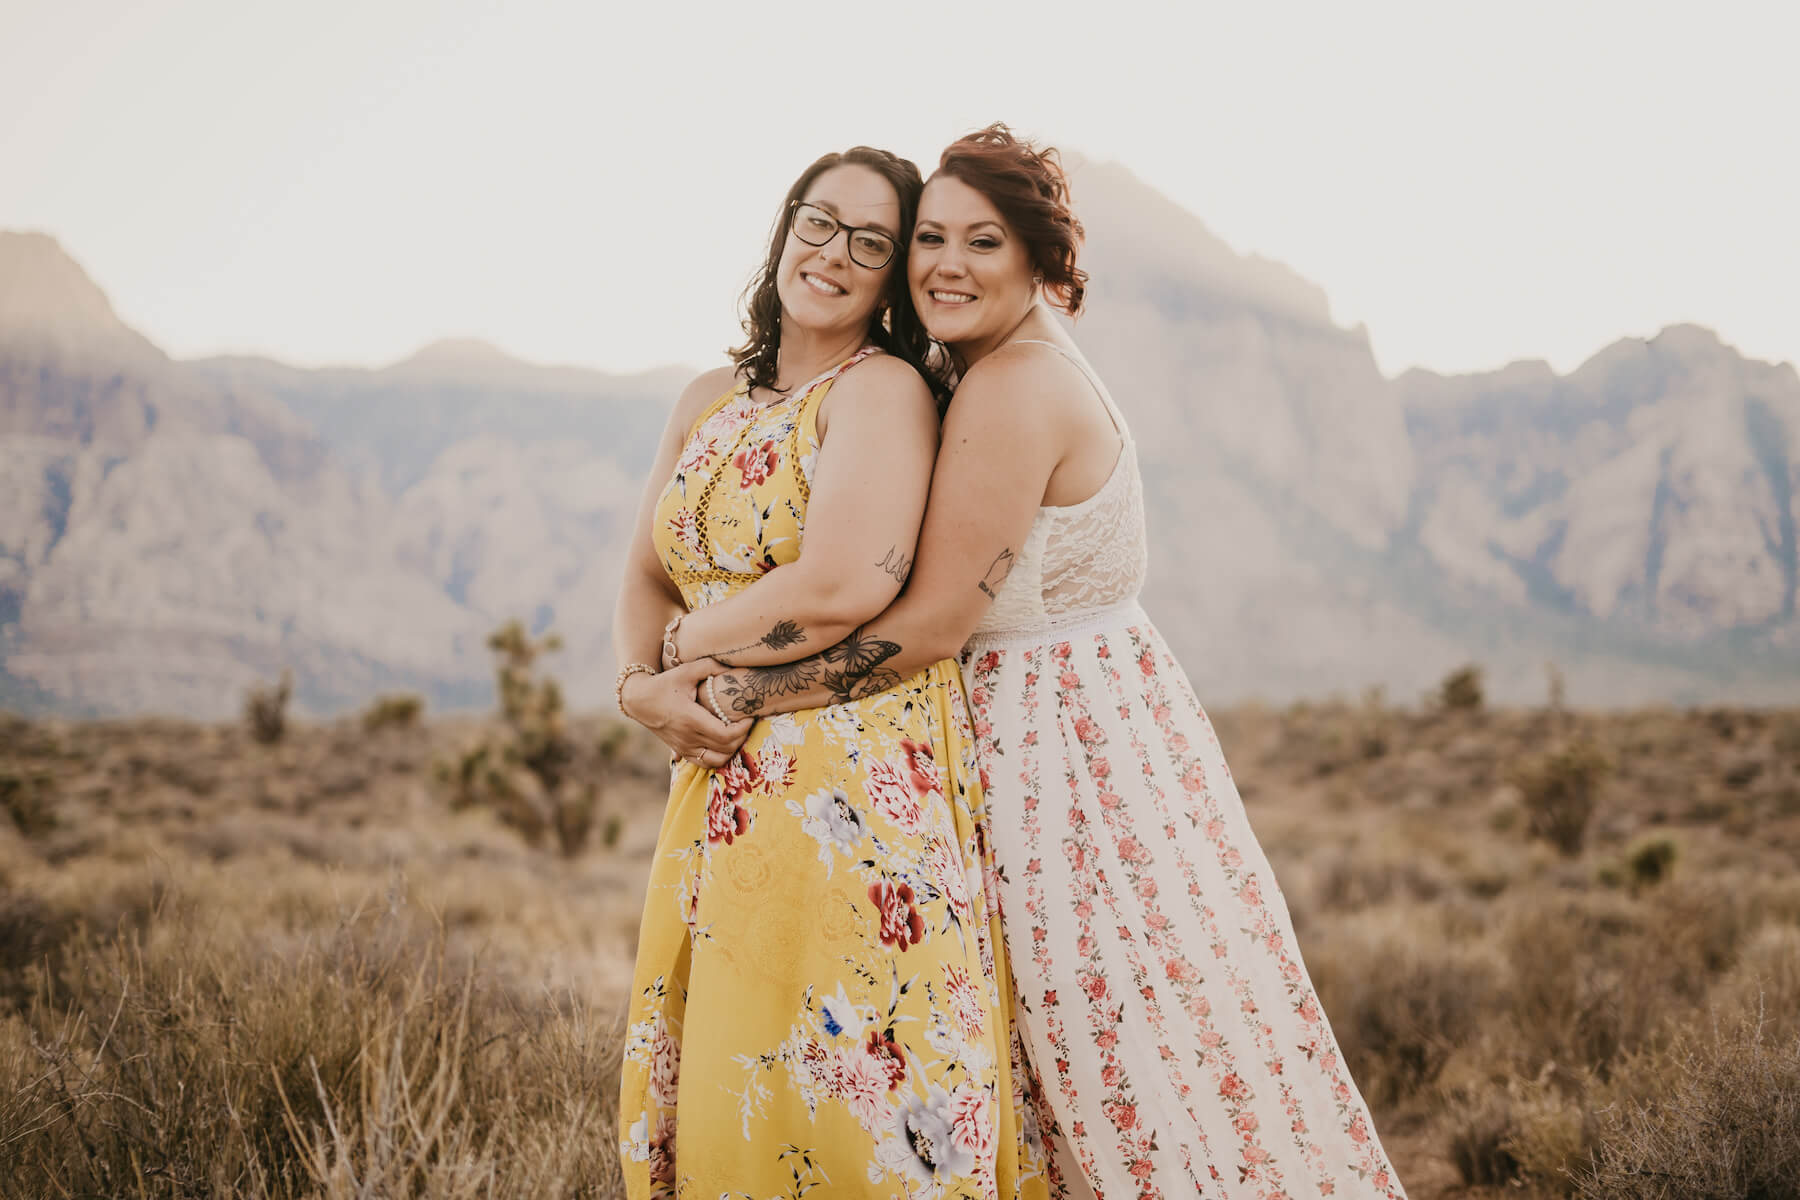
Photos: Flytographer in Las Vegas. Kristyn and partner celebrate their engagement in Las Vegas on a surprise proposal photoshoot.
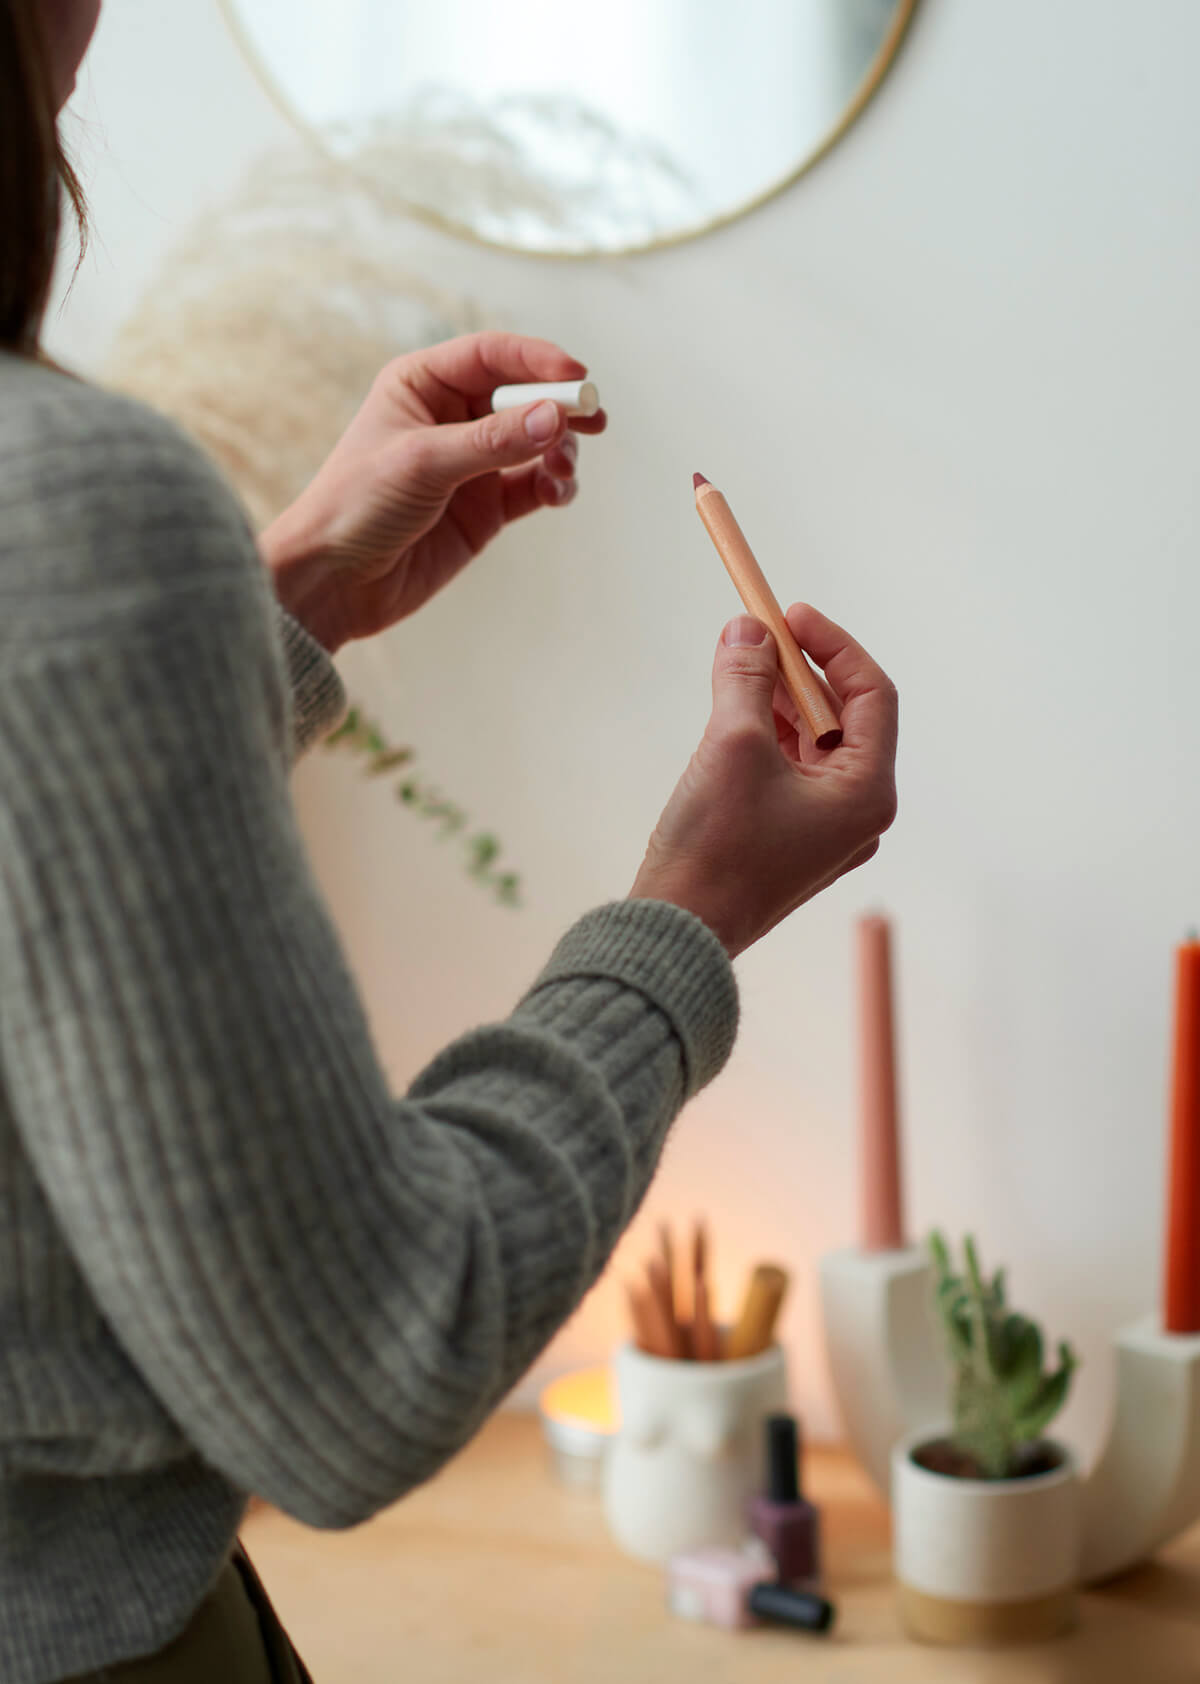
Where is the best place to put on makeup?
Where you put on your makeup matters. Set yourself up for success by choosing natural, indirect sunlight; position your mirror in front of a window to see your application in the most realistic light possible. ☀️
Pro Tip: You want to look like YOU — just the best version of you. If your go-to look is simple, keep it simple … but just dial it up a couple of notches. If you love everyday glam — glam it up! When you get your photos back, you will love what you see.
How do I make my skin look good in a photoshoot?
Skincare is always the first step to a great makeup application. Cleanse, tone and apply a light moisturizer to your face. 🧴 This will protect your skin and give your makeup a more natural look. If your photoshoot is outside, be sure to add a light SPF as well, avoiding products that leave a white cast. Eye cream will help to minimize fine lines, and a good hydrating makeup primer will ensure a smooth and lasting application.
Pro tip: Wait at least one minute after skincare/primer to begin applying your makeup. This allows the products to settle on your skin.
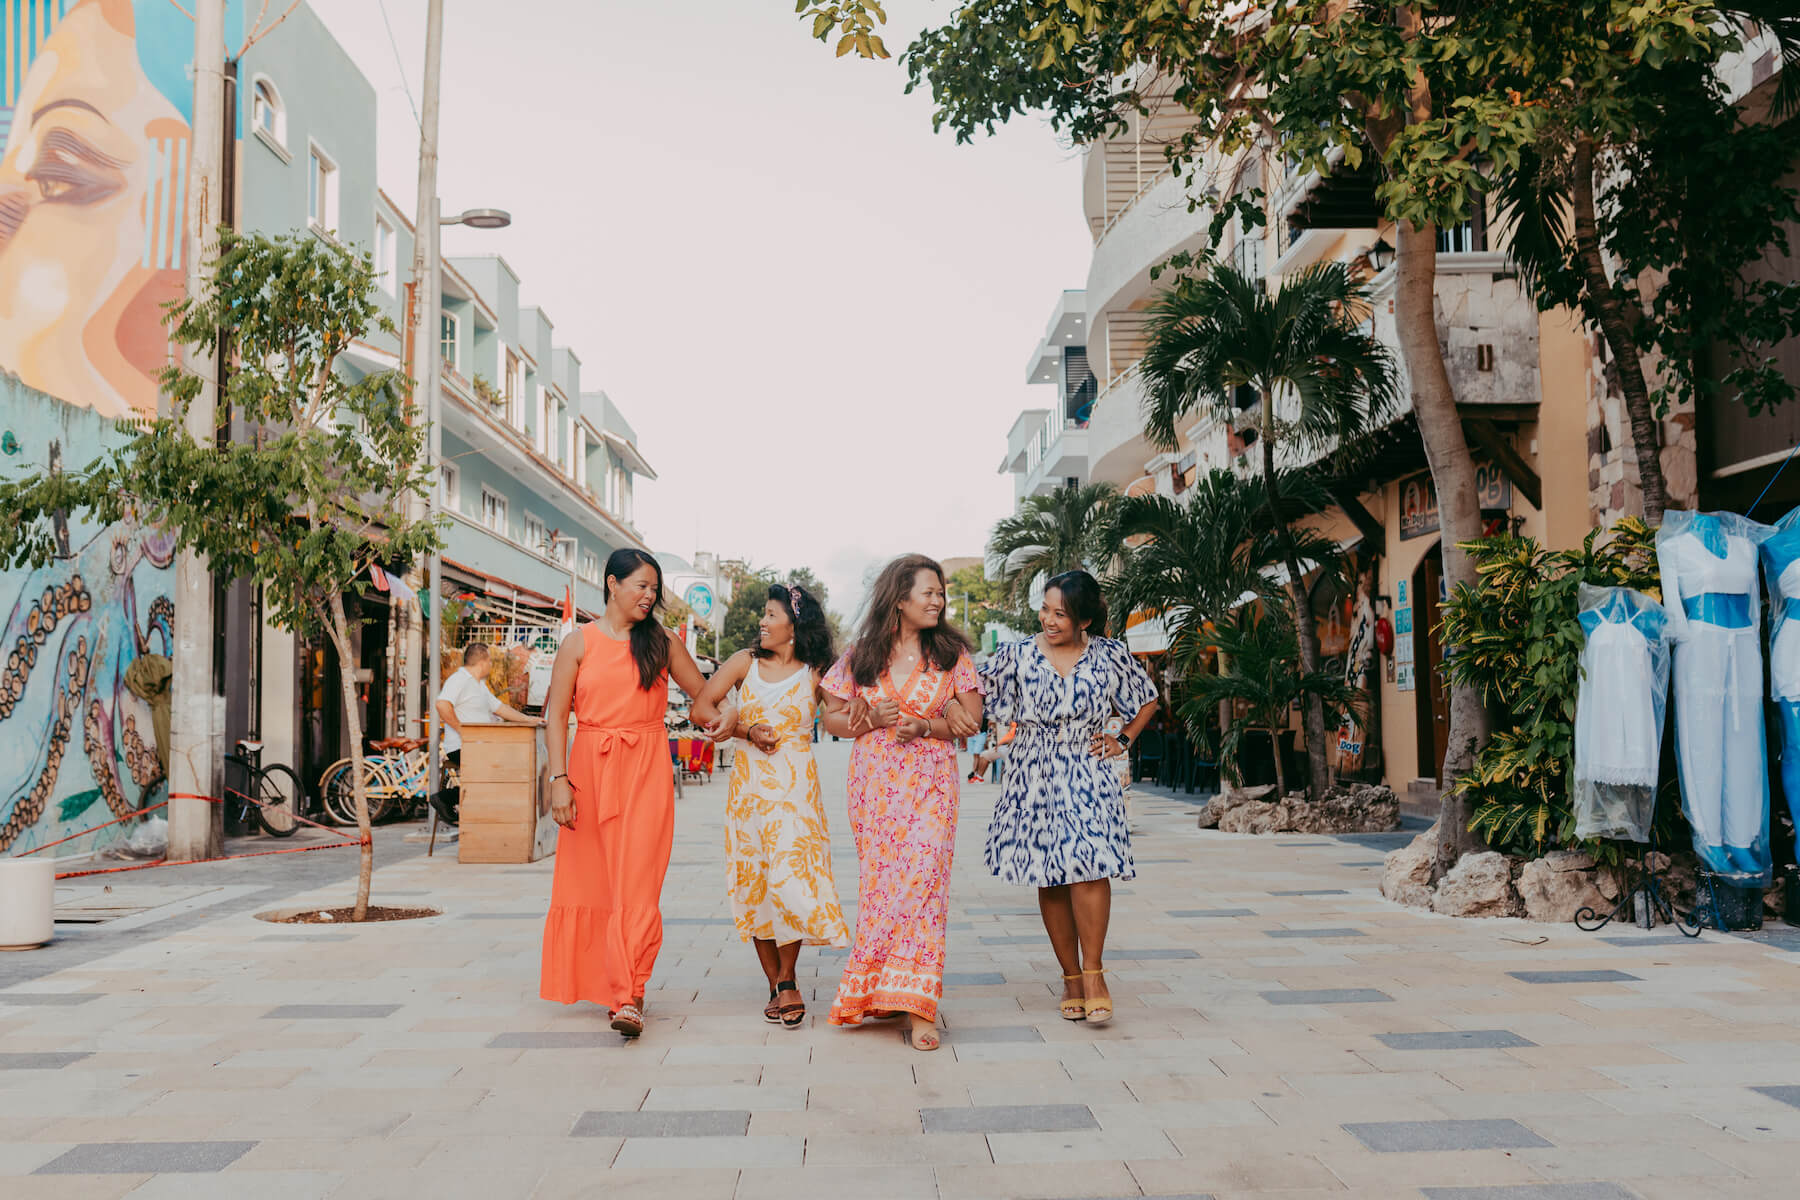
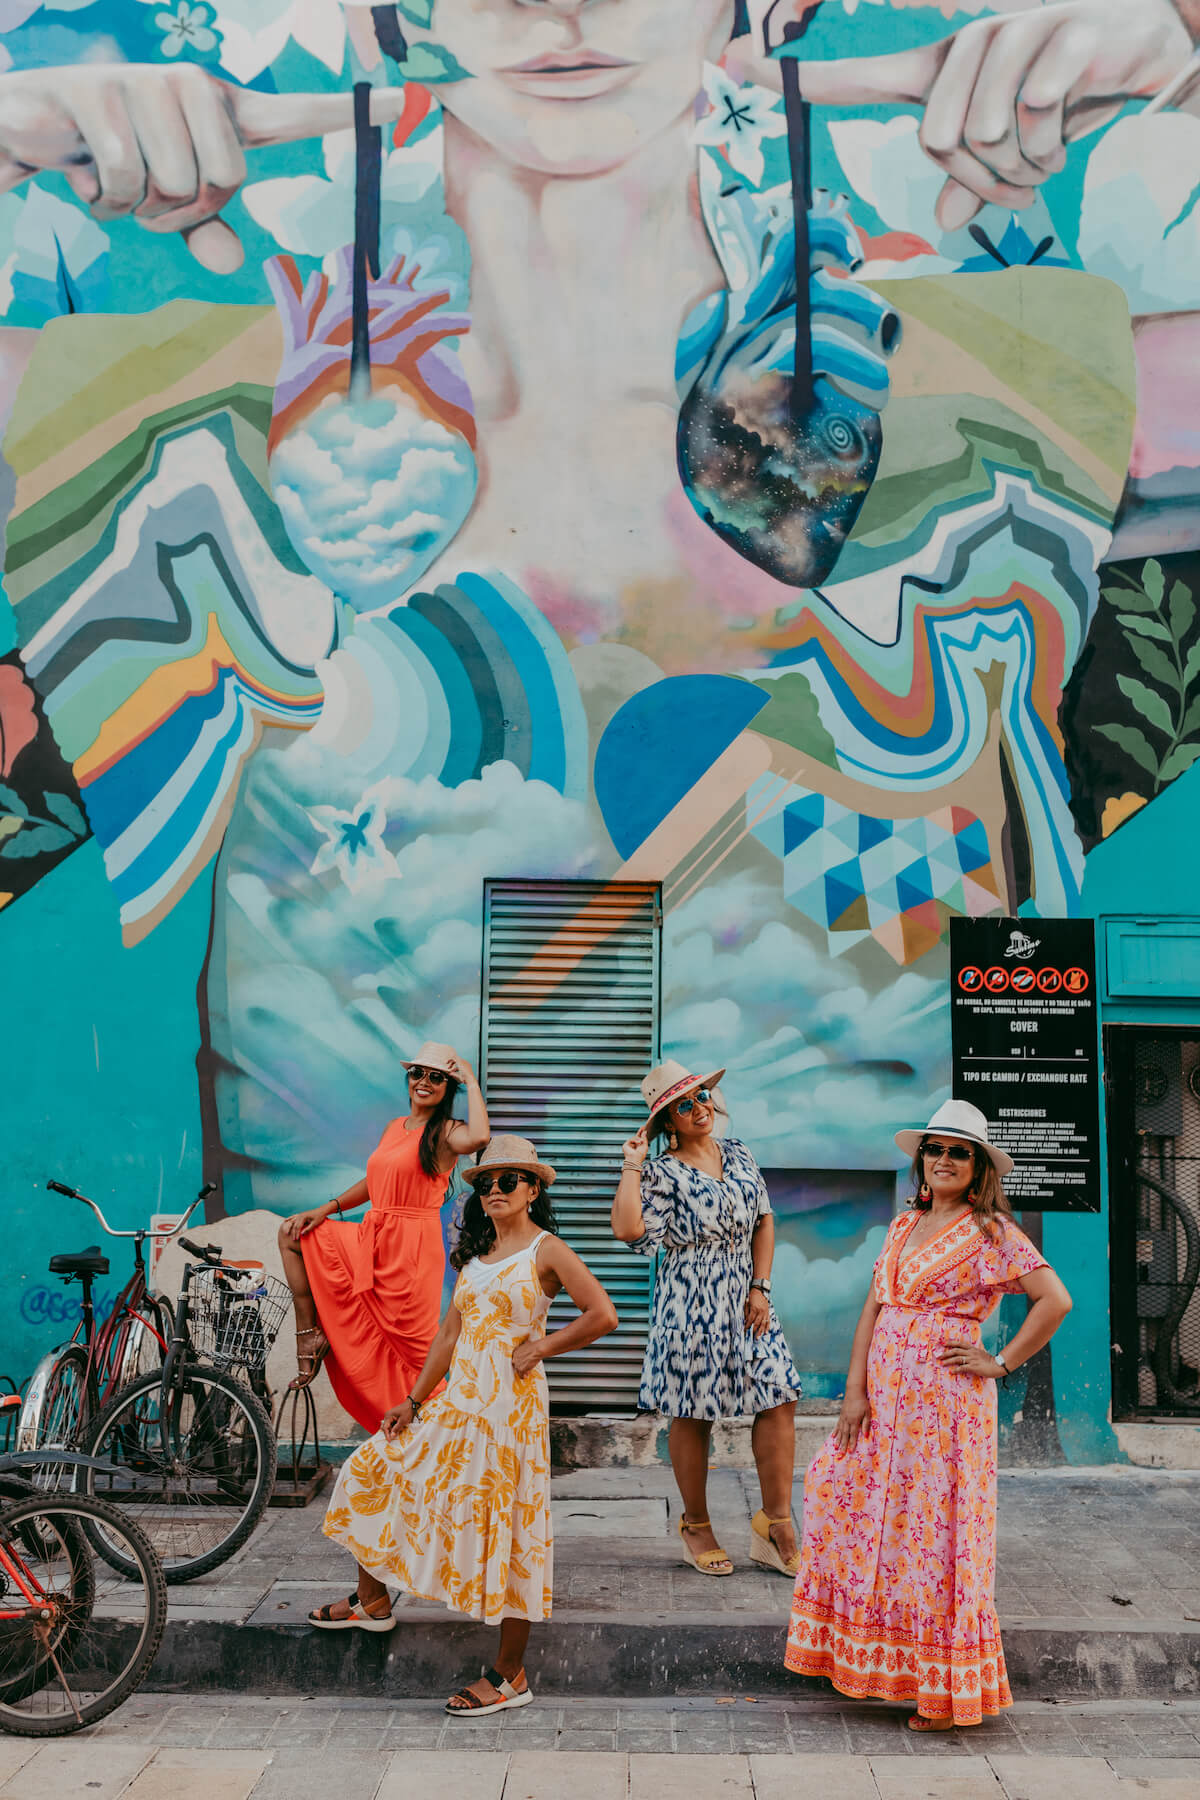
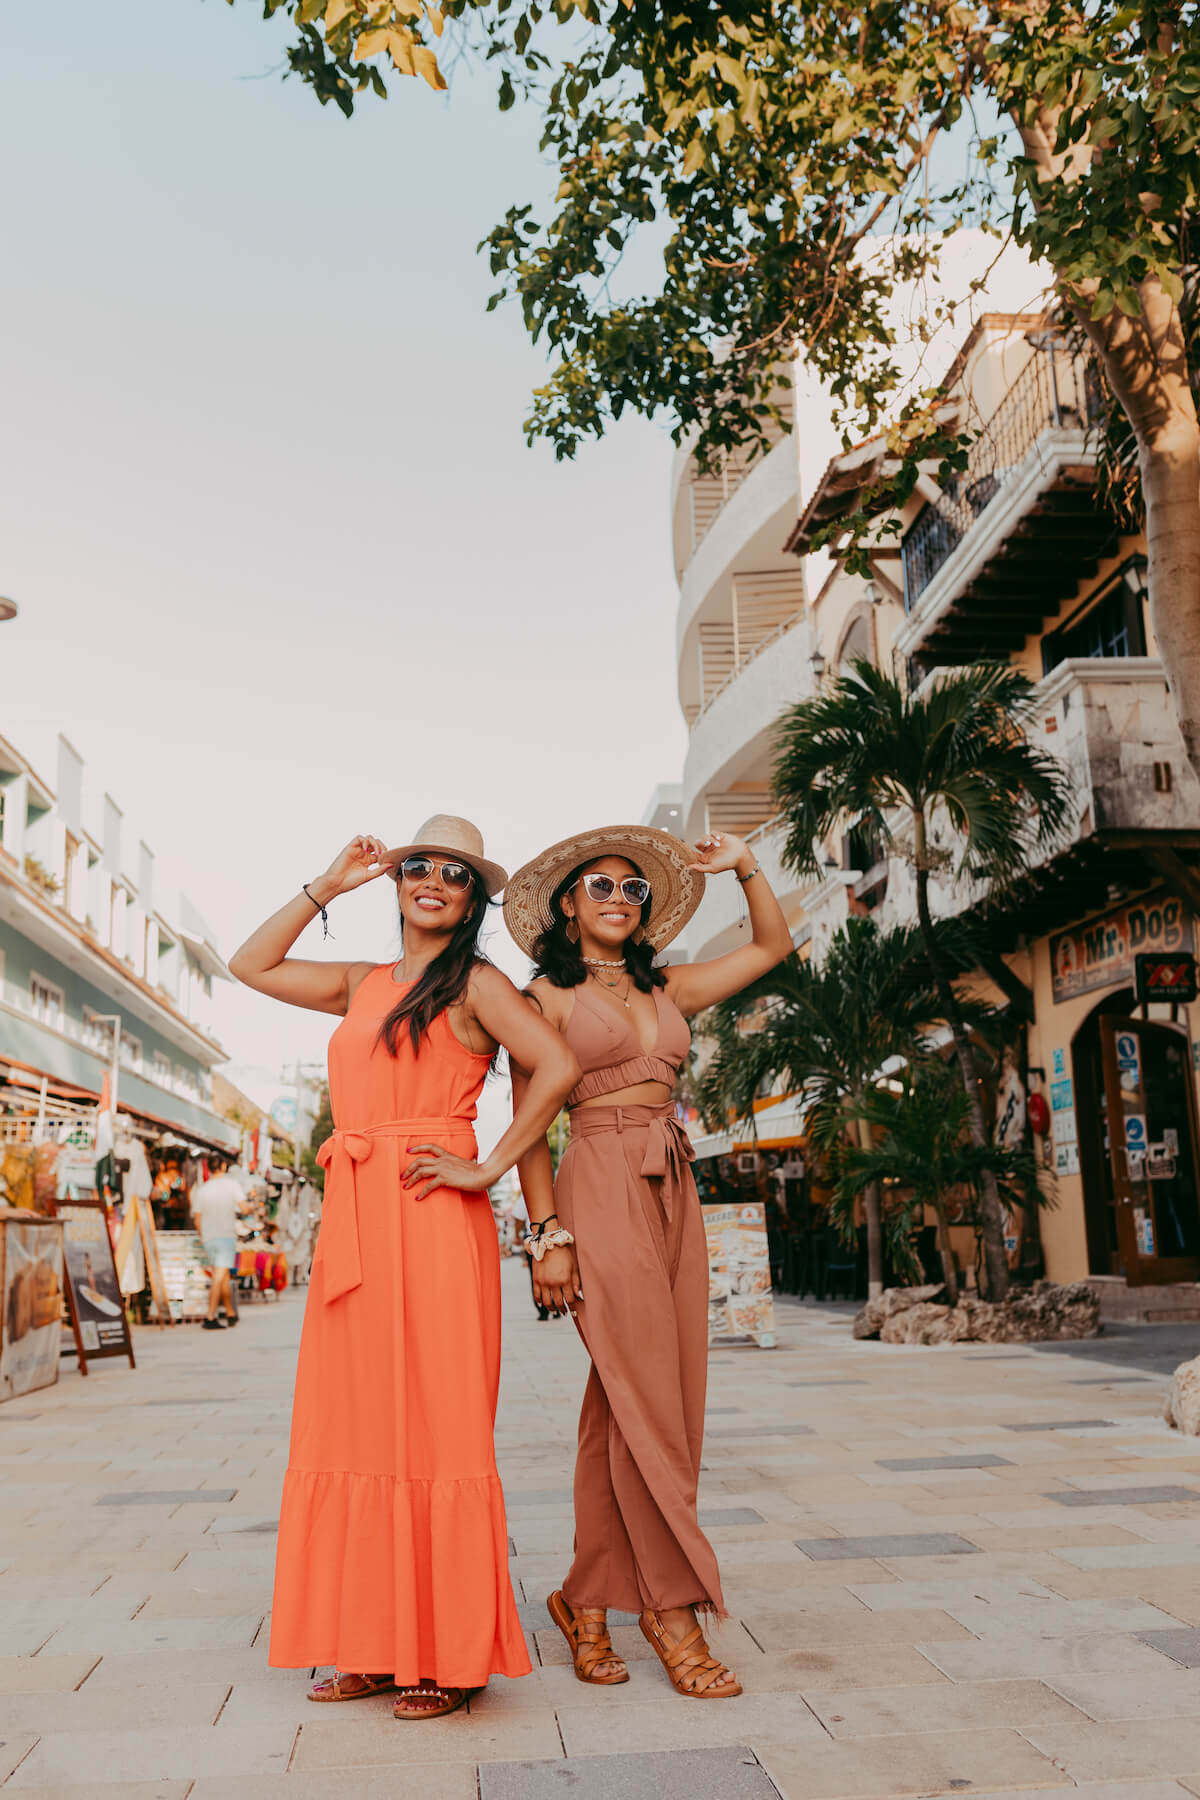
Photos: Claudia in Playa del Carmen for Flytographer. Melanie and friends capture memories on a trip to Cancun with a friends photoshoot.

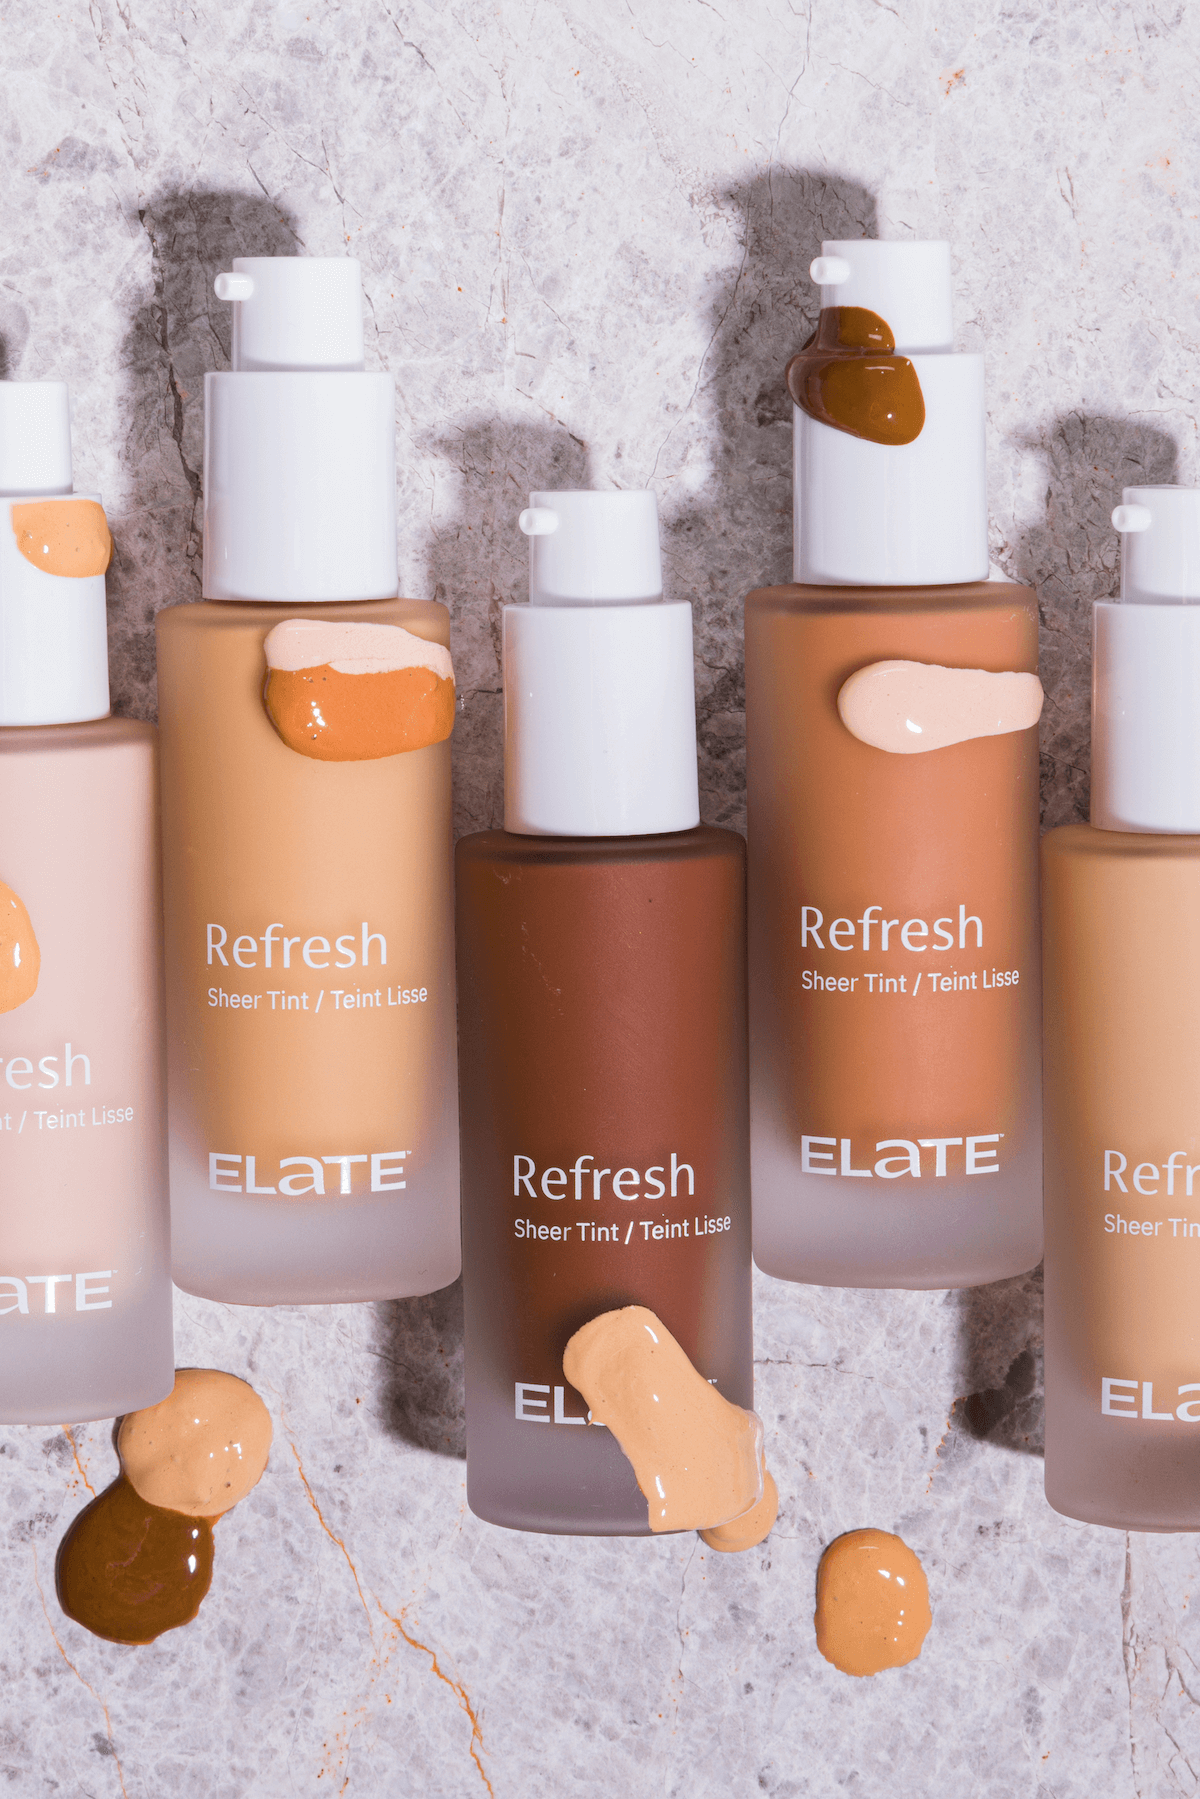
What is the best way to apply foundation?
Foundation
After your skin is prepped, apply your foundation first, using the lightest coverage needed to smooth and even out skin tone. Remember to only put foundation where you need it. Choosing a foundation that is right for your skin type is imperative. If you have dry skin, go for a moisturizing foundation. For oily skin, a powder foundation may work best.
Always build your layers slowly, as you can always add more, but to take away, you will need to start all over again. 🙈
Pro tip: Use a foundation brush and gently buff the product into your skin until it is even.
Concealer
Once your foundation is on, you will see the areas that need concealer more clearly. Try using a concealer that is about a half shade lighter than your foundation. This will help to eliminate dark circles under the eyes and any areas that are standing out. If you have blemishes, keep in mind that the camera will pick up cakey makeup more than the blemish itself, so use minimal products to blend all around the area to lighten and conceal. Less is more with concealer as well; using a small amount of product on your ring finger, tap on under the eyes in a triangle. Blend upwards with a small fluffy brush.
Pro tip: If you are comfortable, a green-based concealer helps to hide angry blemishes. Use this before your foundation to counteract any extra redness.
Powder
Now that your canvas is just about ready, your last step is powder. If you need more coverage, adding pressed powder at this stage will give you a full-coverage finish. Translucent powder will set your foundation and concealer and become the base for the rest of your makeup. Both types of powder do a great job of creating a matte finish. Cameras pick up extra shine wherever it is, so we want our complexion to be a little more matte than usual. A subtle natural glow will be the best makeup for a photoshoot. ✨
Pro tip: Tap the powder into the brush — this will ensure even distribution.


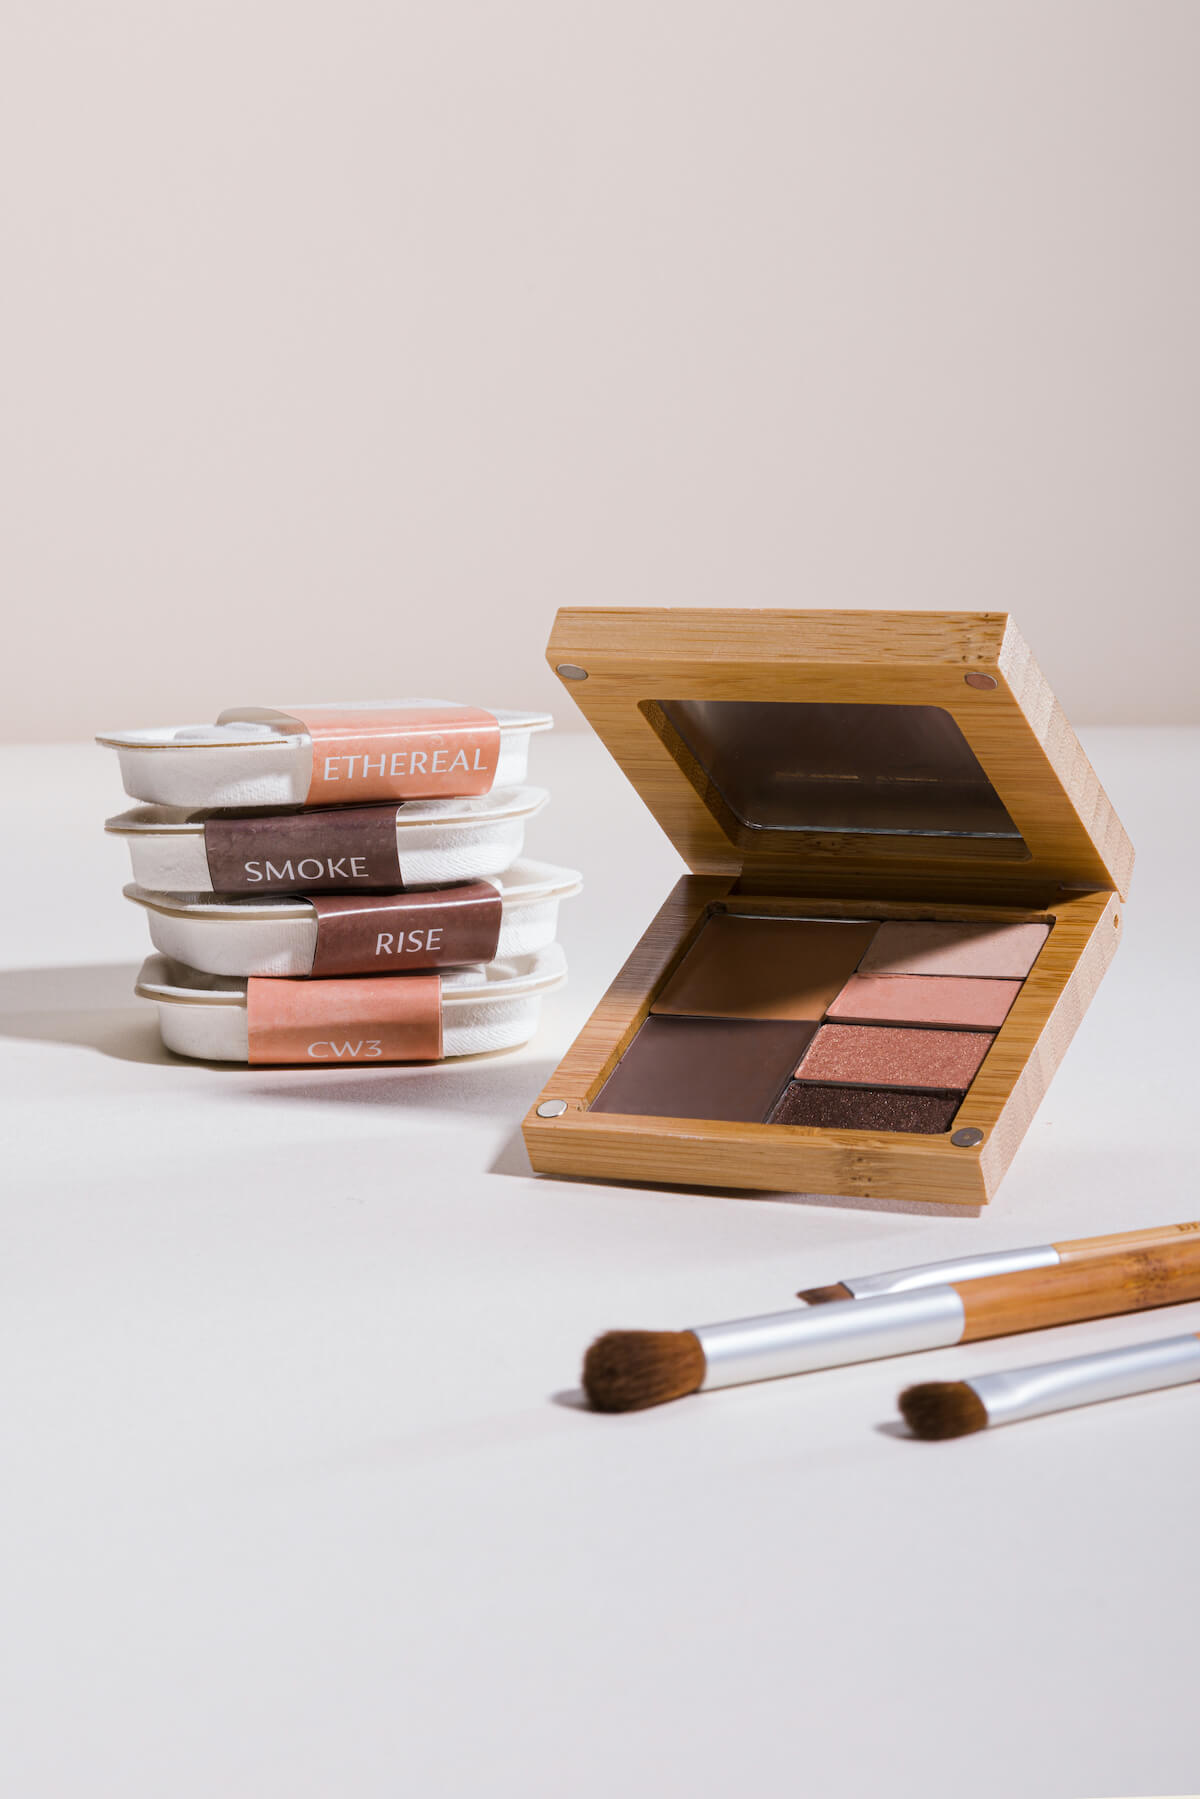
How do I make my eyes stand out in pictures?
When it comes to eyes, they truly are the window to the soul, and in photos, we want them front and center! A matte neutral eye shadow swept across the lids, paired with a colour 2-3 shades deeper in the crease of your eyelid, will add depth and shape. Adding light and shimmer to the inner corner will open your eyes up. 👁
For eyeliner, draw a thin line to outline the upper eyelashes, adding definition and a base for your lashes. If you have an eyelash curler, this will come in handy to sweep those lashes up and out for an “eyes wide open” look. Apply mascara to the top lashes and the bottom corner lashes.
Pro tip: When it comes to mascara, less is more. Layer your mascara on one coat at a time, allowing it to dry in between. Three coats should be the most you apply.
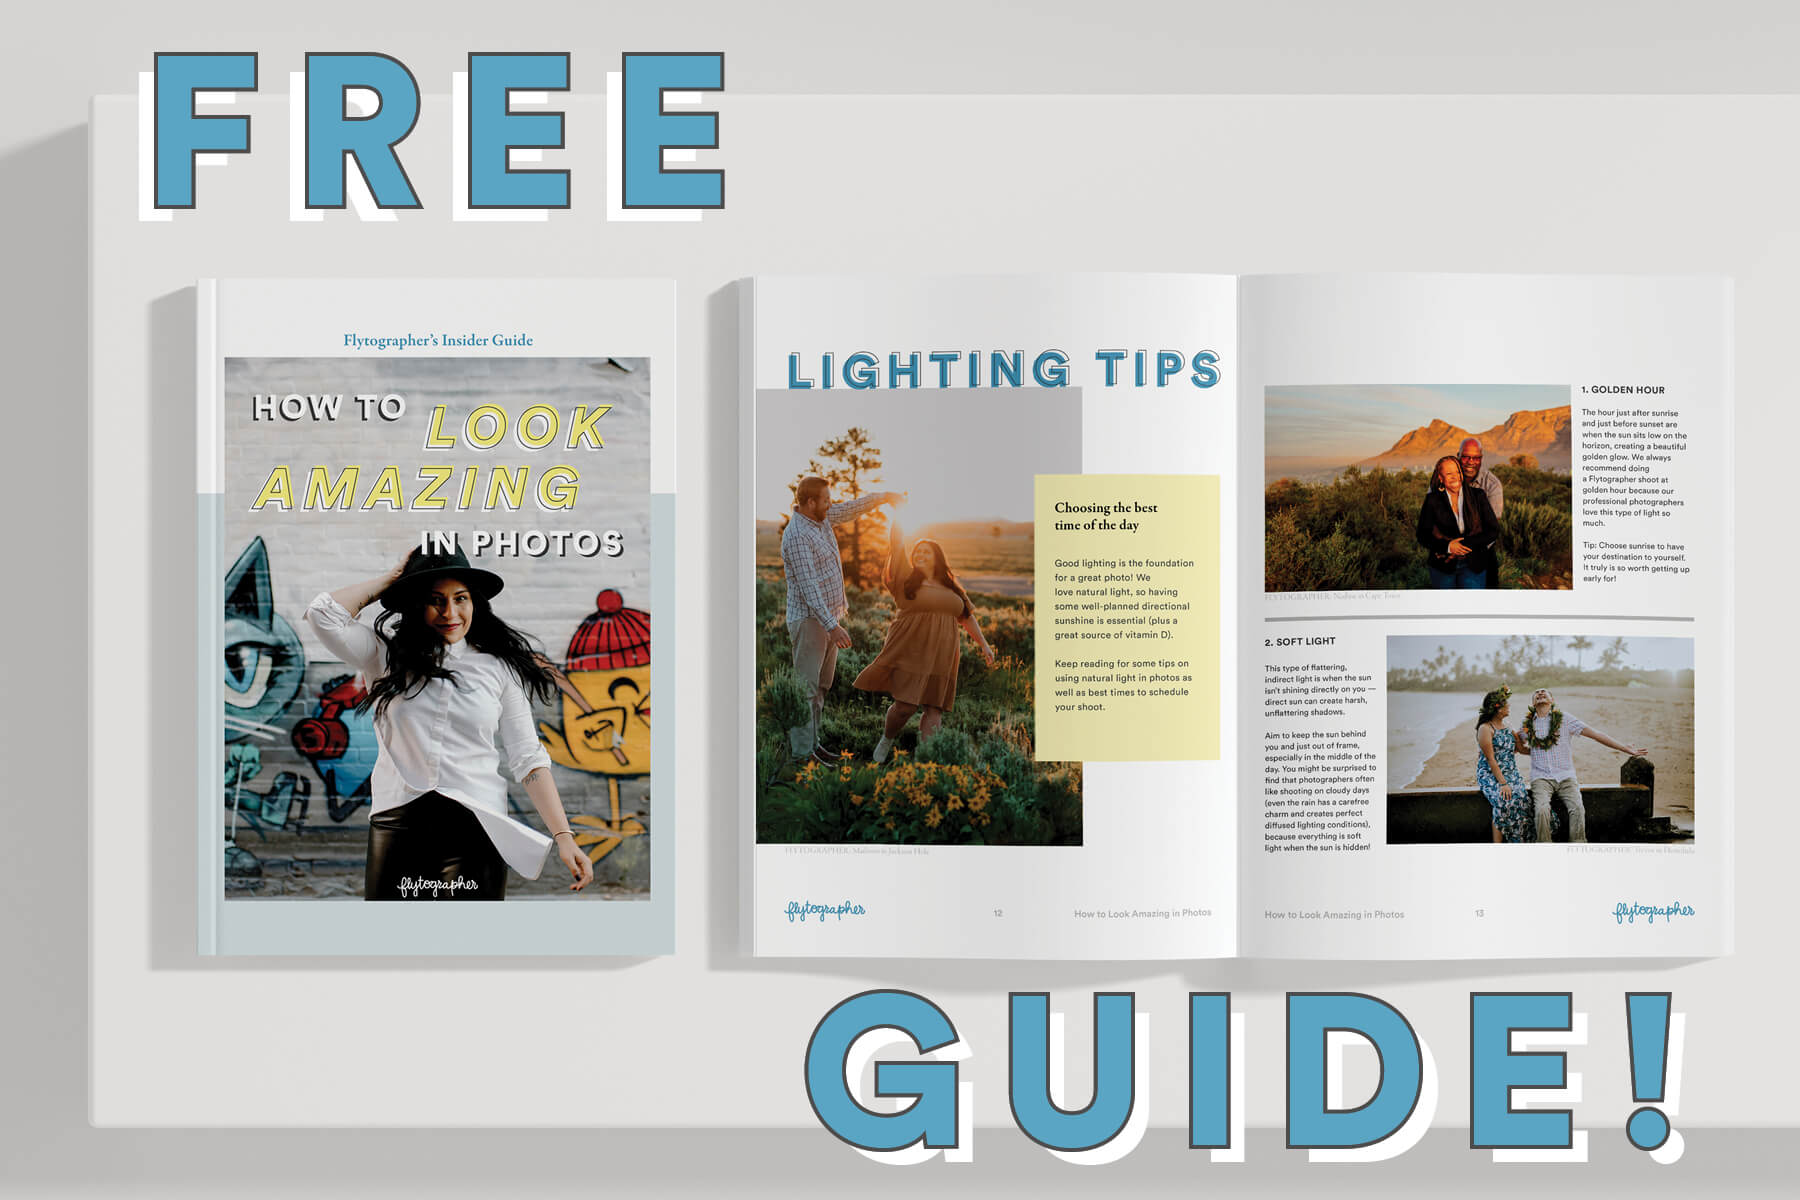
Look amazing in photos
Get 50+ insider tips on how to prepare, what to wear, and easy posing ideas for your next photo shoot!
Why do I look like I have no makeup on in photos?
With all the focus on the eyes, don’t forget those beautiful cheekbones! For finishing touches, blush is the best way to add warmth and dimension to your face in a photo. Choose a shade that compliments your eyes (ie, pink for green eyes, coral for blue) and apply to the outer apples and up into your temples. Remember, the camera takes away about 20% of the colour you will see, so don’t be afraid to be a little heavy-handed.
Finish up with your favourite lipstick or lip gloss — soft and neutral or bright and bold — whatever feels like you! 💄
Pro tip: Line your lips first for more definition and longer staying power. Be sure to line the bow of your lip (the upper peaks) and remove any extra product from the outer corners.
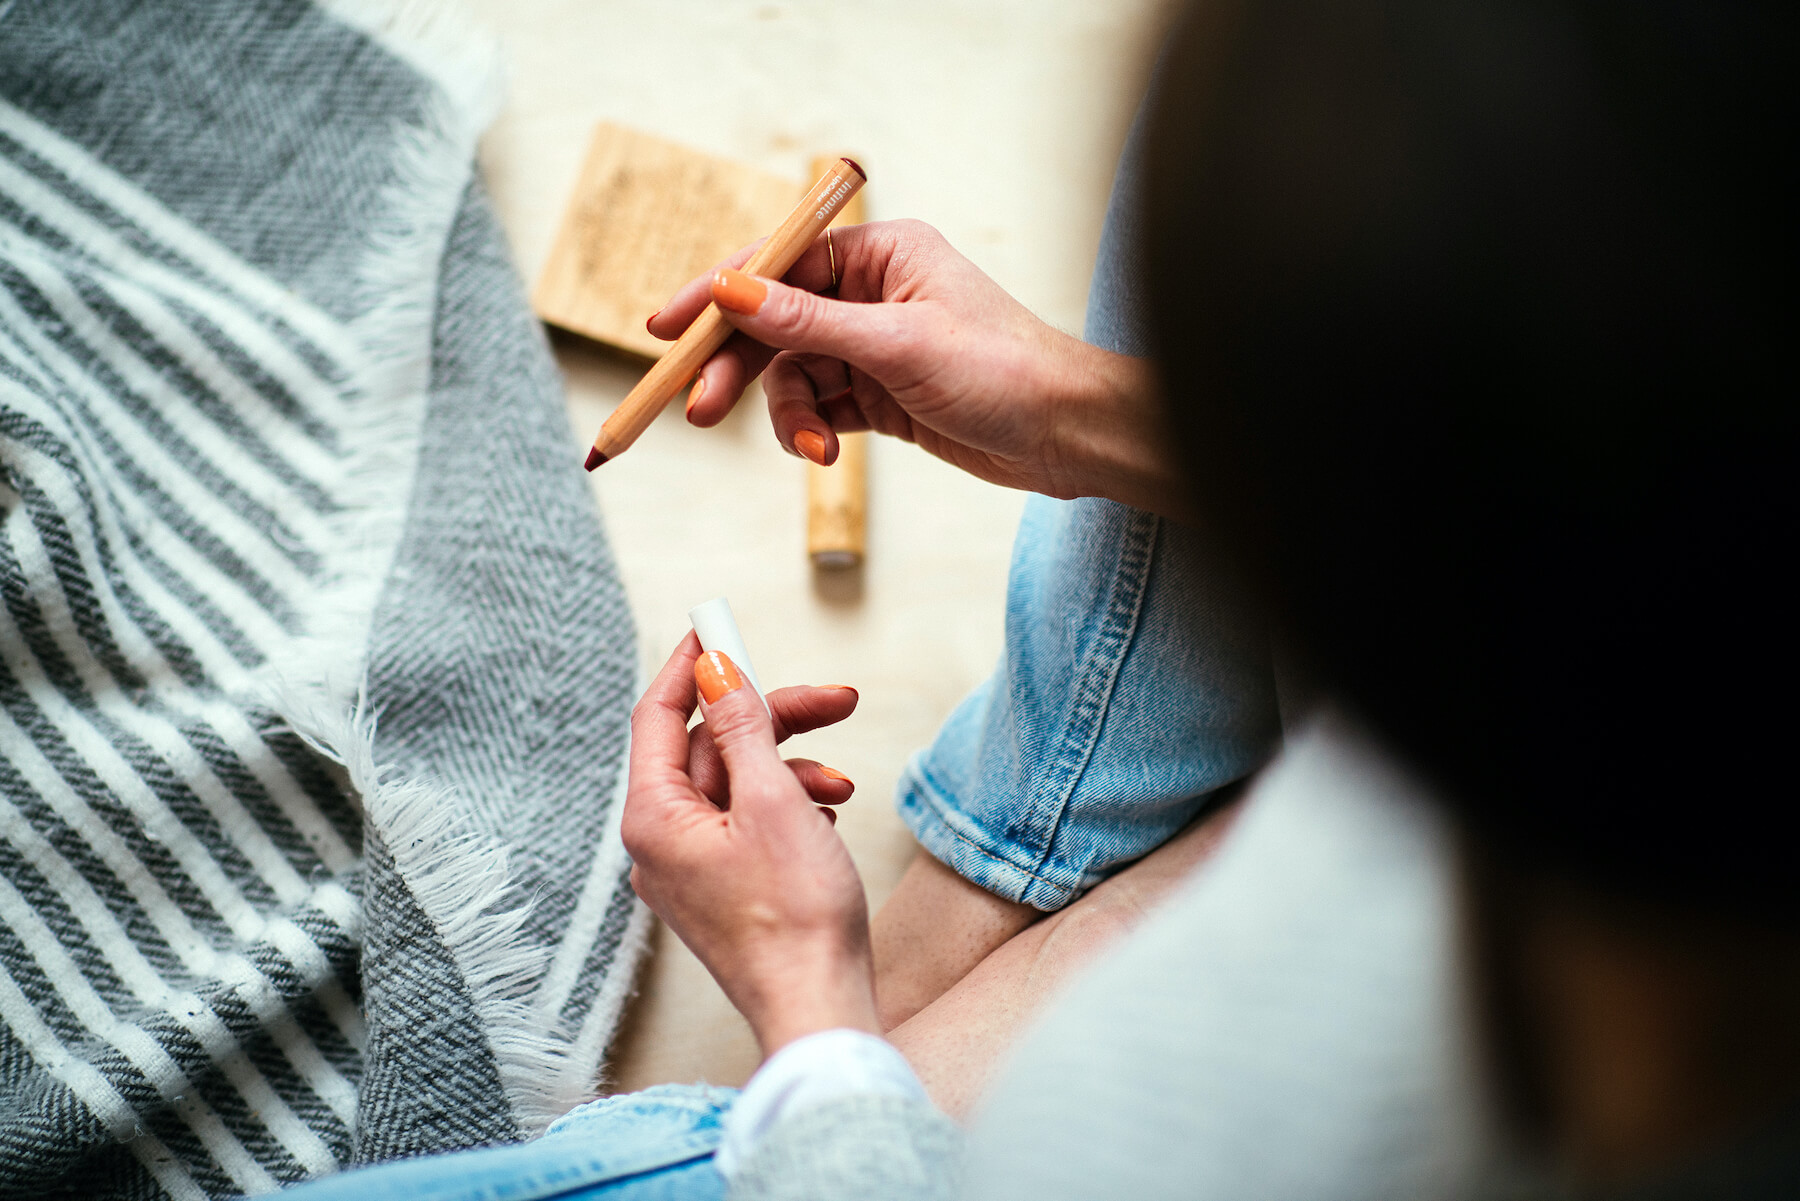

What makeup should I have with me on the photoshoot?
No need for photoshop here! Bringing a few key items to the shoot will ensure your makeup for a photoshoot stays photo-ready. Create a little kit for yourself with your finishing powder, blush shade, lipstick and some tissues. The powder will come in handy if you get shiny, the blush will be amazing if you find you need to add more colour, and the lipstick will make keeping the perfect pout a breeze.
Pro tip: After applying lipstick or gloss, blot on your tissue to remove excess colour; this will add to its longevity and keep it from feeling or looking caked on.

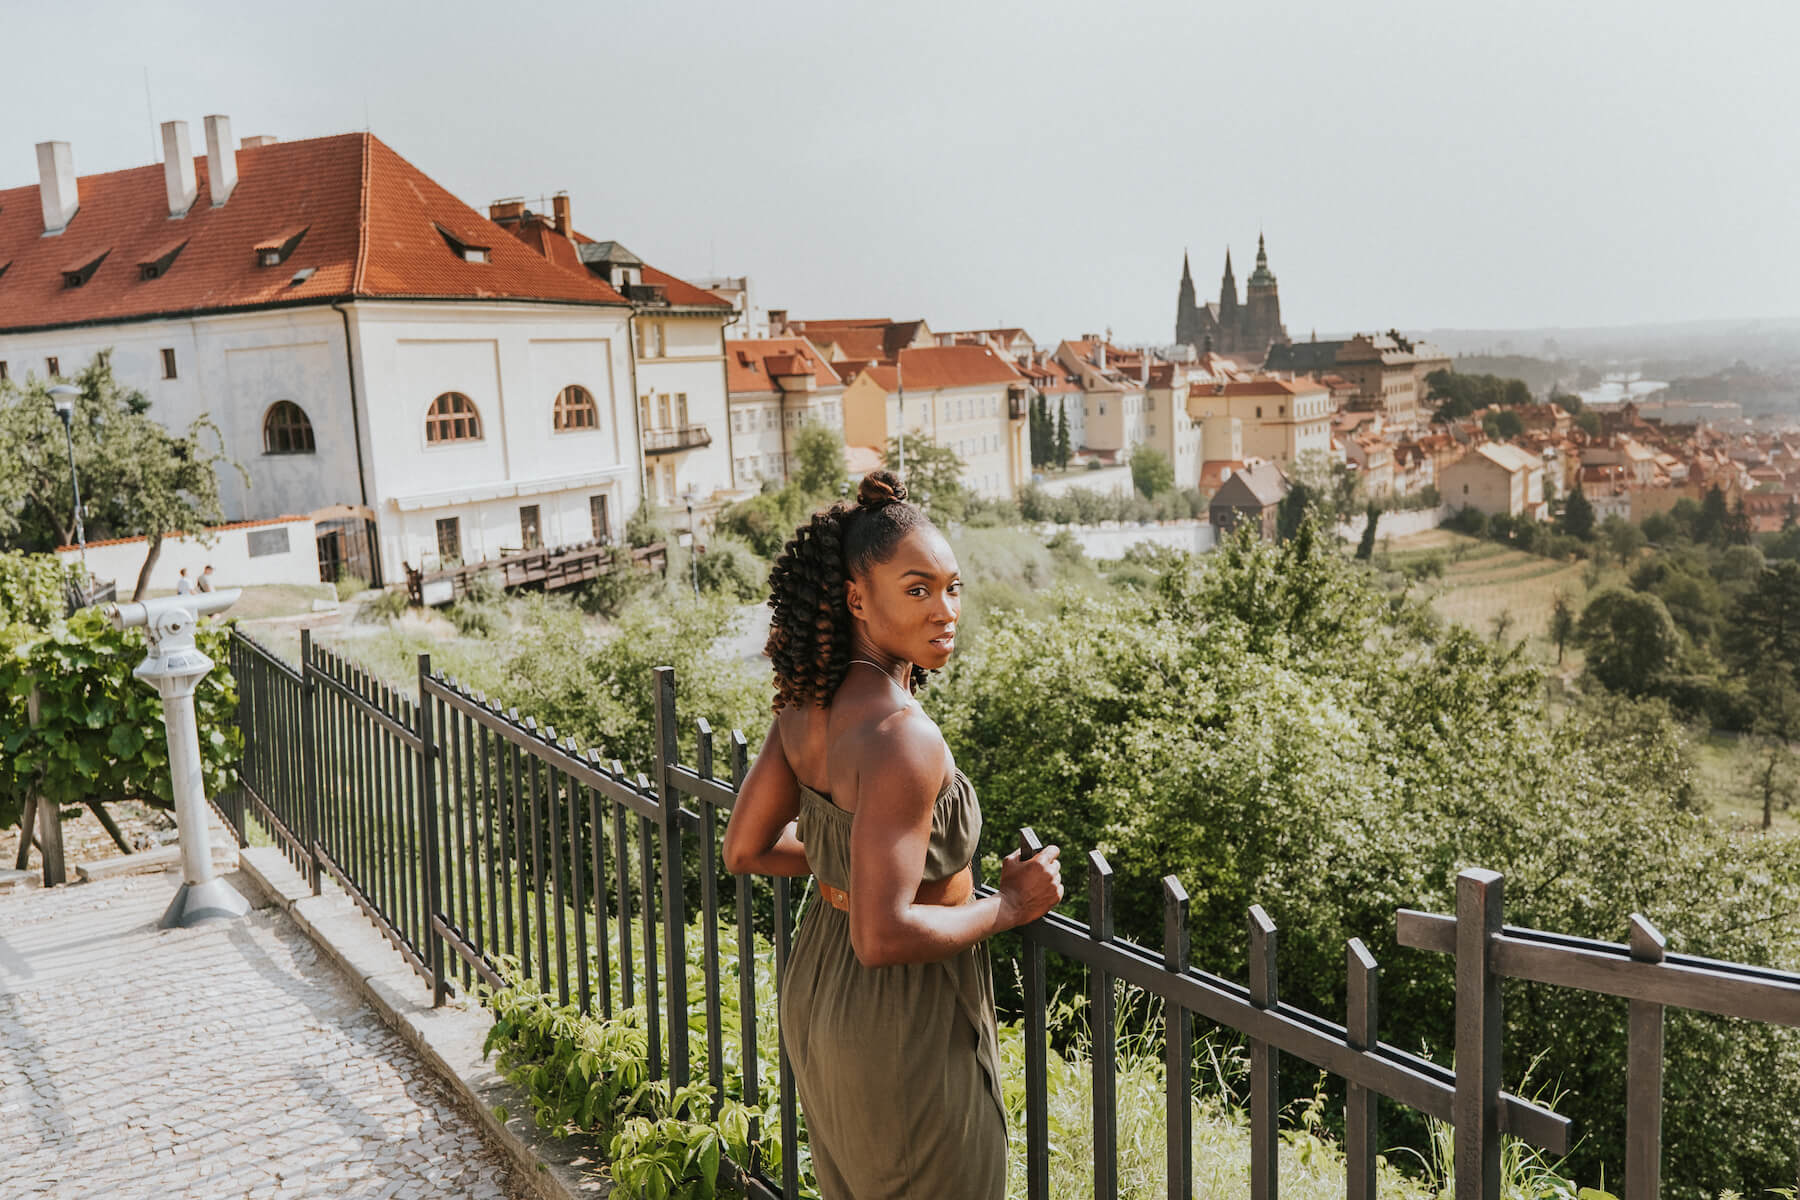
Photos: Eliška in Prague for Flytographer. Tianna captures memories on a solo trip to Prague with a Modern Headshot photoshoot.
Feeling photo ready?
With these tips and tricks, you will be photo-ready in no time thanks to Elate Beauty! No matter where your travels take you, you can book a local photographer in over 350 cities worldwide with Flytographer and capture your most cherished moments and memories. ❤️


“Meghan is absolutely wonderful! She makes your feel amazing and captures the most beautiful photos. I highly recommend seeing Meghan for any type of pictures. I got branding photos done and they are better than I ever could have envisioned. She is wonderful and makes you feel super comfortable.”
Jen

“This is my first photoshoot and I’m the most awkward person when it comes to taking my photo. But Cheryl made me feel instantly at ease. It was like hanging out with a good friend and taking pictures. I requested and was provided with gentle and friendly guidance on posing. It was also a fantastic day with good lighting. I would definitely rebook Cheryl in the future and would highly recommend her. I am so happy that I chose her for this shoot.”
Marc

“Monika is FABULOUS. Not only is she an amazing photographer, but she is also a phenomenal human being. She helped me feel at ease through the whole process, and that really showed in the natural, candid nature of the shots she took. I feel like she really took my half-baked ideas on my company’s brand and turned them into something that I could really use. I feel confident in sharing these photos, so professional and amazing!”
Anita
ABOUT THE AUTHOR

Meg Wilson
Meg is a professional blogger for photographers and travel brands with a focus on Digital Marketing. She is a freelance photographer as well as an avid traveller herself with a passion for documenting moments in time. The vacation photography niche is the perfect place for her to work creatively.