We recently had the great pleasure of meeting the talented Gillian Segal of Gillian Segal Design, who graciously invited us into her home and gave us expert design tips for achieving the perfect photo wall. Her four simple steps will have you racing to find wall space for your own collection of memories!
1. LAYOUT
There are many great options when deciding on a place in your home to feature your photo wall. Two of my favourites are along a hallway or up stairways. With more personal photos, such as wedding photos or honeymoon, a wall in the bedroom or bathroom works well.
Decide on a grid. Do you prefer streamlined rows or something more organic?
Whichever it is, start with your rows or clusters of frames in the middle of the wall, so you have lots of room to grow as you add new memories over the years.
2. CHOOSE YOUR PHOTOS
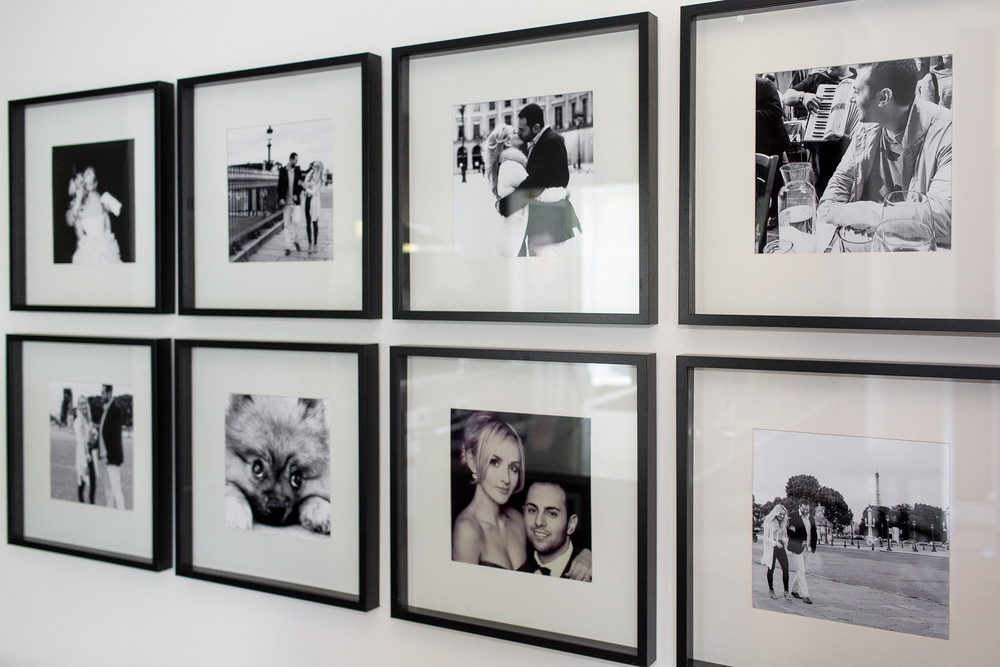
What are your style preferences? I like things clean and modern, so choosing a monochromatic black & white look makes the most sense for me. If you want to create something more eclectic, you could mix black & white photos with colour images, or go with different types of frames. You can also incorporate photos from your family history – vintage photos can look amazing with more recent pictures. (If you are planning on mixing it up, do remember to think about the overall balance.)
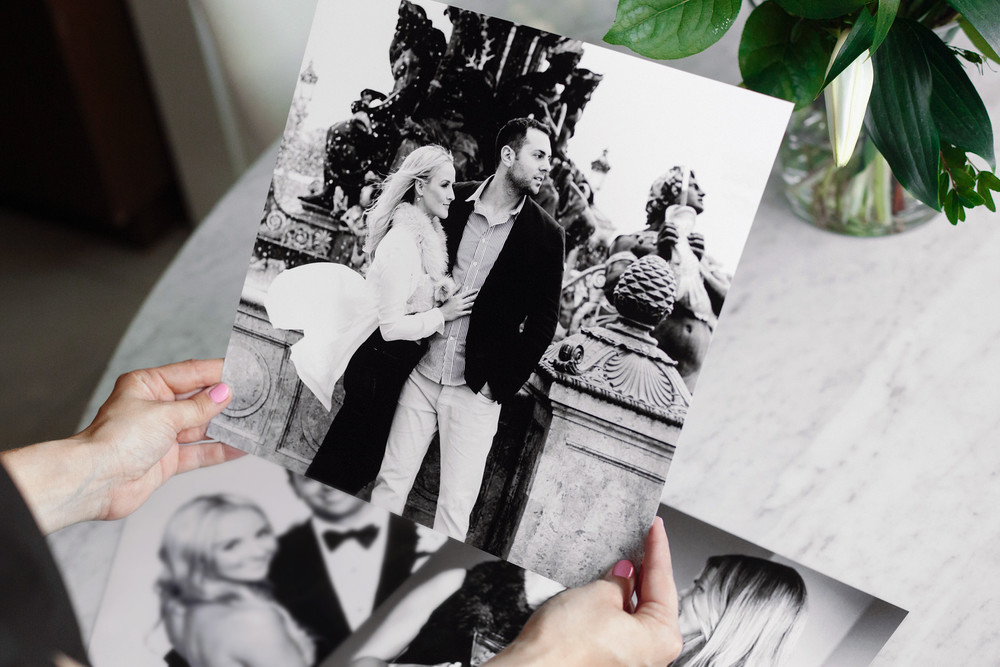
After your style choices are set, the next step is to decide which photos you’d like to feature. I believe a home should be a reflection of the people who live there. It’s an opportunity to express yourself, to be surrounded by meaningful photographs. Don’t worry about what other people may think; if it makes you happy, that’s all that matters!
For my photo wall, I started with our beautiful photos from our recent Flytographer shoot in Paris, along with a few of our favourite wedding photos.

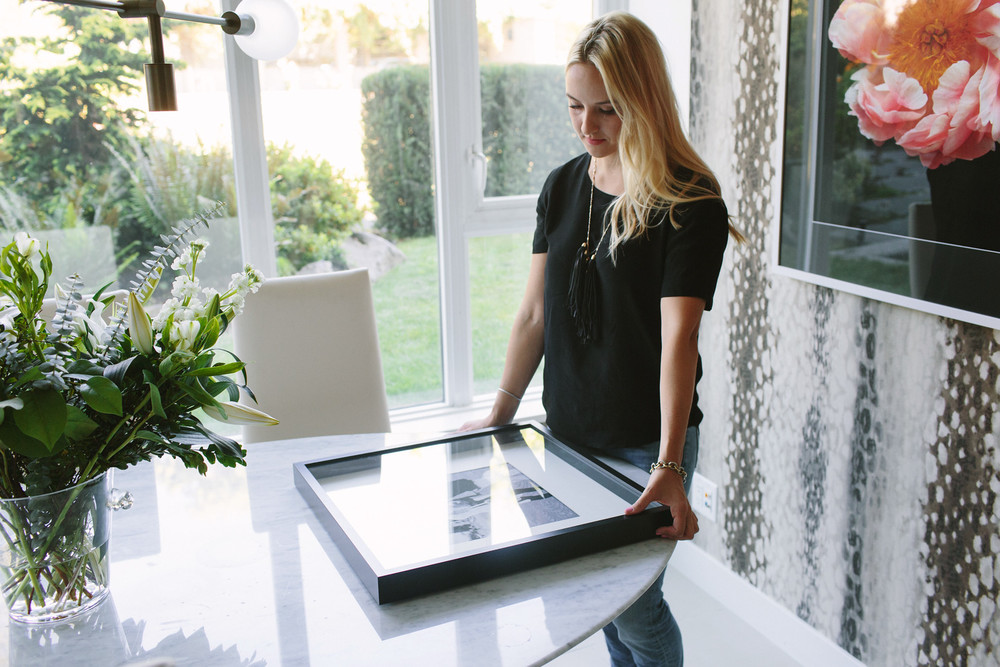
3. FRAMING
Next, decide whether you will have your photos framed professionally or do it yourself. While I do think that there’s a huge value in custom framing, in this case with my wall, I decided to save money by purchasing frames from Ikea.
When framing, I believe it’s best to opt for an easy-to-remove, acid-free backing rather than glued paper. That way you can switch out your photographs whenever you’re ready for a change, or if you have a new favourite that you want to feature.
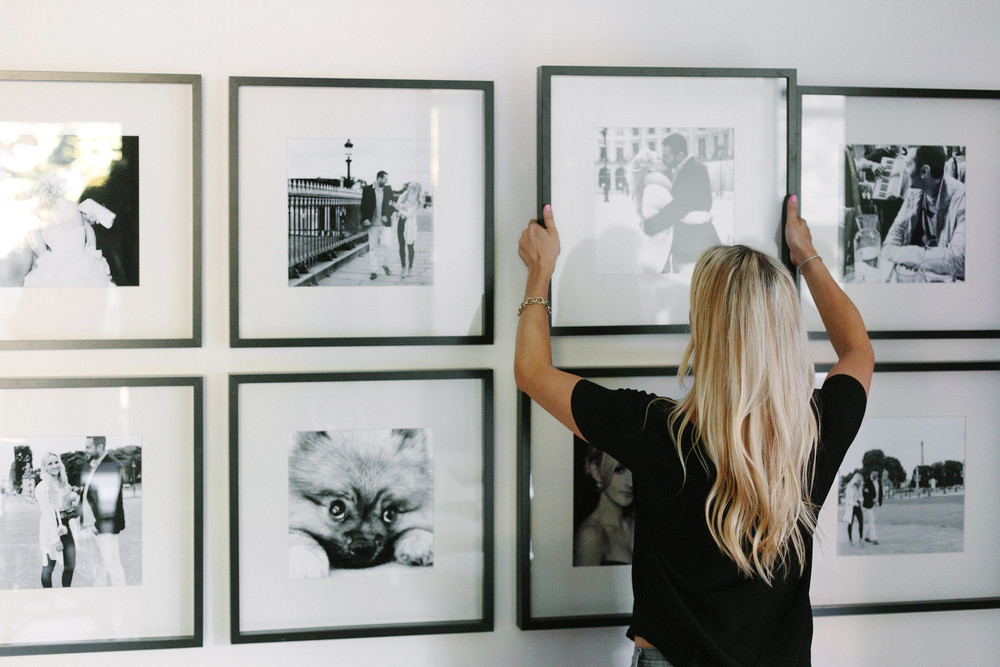
4. HANGING
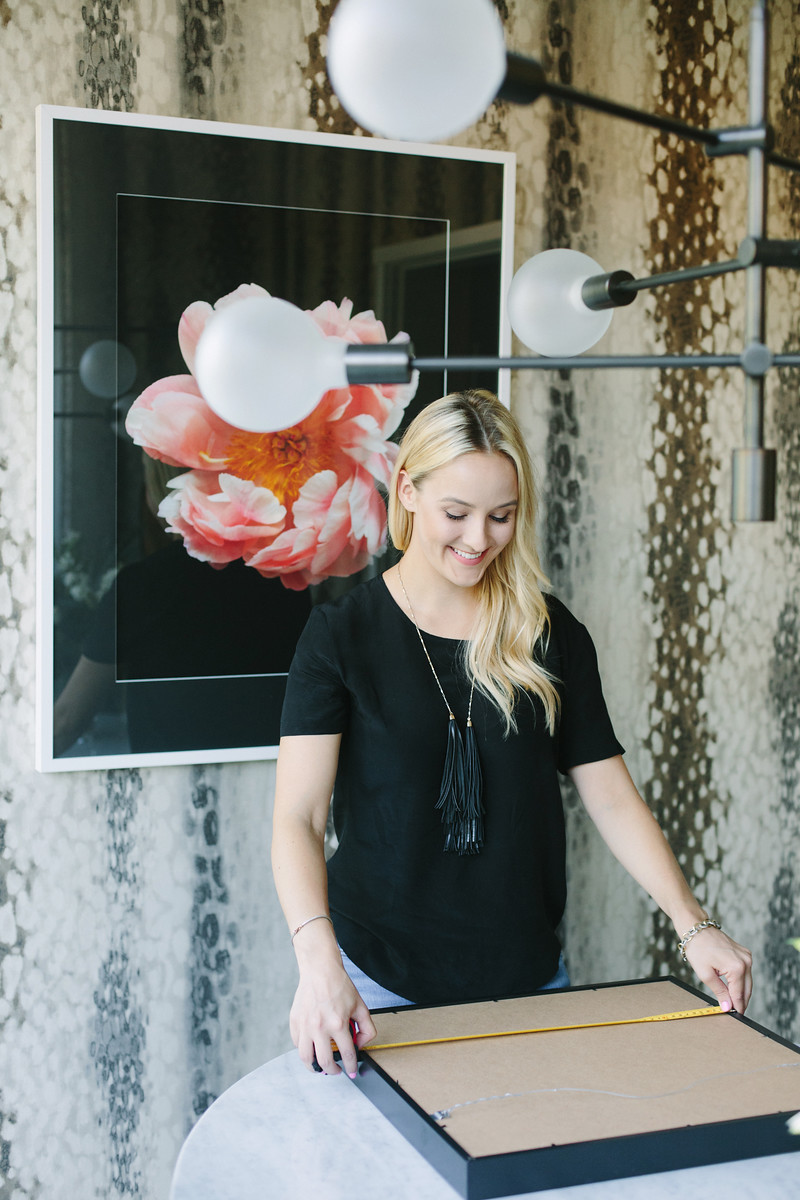
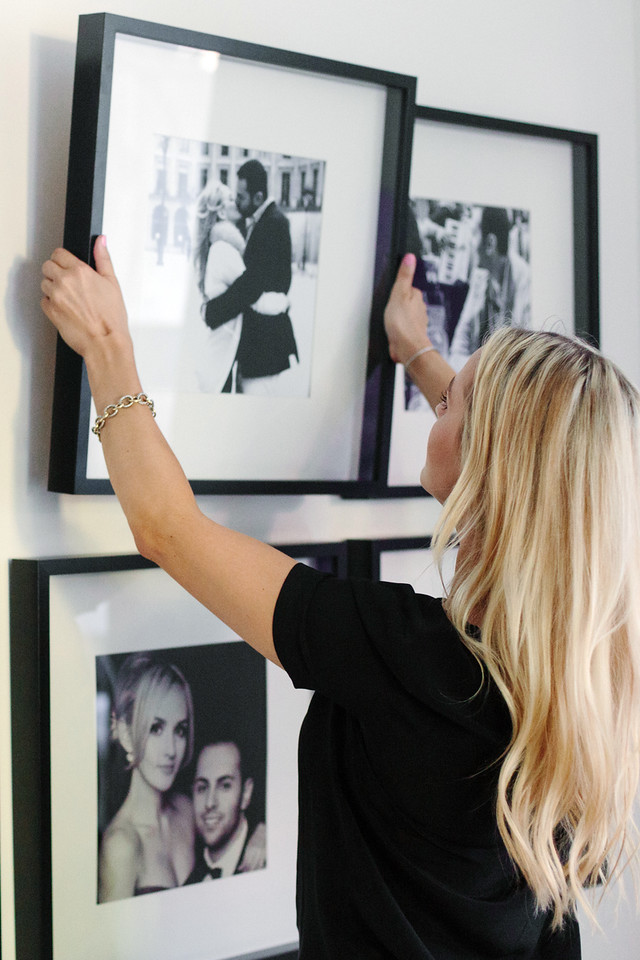
Start by choosing your anchor or feature photo as your centre point and then build around it. Measure the height and width of the wall, so you can determine the centre point. Also, check your eye level to centre your feature photo within it.
Once you determine your centre point and your feature photo, you next need to know where to put the nail. To achieve this, you simply measure (with tension) the distance between the top of the frame and where the wire will meet the nail, and centre it between the vertical sides of the frame. Simply mark the spot with a pencil, then nail in your hook. From here, measure out your next frame, leaving a 2″ gap on all sides between frames.

If you’re really nervous about hanging, you can trace the size of the frames onto paper and tape the shapes up on the wall first. That way you can easily adjust the spacing and placement before committing to a nail.
Another option is to have your art professionally hung. Ask your local framing shop or art gallery for a recommendation on expert hangers. You can spend so much on custom framing and printing, but if you decide on a very difficult photo grid and you hang them crooked or a little off, it totally takes away from what you’re trying to do. As my project was already very inexpensive (with frames from Ikea and printing at the drugstore), it was within the budget to have the photos professionally hung.
 Photos: Kelly Brown for Flytographer
I feel like it’s so easy for everyone to get stuck in a day-to-day routine. Having our Flytographer photographs from our trip to Paris up in such a central place in our home really takes me back to our romantic time there — it’s my daily reminder of our special trip.
Gillian Segal is principal & founder of Gillian Segal Design in Vancouver, a boutique full-service interior design firm specializing in custom residential design. Gillian has always had a passion for design. While watching her parents build their first family home, she quickly realized that thoughtful design can have a profoundly positive impact on the quality of life. After completing her Bachelor of Arts degree, Gillian pursued her true passion for design by attending B.C.I.T’s Interior Design program and graduated magna cum laude. After earning her CID and working with some of Vancouver’s top design firms, Gillian decided to start her eponymous design firm. She describes her personal style as “modern eclectic glamour.” Inspired by her travels and love for the design of decades past, Gillian loves blending the old and the new.
Gillian is also an online contributor to Martha Stewart.
See her Flytographer shoot in Paris here.