Hooray! You have just completed your Flytographer shoot and we know you must be so excited to see the final results. This guide will walk you through the next steps as well as answer some frequently-asked questions about the gallery.
Check your inbox
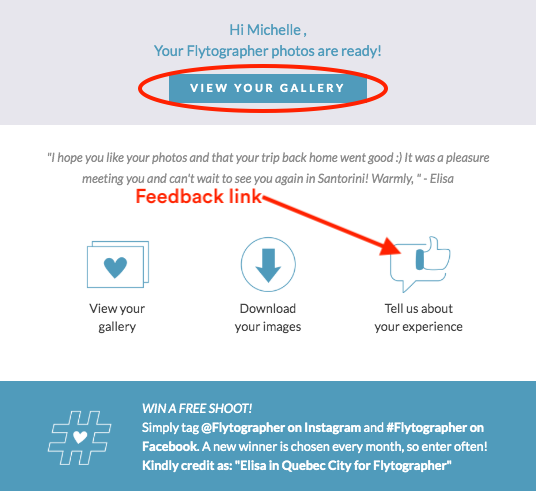
You will receive your edited, curated gallery in your inbox within 5 business days of your shoot. Your email will contain a blue button to view your gallery as well as links to download the whole set and to send in your feedback. Your experience is extremely important to us and we would love to know what you thought! Please take a few minutes after you receive your gallery to let us know how it went.

Go to your Flytographer dashboard
Click on the “My Photos” tab in your Flytographer dashboard to view your gallery. From here, you can:
- Share your gallery with friends and family.
- Create your Travel Story on the Flytographer website to create a public link to your favourite photos and story.
- Download all the photos to a zip file.
- Order prints.
View full-screen or download individuals
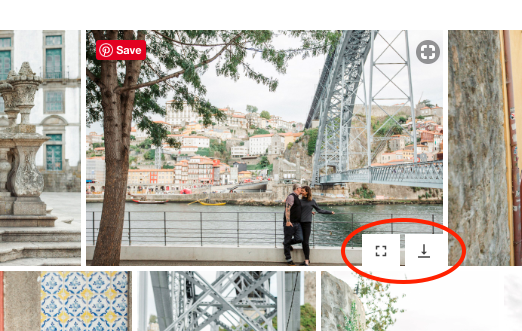
Hover over a photo to reveal icons to either view in full-screen, carousel mode or to download individual photos in high-res (2200X3300px). If you prefer to download an image in low-res (for social media or to save space on your phone), right-click on the photo to get the menu and then select “Save Image As.” On mobile, hold the image down to get to the menu and then save to photos.
*Note: Be sure that you have downloaded and are using the high-res versions when you order prints.

Ordering prints
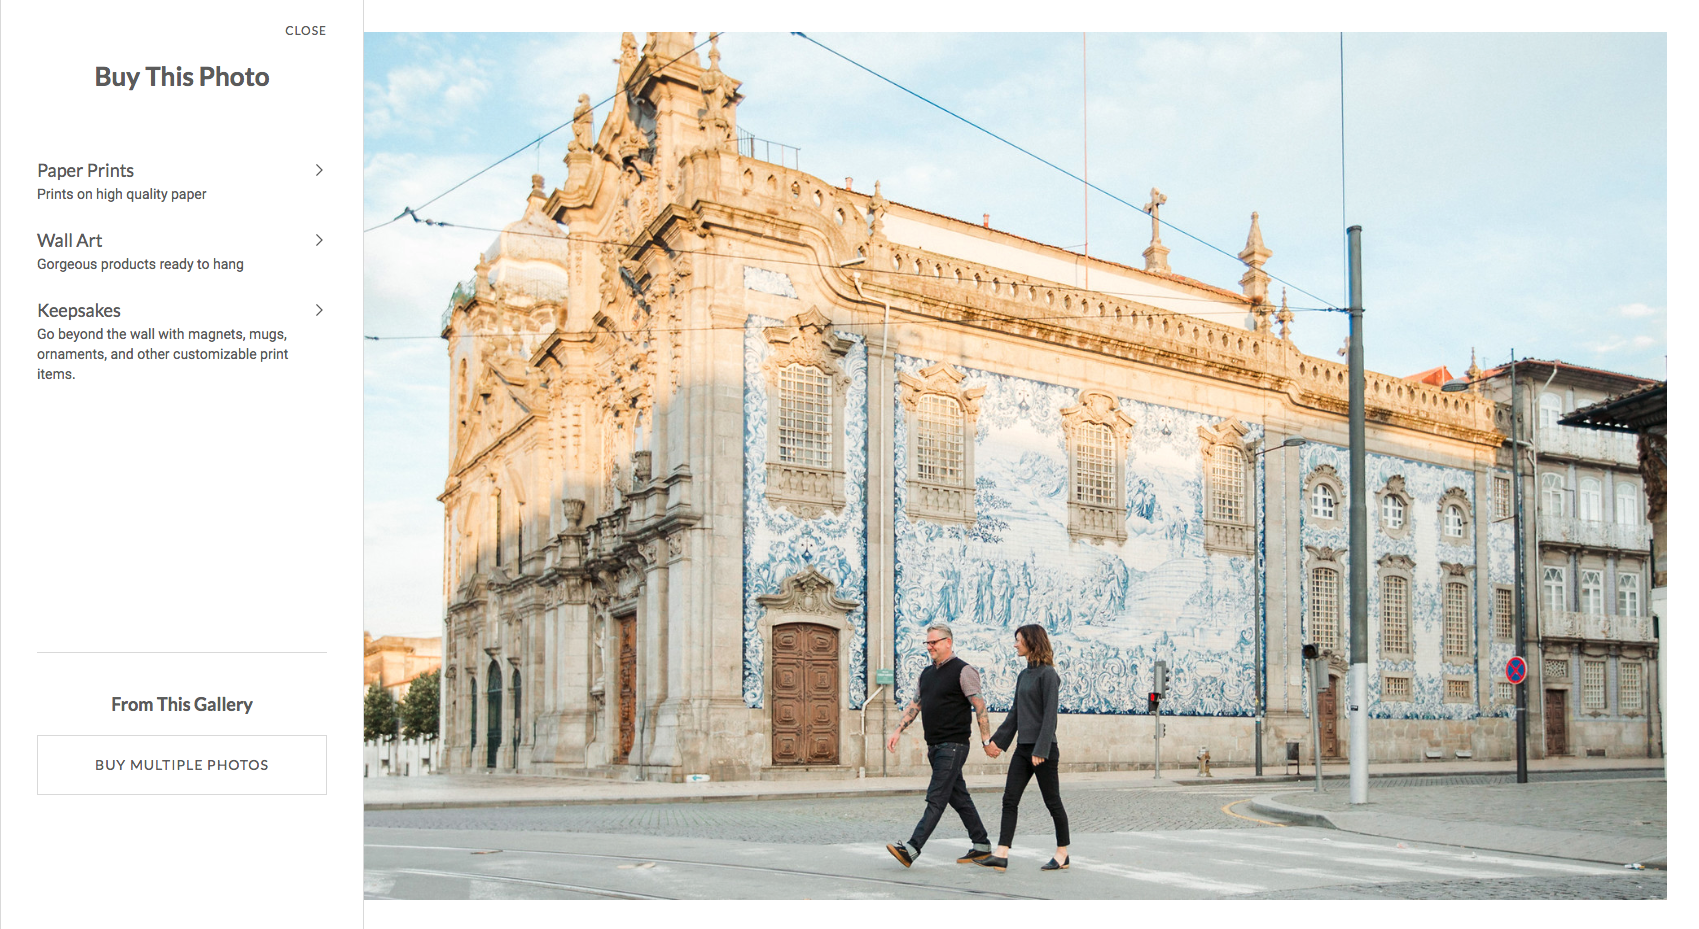
To make it easy, you can order your prints right from your dashboard! When you click on the “Order Prints” button on your dashboard, you will be taken to a new screen with your gallery uploaded with our printing partner, Smugmug. You can either click on the pink button in the top right or hover over any of the images to reveal an “Order Prints” button to be taken to the next screen which allows you order single or multiple prints. Smugmug also offers prints on canvas, mugs, magnets, and other gift items.
If you prefer to print yourself or use an alternate printer, please visit our Print Guide for our best tips.
Gallery FAQ
Q: What will my gallery look like?
Your photos will be edited in a way that matches both Flytographer’s brand style and that of the photographer, whose work you (or your travel advisor) saw in their sample portfolio when you booked them. Your photographer will choose the best of the best from your session, edit them and send them in. Your gallery will contain the minimum number of photos stated in your package.
Q: Why does the photographer choose the final images?
To join Flytographer, our photographers have been through a rigourous onboarding process involving portfolio reviews, interviews, and more. They are each experienced professionals whom we trust to select the best photos based on light, composition, mood and customer requests. You will have noticed that your photographer shot hundreds of photos during your session; it is common that for every 10 or 15 clicks of the shutter, one will turn out (yes, many shots are taken that will never be used).
In order to guarantee your photos will be in your inbox within 5 days, we allow our photographers the discretion to make the best choices on your behalf. This saves you time going through hundreds of unedited photos (most often when you’re still on vacation); our photographers will do that work for you so that you can be surprised and delighted by the final result, ready to download and share.
Q: What is meant by editing?
Our photographers shoot in raw format. This means that every photo is in an unedited, raw state that allows the photographer the most control in the post-processing stage. A raw image is a very large file that contains only basic data that cannot be viewed outside the back of the camera unless you have special editing software. (And if you do look at it through the back of a camera, you will notice that is appears rather greyish and washed out – often nothing like what the final version will look like.) An image must go from the raw stage to another format, like jpg or png, in order to be presentable. Think of a raw file in terms of cooking: if you ordered a cake, a baker would never just hand you the eggs, flour and butter, but would take those ingredients, mix them up and bake them in order to present you with the final, delicious product. A raw file from a camera is much the same – a detailed data file with basic but important information that will be “baked” in the post-processing stage.
Q. What happens when I take a photo on my phone?
Unlike a professional camera, your phone does not shoot in raw. Instead, like many point-and-shoot consumer cameras, it captures in jpg. This means that when you take a photo with your phone, the image you see is automatically processed in the camera to simulate colours as our eyes see them – so the photo is more or less “what you see is what you is get.” As well, after it processes, the camera will toss out the image’s extra information it doesn’t need, so you end up with a much smaller file that is easily manageable for a handheld device like your phone. You can do some tweaks to your photo using the phone’s editing software or a third-party like VSCO, but editing capabilites are fairly limited with jpgs compared to raw.
Q. Speaking of editing, what’s the difference between what my photographer does and a filter or preset that I can use on my phone?
When a photographer edits, they take the raw file and adjusts elements like the white balance, exposure, shadows, black points, temperature and more in order to ensure the most pleasing finished product. Many people confuse editing, or post-processing, with terms like “filters” or “presets.” A filter or a preset is simply a series of actions bundled up into a one-click motion. A filter may be very yellow-based or have added vignettes or brighter whites. Filters tend to be heavier-handed than a preset and are meant to edit on top of jpgs, like your phone photos.
Presets are a term more often associated with professional software to edit raw files. Again, all a preset means is a series of actions (or sometimes just a single one). Presets are very easy to make and most photographers have many of their own custom ones. For example, if a photographer likes to work brighter and tends towards punchier images than what comes out of raw, they may create themselves a preset that automatically adjusts the exposure by a stop, adds 5 points for contrast and 10 points for saturation. This preset has taken three seperate actions and bundled them into one, saving the photographer extra clicks when they know this is going to be the starting point for all their editing. A preset is usually not the end of editing, but a starting point – once applied, a photographer continues with editing each individual photo with other elements as needed. A preset can be simple or complex, with as many or as few actions bundled up as a photographer likes.
(Please note per our Terms of Service that editing for Flytographer does not include photo shopping.)
Q. Can I have the raw files?
Your gallery includes high-res images (2200X3300px) delivered in jpg format. To protect our photographers’ copyright, we never provide raw format.